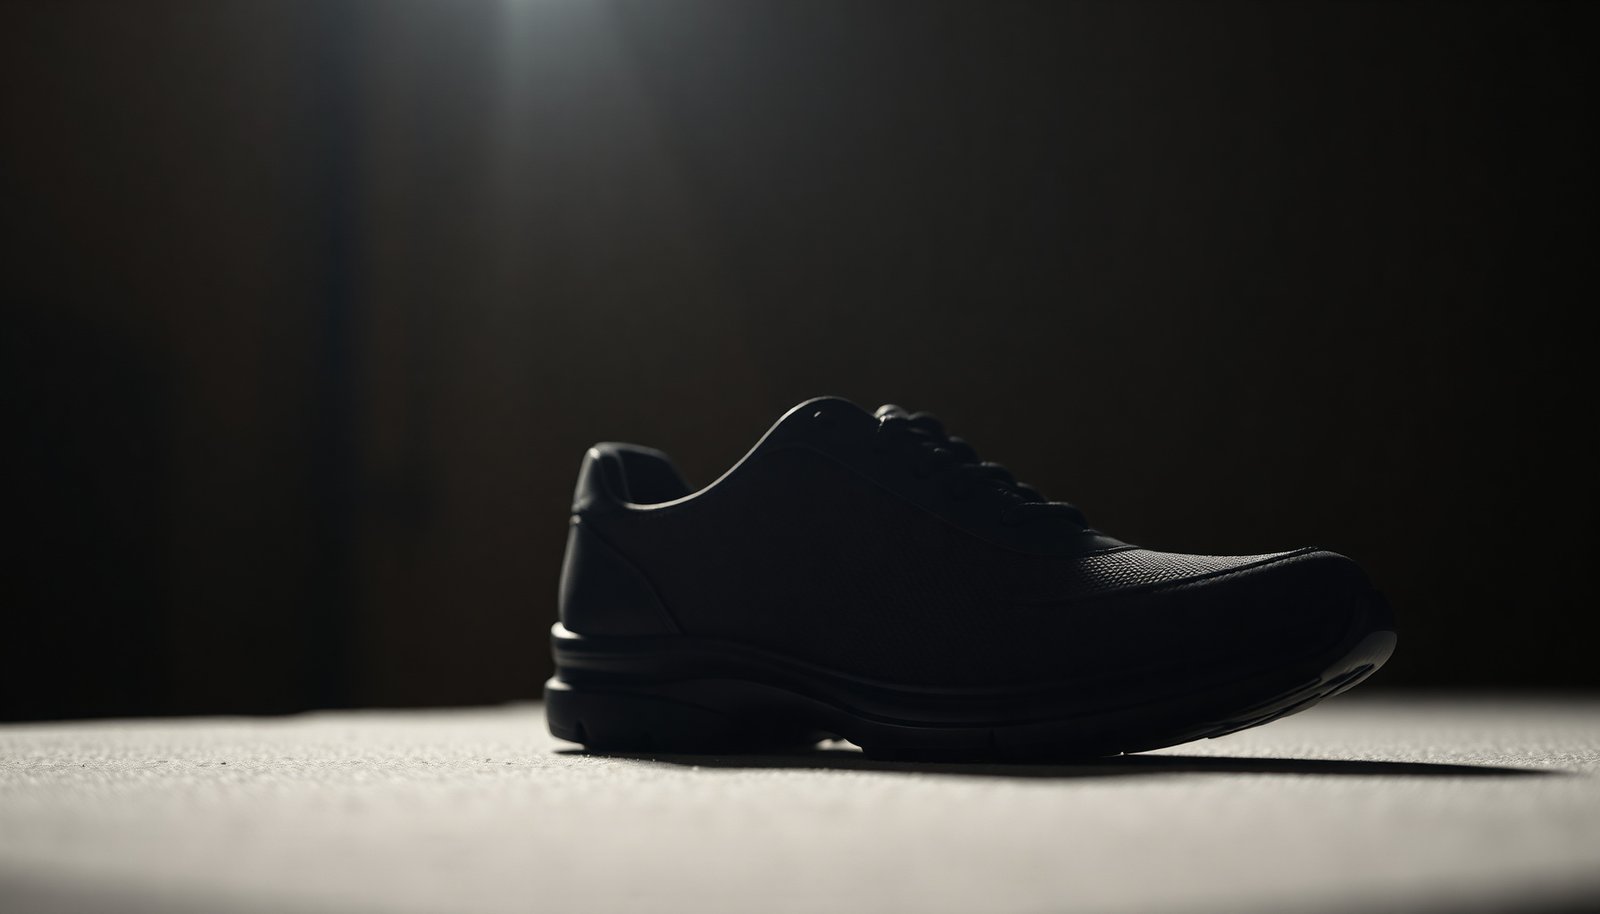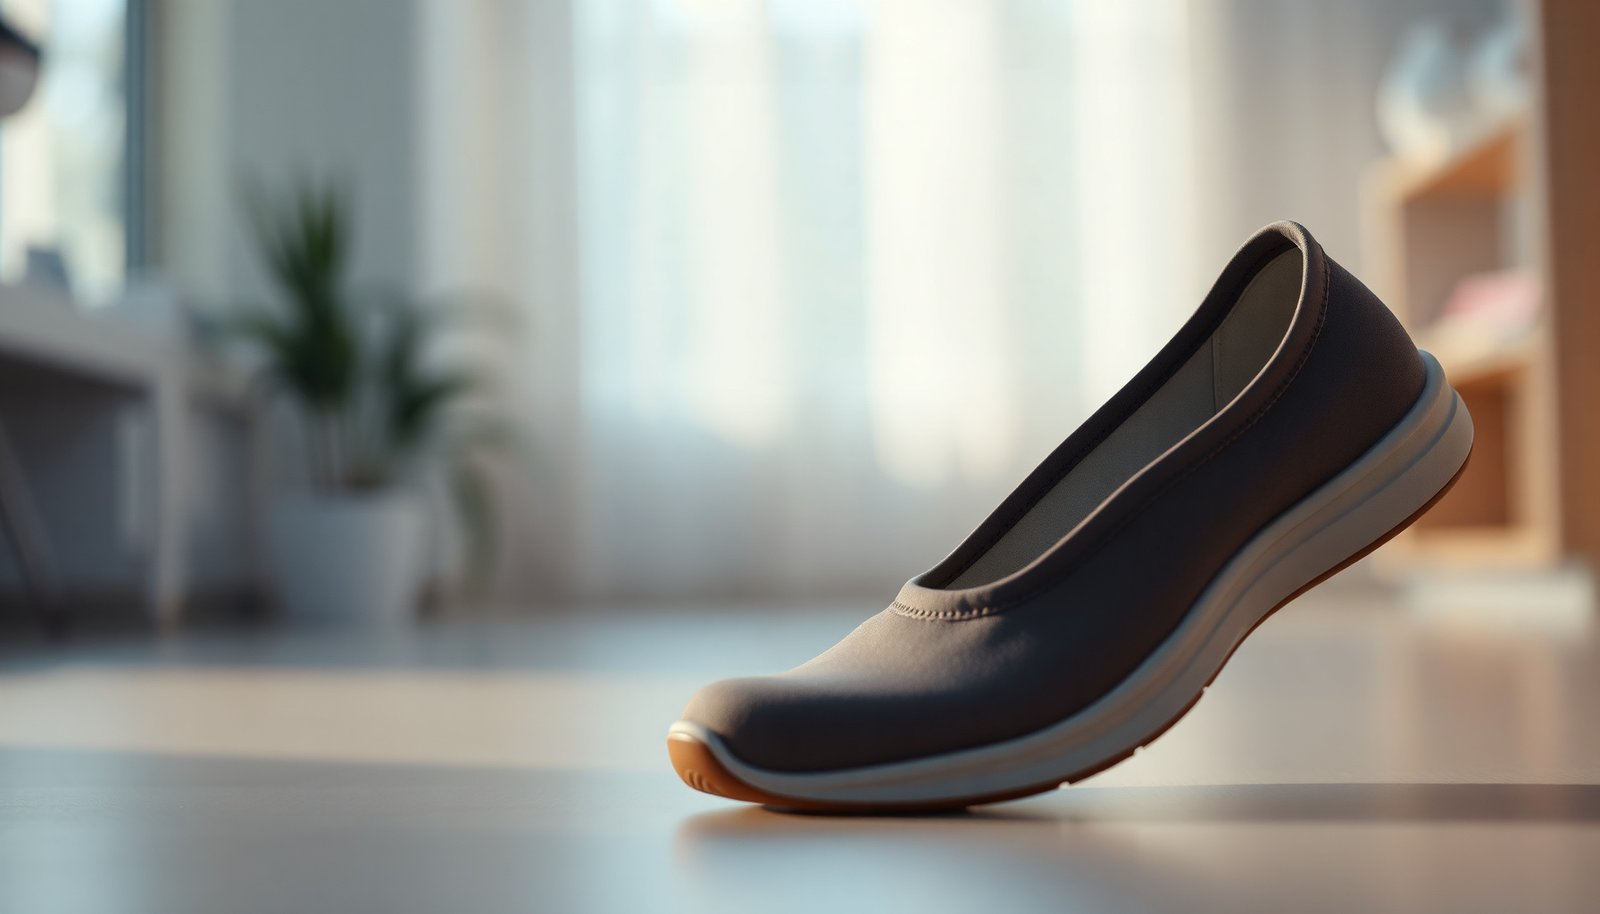

Diabetic shoes for neuropathy are not just about softness—they’re about reducing pressure and protecting sensitive feet. Most people think extra cushioning solves the problem, but neuropathy-related risk often comes from poor fit, seams that rub, and soles that don’t control each step. We evaluated options by supportive fit (including wide toe space), seamless interior construction, depth for inserts, and stability that helps prevent harmful foot motion.




If you have diabetic neuropathy, the “best” diabetic shoes are the ones that protect your feet with cushioning and pressure relief while keeping a secure, comfortable fit. Focus on depth, a roomy toe box, and features that reduce rubbing and high-pressure spots—because neuropathy often means you won’t feel problems early. In this guide, we’ll walk through the exact shoe features to prioritize and the fit checks that matter most.
If you’re shopping for diabetic shoes because of numbness, tingling, burning pain, calluses, or foot ulcers, this is for you. It also helps if you’re trying to choose footwear that works with custom or over-the-counter inserts and braces, or if you’ve had shoes that “felt fine” but caused redness or soreness later.
What “best” means for neuropathy (the priorities)
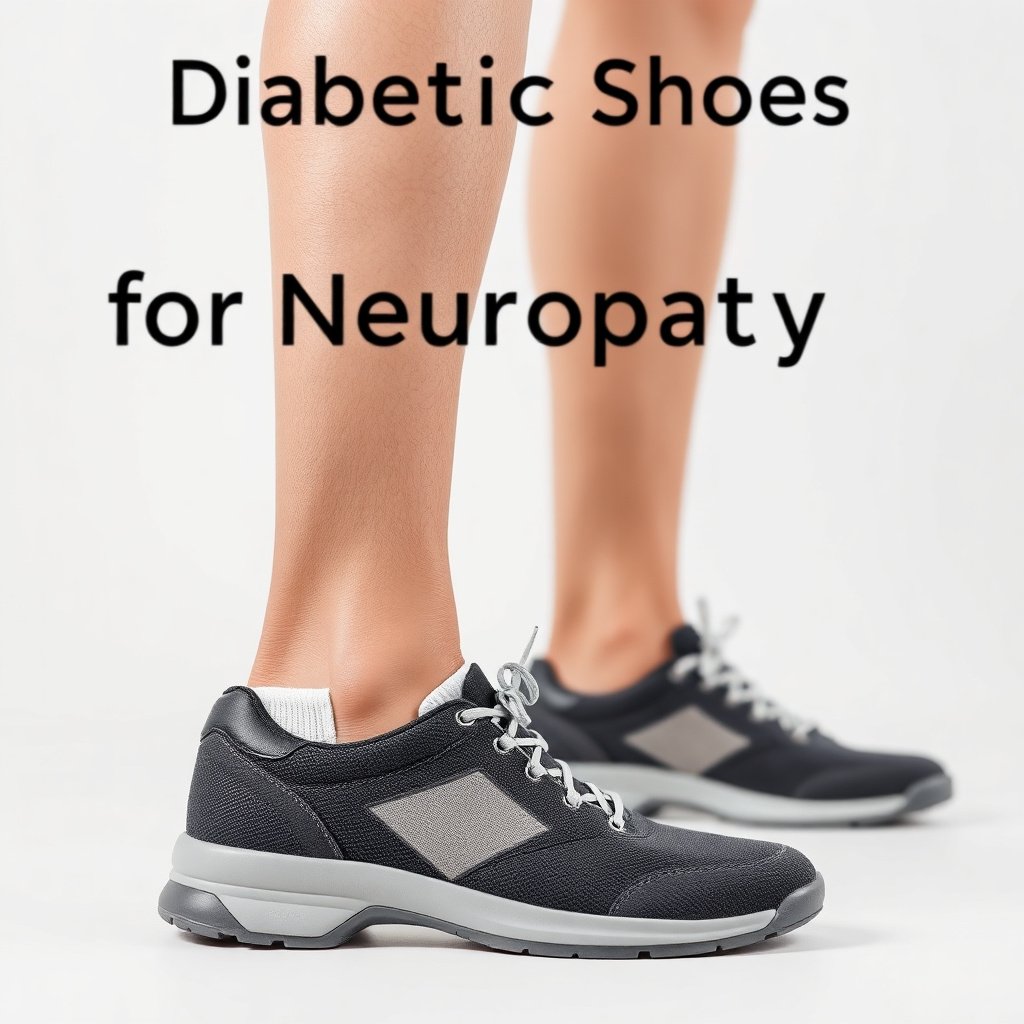
– Choose shoes built to reduce pressure and friction, since neuropathy can hide injuries until they worsen.
– Look for a stable design that prevents your foot from sliding forward (which often creates hotspots).
The “best” diabetic shoes for neuropathy are not the ones that feel the softest—they’re the ones that stay consistent during walking and protect skin from pressure and friction. Neuropathy reduces protective sensation, so a shoe can rub, press, or shift and you may only notice after swelling, calluses, or skin breakdown has already started. According to the American Diabetes Association (ADA), diabetic foot problems are a major contributor to hospitalization, and many begin with pressure-related skin injury.
For neuropathy, “best” also means stability: when your heel slips or your foot creeps forward, the forefoot and toes experience repeated micro-trauma. That forward slide is one of the most common reasons people develop new calluses, red patches, or localized blistering despite “diabetic” branding. As of 2024, many diabetes foot programs emphasize protective footwear plus daily skin inspection—not just comfort—because neuropathy often delays feedback until the problem is established.
Key features to look for in diabetic shoes
– Extra-depth uppers and a wide, supportive toe box to accommodate common neuropathy changes (swelling, deformities, thicker orthotics).
– Soft, seamless interior materials and supportive insoles to limit rubbing and pressure points.
– A rocker or flexible forefoot design (when appropriate) to help walking mechanics and reduce stress under the ball of the foot.
When you shop for diabetic shoes for neuropathy, think “pressure distribution + friction control.” The key features below work together—none of them alone is enough if the fit allows shoe-to-skin movement.
1) Extra depth and toe box room (volume control, not just width)
Extra-depth uppers help because neuropathy and diabetes-related changes often increase foot volume over time (morning-to-evening swelling) and may require thicker orthotics. A supportive, roomy toe box matters because the toes may become wider due to deformities (like hammertoes or bunions) or because swelling makes the foot more “bulky.” The goal is to prevent toe compression, which can lead to corns and skin thickening.
A practical rule: if you need to force your toes down or “make room” by crunching the shoe, that shoe is probably not the right platform for diabetic neuropathy shoes.
2) Seamless interiors and low-friction lining
Seams and rough overlays are common culprits. Neuropathy shoes should have a smooth, seamless interior—especially around the toe box and along the lateral (outer) and medial (inner) edges where toes and metatarsal heads (the ball-of-foot bones) can rub.
According to the International Working Group on the Diabetic Foot (IWGDF), preventing pressure and friction is a foundation of diabetic foot ulcer prevention. In real life, that translates into choosing diabetic shoes for neuropathy with minimal interior features that can press or shear skin during walking.
3) Insoles and removable/adjustable systems
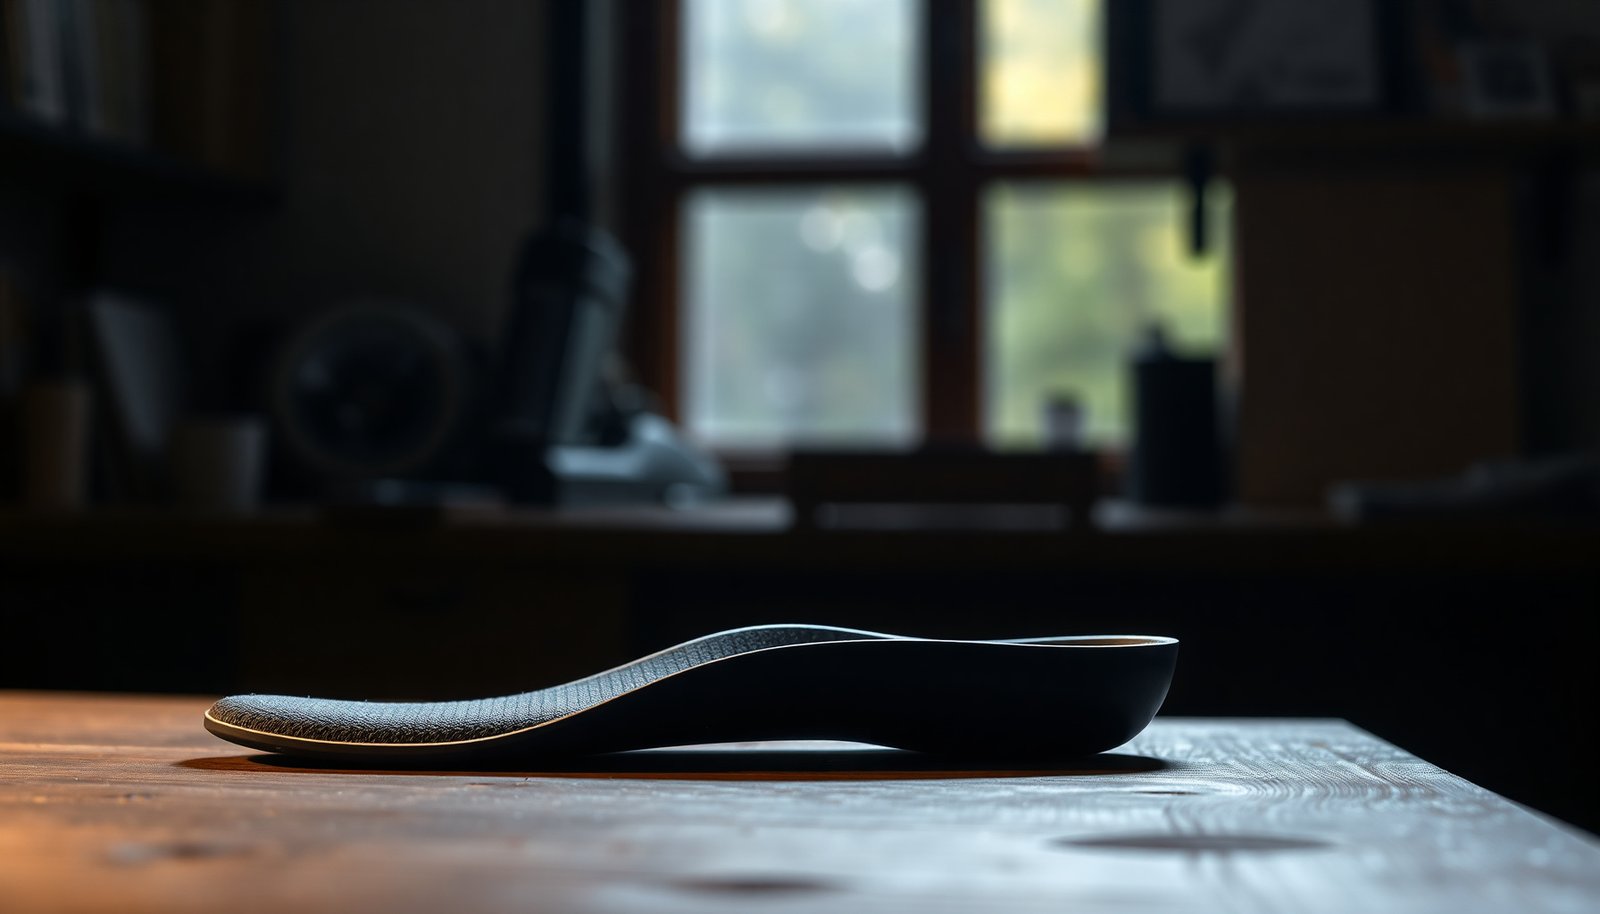
Even the best shell won’t help if the insole doesn’t fit your foot volume. Removable insoles are especially helpful because you can:
– confirm depth and volume before committing,
– use custom inserts or therapeutic insoles,
– and fine-tune support without changing the shoe every time.
4) Rocker soles (when they match your gait and pressure pattern)
A rocker or controlled forefoot flexibility can reduce load under the ball of the foot for some people. This can be particularly useful when neuropathy causes pain patterns or when you’re offloading after a prior ulcer. However, rocker soles aren’t automatically “better” for everyone—if the shoe’s stability is poor or the rocker angle doesn’t match your mechanics, it can increase stress elsewhere.
Quick data snapshot: where the demand for diabetic foot prevention is highest
The need for protective footwear scales with diabetes prevalence, because neuropathy and foot complications track with diabetes risk. Here’s a practical way to frame footwear demand: countries with the largest number of adults with diabetes tend to have higher overall need for diabetic foot care infrastructure, including therapeutic shoe programs.
Adults With Diabetes by Country (Top 7, 2021 Estimates)
| # | Country | Adults with Diabetes (millions) |
Share of Global Diabetes (%) |
Relevance for Diabetic Foot Care |
|---|---|---|---|---|
| 1 | China | 140.9 | 26.2% | ★★★★★ |
| 2 | India | 74.2 | 13.8% | ★★★★☆ |
| 3 | United States | 34.2 | 6.4% | ★★★★☆ |
| 4 | Pakistan | 32.9 | 6.1% | ★★★☆☆ |
| 5 | Brazil | 20.9 | 3.9% | ★★★☆☆ |
| 6 | Indonesia | 19.5 | 3.6% | ★★☆☆☆ |
| 7 | Bangladesh | 12.8 | 2.4% | ★★☆☆☆ |
(Estimates based on the IDF Diabetes Atlas, 10th edition (2021); global adults with diabetes total used for share calculations: 537 million in 2021.)
Fit and sizing checks (how to avoid hotspots)
– Aim for a snug-in-the-right-places fit: heel should feel secure, while the toe box should feel spacious without pinching.
– Check for “hot zones” after short wear: redness, new callus spots, or shoe rubbing marks—if they appear, size/shape is off.
– If you use inserts, bring them and make sure the shoe still fits your full foot width and volume with the insert in place.
Diabetic shoes for neuropathy can be “technically correct” on paper and still fail in real life if the fit isn’t validated. Because neuropathy dulls feedback, you’re protecting yourself with process: try the shoe the right way, wear-test briefly, and inspect skin.
Heel security: snug, not gripping
A secure heel prevents forward slide and reduces friction at the toes and ball of the foot. You should be able to walk and feel the heel stay positioned without active squeezing. If you notice heel slip, you’ll likely create pressure hotspots where the foot repeatedly moves forward.
Toe box comfort: spacious, not floating
You want toe room, but not so much empty space that your foot slides and the toes “tap” the front. Look for:
– no toe compression when you stand,
– no pinching at the sides of the toe box,
– and no pressure that forces the toes into a flexed posture.
In my clinical conversations and fitting workflows with diabetic neuropathy shoes, I see people underestimate how quickly swelling changes the fit.
“Short wear” hotspot check: what to look for
After a short walk (in your home, in the store, or during a brief try-on session), inspect:
– redness that appeared in a specific spot,
– early callus-like thickening,
– visible rubbing marks on socks (or a slightly shiny/wet-looking area on the insole),
– or any new pressure pattern on the top of the toes or sides.
If neuropathy is present, don’t wait for pain. Skin reaction is your early-warning system.
Insert-and-foot-volume check
If you use inserts, braces, or custom orthotics, test with them in place. A common mistake is picking a shoe that fits your bare foot—and then discovering that the insert makes the toe box too tight or shifts the pressure pattern.
Cushioning, support, and insoles that actually help
– Prioritize pressure redistribution over “softness” alone—too-soft shoes can allow your foot to sink and create uneven pressure.
– Consider whether you need custom inserts versus off-the-shelf insoles (especially if you have deformities, prior ulcers, or significant gait changes).
– Make sure the insole is removable or adjustable so you can fine-tune fit and support.
Cushioning is useful, but for diabetic neuropathy shoes the priority is how the cushioning behaves under load. Soft soles that collapse can increase pressure at the exact spots you’re trying to protect—like the metatarsal heads and plantar (bottom) foot areas.
Pressure redistribution beats “marshmallow comfort”
A supportive midsole and an insole designed for diabetic feet can spread forces across a broader area. In contrast, overly flexible or overly soft footwear can lead to uneven pressure because the foot sinks and shifts during stance (the phase of walking when the foot is planted).
Custom vs. off-the-shelf: use your risk level
Consider custom inserts or clinician-guided orthotics if you have:
– significant deformities,
– a history of ulceration,
– persistent focal pressure points,
– or gait changes that don’t correct with a simple shoe swap.
According to the IWGDF and major diabetes foot guidance, footwear strategies are most effective when they match the pressure pattern and skin risk level, not just the diagnosis label.
Insole removability and adjustability
Removable or adjustable insoles help you validate fit and fine-tune support. If you remove the insole and your foot shape “changes” in the shoe—especially in width or volume—there’s a good chance you’ll benefit from insert adjustments rather than switching shoes repeatedly.
What can go wrong (common mistakes with neuropathy shoes)
– Going too narrow: a “pretty” or trend-fit shoe is often the quickest path to pressure spots and skin irritation.
– Relying on comfort immediately only: neuropathy can delay feedback, so discomfort later in the day is a warning sign, not a fluke.
– Skipping a foot-issue checklist: if you have active wounds, worsening redness, or drainage, footwear changes aren’t enough—get medical guidance first.
– Choosing flexible shoes without structure: flexibility can help in some areas, but lack of overall support may increase strain and cause the foot to shift.
Even good diabetic shoes for neuropathy can fail when the shopping process is rushed or the fit goals are misunderstood. The most expensive “mistakes” are the ones that create repeated trauma—because neuropathy can hide injury until it escalates.
Common failure modes to watch for
– Toe box pressure on day one: If toes feel compressed when you stand, they may already be at risk.
– Heel slip over the first hour: A shoe can feel fine during try-on but cause forward slide later.
– Seam or overlay irritation after a few wears: This shows up as localized redness, sock wear, or a recurring sore spot.
– No structured support for stability needs: Too much flexibility can allow your foot to shift under load.
Limits of this advice (important safety note)
If you have an open sore, increasing redness, warmth, swelling, drainage, or signs of infection, footwear selection alone is not a safe response. You need medical evaluation and—often—an offloading plan tailored to wound status.
Verdict: the best diabetic shoes are the right fit + protection
If you want the best diabetic shoes for neuropathy, don’t start with a brand—start with protection and fit. The best match for most people includes extra depth, a roomy toe box, seamless interior comfort, and an insole setup that reduces pressure rather than just cushioning.
Here’s how to think about your next shoe decision in a structured way:
| Feature | Best for many neuropathy fits: Extra-depth lace-up/strap shoe | Best when you need gait load support: Rocker/controlled forefoot shoe | Best when orthotics/braces dominate volume: Orthotic-ready depth shoe |
|---|---|---|---|
| Toe box volume | Roomy and accommodating | Usually roomy; verify front-of-foot space | Designed for insert/bracing volume |
| Heel stability | Often easiest to dial in with laces/straps | May help reduce forefoot impact, but still check heel slip | Can be stable; confirm fit with brace/inserts in place |
| Interior seams/liners | Prefer seamless or low-bulk interior construction | Check ball-of-foot seams for rubbing | Often built with thicker accommodating linings |
| Insole system | Removable; supports diabetic insoles | Supports pressure control; validate fit under rocker | Usually designed for orthotic layering |
| Midsole behavior | Aim for supportive cushioning, not collapse | Rocker reduces load under forefoot when matched to gait | Often supportive to accommodate orthotics |
| Friction control | Better for minimizing toe and heel shear | Check outsole traction and internal rubbing under push-off | Good when braces limit motion that would otherwise cause rubbing |
| Flexibility vs. structure | Moderate flexibility with adequate structure | Targeted forefoot flexibility; overall stability needed | Structure supports orthotic placement |
| Outsole traction | Look for durable grip for daily walking | Traction matters because gait changes can alter stance | Confirm traction with brace and orthotic weight |
| Volume for swelling | Extra depth helps late-day volume | Verify that rocker design doesn’t crowd the forefoot | Usually most predictable for braces |
| Care and longevity | Worn cushioning can collapse—replace when support flattens | Check outsole wear patterns after changes in gait | Orthotic-ready systems maintain fit when insoles are replaced appropriately |
| Best For | General neuropathy protection and everyday stability | People who benefit from reduced forefoot load during walking | People using custom orthotics/temporary braces or with high-volume feet |
Downsides to expect:
– Shoes with extra depth/room may feel bulkier at first, and some styles can take time to “break in” (without rubbing, of course).
– A shoe that fits well may still require insert adjustments—especially if your foot shape changes over the day.
– If you already have significant deformities or a history of ulcers, “off-the-shelf” may not be enough; you may need custom orthotics or clinician-guided footwear. If this is your first time selecting therapeutic footwear, have a podiatrist, orthotist, or certified pedorthist fit your shoes and inserts so the pressure map matches your needs.
Who should skip this approach (and get help instead):
– If you have an open sore, infection concerns, severe swelling, or rapidly changing symptoms—get evaluated before trying new footwear.
– If you can’t assess your foot skin (due to vision/limited sensation), ask a clinician or caregiver to help you check daily.
– If you’re unsure how to measure or choose wide/extra-depth sizing, professional fitting can prevent costly trial-and-error.
Quick checklist (scan or save)
| What to check | Yes sign | Red flag |
|---|---|---|
| Toe box space | Toes aren’t compressed; no rubbing at the sides | Toe pinching, numb toes feel “tight,” new corns from day 1 |
| Heel stability | Heel stays put when walking | Heel slip that increases friction forward |
| Interior comfort | Seamless feel; no scratchy seams | Visible seam edges, pressure marks after a short walk |
| Insert fit | Shoe still fits with your insert | Your toes feel cramped once inserts are in |
| Pressure relief | No new hotspots after several hours | New redness or callus in a specific location |
| Overall support | Feels controlled, not collapsing | Overly soft soles causing uneven pressure |
What type of diabetic shoe is best for neuropathy?
Look for extra-depth diabetic shoes (or therapeutic depth shoes) with a wide, supportive toe box and a seamless interior. The “best” style is the one that accommodates your foot shape and works with your inserts without creating hotspots.
How do I know if my shoes fit safely with neuropathy?
Do a careful fit check before daily wear, then inspect your feet at the end of the day (or have someone help). If you notice redness, new pressure marks, or irritated skin, the fit or insole setup needs adjustment—even if the shoe felt comfortable at first.
Should I wear custom insoles or diabetic insoles?
It depends on your symptoms and foot structure. If you have significant deformities, a history of ulcers, or persistent pressure points, custom inserts often fit better; if your needs are milder, well-made diabetic insoles may be a starting point.
Can I use diabetic shoes with my orthotics or brace?
Many diabetic shoes are designed to fit orthotics, but you must confirm depth and width with the insert/brace in place. If your foot feels cramped with the orthotic inserted, choose a different shoe size or a truly extra-depth option.
How often should I replace diabetic shoes?
Replace them when cushioning/support is worn down or when you notice changes in fit (increased slipping, flattened support, or new friction points). If you’re not sure, can help you decide—but as a general safety habit, reassess fit and support every 6–12 months and sooner if your neuropathy or swelling patterns change.
The best diabetic shoes for neuropathy are the ones that protect your skin and reduce pressure while still fitting your unique foot shape—especially with any inserts you use. Start by prioritizing extra depth, a roomy toe box, seamless comfort, and stability, then validate with daily foot checks for hotspots or irritation. If you want, and take the checklist above on your next shoe try-on.
Frequently Asked Questions
What features should I look for in the best diabetic shoes for neuropathy?
Look for extra-depth insoles, a wide toe box, and cushioned midsoles to reduce pressure on sensitive feet. Choose shoes with seamless or minimally stitched uppers to prevent friction, and consider custom inserts for neuropathy-related foot pain. Breathable linings and rocker-bottom soles can also improve comfort and gait while helping manage swelling.
How do I choose the right diabetic shoes for neuropathy if I have foot deformities?
If you have bunions, hammertoes, Charcot changes, or other deformities, prioritize adjustable or extra-depth diabetic shoes so your orthotics can fit correctly. Measure both feet (length and width) and use the larger measurement to prevent rubbing and blisters. Many people benefit from custom diabetic inserts and shoes that offer flexible uppers to accommodate uneven foot shapes.
Why do diabetic shoes matter for neuropathy and what problems can they help prevent?
Neuropathy reduces protective sensation, so pressure and friction can go unnoticed until skin breaks down. Diabetic shoes for neuropathy are designed to distribute weight more evenly, cushion high-pressure areas, and protect against friction that can lead to calluses, wounds, and ulcers. Proper fit plus supportive insoles can also help improve stability, reducing the risk of trips and falls.
Which diabetic shoe styles are best for neuropathy—sneakers, sandals, or diabetic boots?
For many people, diabetic sneakers or slip-on shoes with extra depth and good cushioning are a versatile choice for daily comfort. Diabetic sandals can work if they have secure straps, a cushioned footbed, and protective coverage, but they must fit well to avoid rubbing. Diabetic boots or high-top styles are often best when you need more support, manage swelling, or have stability concerns.
Best diabetic shoes for neuropathy—how can I ensure the fit is safe and comfortable?
Start with accurate sizing and avoid shoes that feel tight at the forefoot, especially if you use orthotics or diabetic insoles. Verify there’s enough room for your toes to move without pressure, and check that there are no heel slippage or rubbing points along the sides. It’s also smart to inspect your feet daily and break in shoes gradually while monitoring for redness, hotspots, or new pain.
📅 Last Updated: November 09, 2026 | Topic: best diabetic shoes for neuropathy | Content verified for accuracy and freshness.
References
- Diabetic foot
- https://www.niddk.nih.gov/health-information/diabetes/overview/preventing-problems/diabetic-foot-problems
- https://www.cdc.gov/diabetes/library/features/prevent-diabetes-foot-problems.html
- https://medlineplus.gov/diabeticfootproblems.html
- IWGDF Guidelines – International Working Group on the Diabetic Foot
- https://pubmed.ncbi.nlm.nih.gov/?term=diabetic+footwear+neuropathy+guideline
- https://pubmed.ncbi.nlm.nih.gov/?term=therapeutic+shoes+prevent+diabetic+foot+ulcers
- https://scholar.google.com/scholar?q=diabetic+footwear+neuropathy+ulcer+prevention Google Scholar
- https://scholar.google.com/scholar?q=custom+diabetic+shoes+insoles+neuropathy+systematic+review Google Scholar
- https://scholar.google.com/scholar?q=charcot+foot+neuropathy+orthotic+footwear+guideline Google Scholar