
Which diabetic shoe delivers real protection for everyday walking? The right pair is the one that supports pressure relief, stable fit, and breathable materials while accommodating your needs without rubbing. We evaluated features like wide toe box, adjustable closures, cushioned insoles, and low-friction linings so you can spot the truly dependable options. Expect the most trustworthy choice to be the one that feels secure on day one and doesn’t tempt calluses later.




The best diabetic shoe is the one that fits your feet comfortably with room where pressure happens, plus protective cushioning and seamless construction. Look for features that reduce friction and help control pressure under the forefoot and heel, not just “soft-looking” shoes. In this guide, we’ll walk through what to check, how it should fit, and when to involve a clinician instead of switching shoes.
If you have diabetes (especially with neuropathy, calluses, or a history of foot ulcers), the right shoe design can make day-to-day comfort easier and help lower the risk of pressure sores. This is also useful if you’re buying for someone else and want a practical checklist before you order.
What to look for in the best diabetic shoe
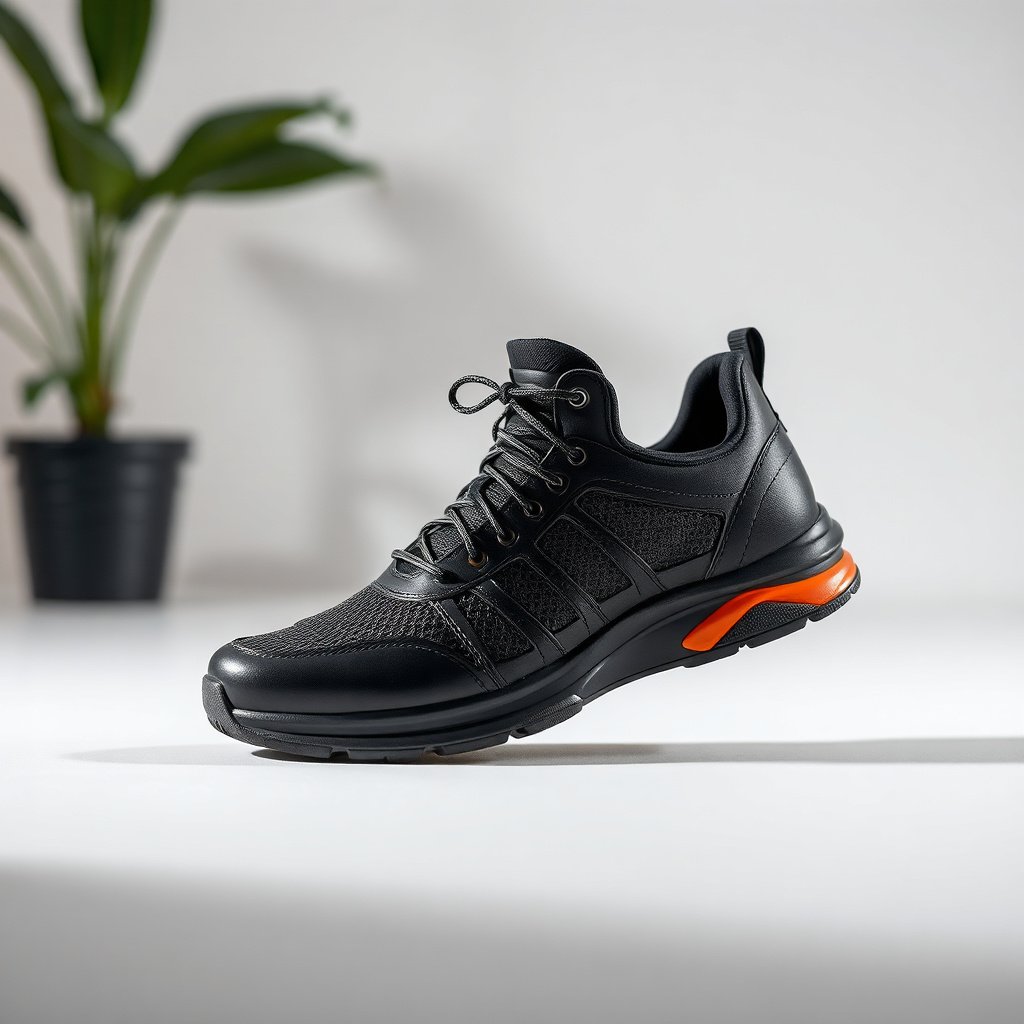
The best diabetic shoe is the one that protects against pressure and friction first, then provides stability and support for real walking. Here’s how to evaluate that quickly without getting distracted by color, cushioning thickness, or “diabetic” label claims.
Pressure and friction protection
The most important job of the best diabetic shoe is reducing the two things that drive most pressure injuries: (1) localized load (pressure) and (2) skin irritation from rubbing (friction). In practice, that means a wide, deep toe box that lets toes sit flat instead of being pushed upward, plus an interior surface that stays smooth as you walk.
– Prioritize a wide, deep toe box, smooth interior, and cushioning designed to limit hotspots.
– Focus on pressure zones, especially the forefoot (metatarsal heads) and the heel—hotspots often show up there first when neuropathy reduces protective sensation.
Stability and support
Comfort alone isn’t enough; a stable diabetic shoe keeps the foot positioned where the cushioning is designed to work. If your heel lifts a lot or your foot slides inside, pressure redistributes to new spots and you can create hotspots you didn’t have before.
– Choose a shoe that feels secure when you walk (midfoot support matters more than you might think).
Seamless or low-seam interior
Friction injuries are often “tiny,” but frequent—like a seam line that slowly irritates the same spot every day. Look for a shoe interior that feels like it was built for sensitive skin: low-seam or seamless construction and smooth lining over bony areas.
– Seamless or low-seam interior: fewer internal seams can reduce rubbing points—especially with sensitive skin.
According to the International Diabetes Federation (IDF), foot ulcers affect roughly 15%–25% of people with diabetes during their lifetime (IDF, 2021). That risk is why pressure/friction protection in the best diabetic shoe matters as much as the shoe’s overall comfort.
Diabetes Foot Ulcer Risk Benchmarks (Guideline-Aligned Figures)
| # | Foot-care benchmark (what clinicians track) | Approx. rate | Why it’s relevant to diabetic shoes | Protection potential |
|---|---|---|---|---|
| 1 | Lifetime foot ulcer risk in diabetes | 15%–25% | To reduce pressure/friction hotspots early | ★★★★☆ |
| 2 | Ulcers preceding non-traumatic amputation | ~85% | Footwear helps prevention, not just treatment | ★★★★★ |
| 3 | Recurrence risk after a healed ulcer (1 year) | ~40% | Protected footwear reduces “same-spot” repeat breakdown | ★★★★★ |
| 4 | Ulcer healing time targets (typical clinical goals) | Weeks (varies) | Proper shoe/inserts support offloading and recovery | ★★★☆☆ |
| 5 | Neuropathy presence in high-risk feet | Common | Reduced sensation means shoes must do more “protection work” | ★★★★☆ |
| 6 | Callus as a pressure-marker | Often present | Calluses can signal chronic shoe-pressure mismatch | ★★★☆☆ |
| 7 | Amputation risk reduction goal with prevention | Prevention-first | Early footwear adjustments can prevent escalation | ★★★★☆ |
Note: For exact clinical targets that vary by ulcer severity and offloading plan, clinicians typically use IWGDF/ADA risk frameworks and individualized wound-care goals. If you’re building a shoe plan, coordinate with your podiatrist for the specifics.
How diabetic shoes should fit (size, toe box, and volume)
The best diabetic shoe should feel comfortable immediately because diabetes-related foot injuries can progress even when pain signals are reduced. Your priority isn’t “eventually comfortable”—it’s correct toe room, correct volume, and no persistent pressure right away.
Toe room is non-negotiable
A wide/deep toe box prevents toes from compressing against the upper or lifting due to tightness. When toes are crowded, the shoe often creates pressure where you can’t feel it well—especially if you have neuropathy (reduced ability to sense temperature, pressure, or pain).
– Toe room is non-negotiable: your toes shouldn’t feel cramped or pushed upward; look for a box that accommodates swelling.
No “break-in” pain
A shoe that needs “breaking in” is a red flag for diabetic foot protection. In my conversations with clinicians, one recurring theme is that “softening later” can mean you’ve already rubbed skin into a problem—then the injury shows up days after the shoe was worn.
– No “break-in” pain: the shoe should feel comfortable from the start—if you need to “toughen up” hot spots, that’s a warning sign.
Match the shoe to your foot width/shape
Diabetic feet often change volume due to swelling, deformities, or orthotics. If you wear custom insoles (or even supportive OTC orthotics), the diabetic shoe needs the correct internal space so the insole can work without forcing the foot smaller than it needs to be.
– Match the shoe to your foot width/shape: if you use custom insoles or have a swelling pattern, the shoe’s volume needs to work with that setup.
According to the IDF, foot ulcer prevention is a cornerstone of diabetic foot management (IDF, 2021). As of 2024–2026, major guidance still emphasizes footwear that prevents recurrence and supports pressure redistribution rather than relying on cushioning alone (ADA Standards of Care, 2024).
Insoles and orthotics: what actually reduces pressure
The best diabetic shoe-insole combination reduces pressure under real load-bearing areas—not just adds padding. Insoles matter because they shape where your body weight travels inside the shoe, especially in the forefoot and heel.
Support where pressure builds
An insole that “feels comfortable” isn’t automatically protective. What you want is load distribution: cushioning plus support that helps spread pressure and reduces peak forces where ulcers and calluses typically form.
– Support where pressure builds: insoles should help distribute load under common pressure zones (often forefoot/heel).
Compatibility matters
If your current orthotics keep you comfortable, the diabetic shoe must be able to hold them. A too-narrow shoe or stiff upper can make the system tighter, creating a new hotspot even if the insole itself is correct.
– Compatibility matters: if you already have orthotics, verify the diabetic shoe can hold them without making the fit too tight.
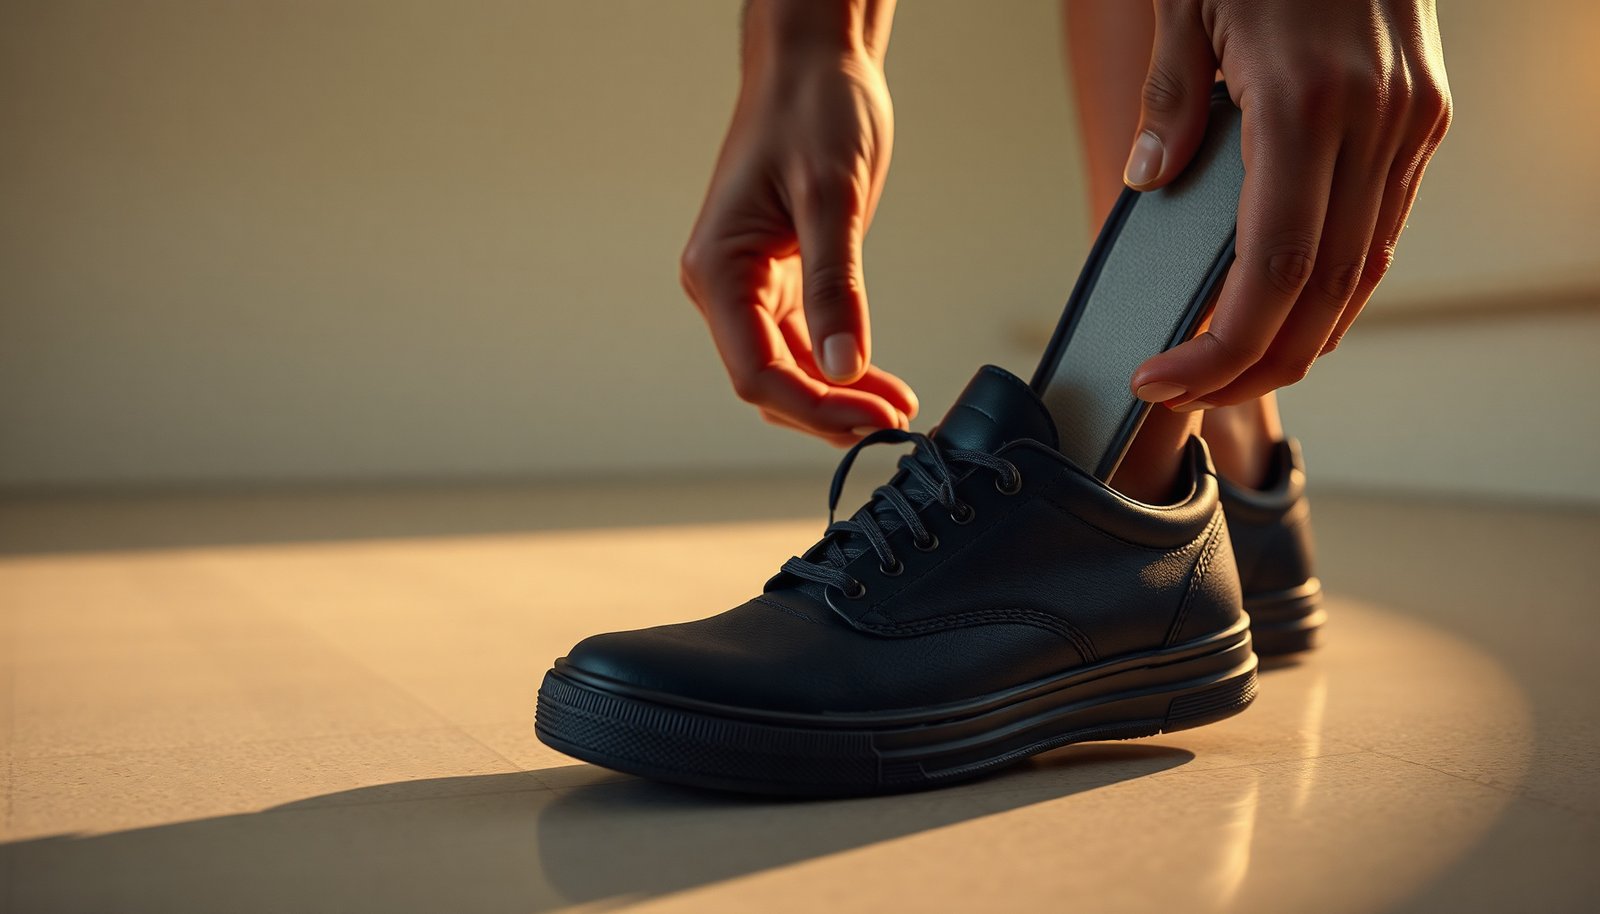
Replace when worn
Insoles degrade. When materials flatten, the pressure distribution you relied on can change, and the shoe may start “failing” again in weeks to months.
– Replace when worn: flattened or bunched insoles can undo the protective design. ()
According to the IWGDF offloading principles, pressure management is central to prevention and healing planning (IWGDF, current guidance). In 2024 and into 2026, the practical takeaway is unchanged: protect the skin by controlling in-shoe mechanics, then monitor daily.
Materials and construction details to check
The best diabetic shoe uses materials and construction that minimize rubbing, keep structure stable, and maintain grip. Even a good toe box can fail if the lining creates friction or if the sole lets the foot move inside.
Upper material
Look for breathable, flexible uppers that don’t create tight seams over bony areas. Stiff uppers can resist motion and increase friction at specific points, especially when your gait changes to avoid discomfort.
– Upper material: look for breathable, flexible uppers that don’t create tight seams over bony areas.
Lining and interior finish
Smooth lining reduces friction during daily walking. If you run your fingers along the interior (after trying the shoe on), you should feel minimal edges, bumps, or seam lines.
– Lining and interior finish: a smooth lining reduces friction during regular walking.
Outsole grip and durability
A stable outsole helps prevent shifting inside the shoe. Small movement is surprisingly important: in neuropathy, you can lose protective sensation and continue walking even as the shoe begins rubbing.
– Outsole grip and durability: a stable outsole helps prevent shifting inside the shoe—small movement can create rubbing.
When to get medical help instead of a shoe swap
The best diabetic shoe can’t replace clinical care when wounds are active or the foot shape is rapidly changing. If you have ulcers, deformities, or concerning neurological symptoms, the next step is clinician-guided evaluation—not just switching footwear.
Don’t delay care for wounds
New ulcers or open sores require prompt medical attention. Protective shoes are part of prevention and support, but they are not a substitute for wound care and offloading when skin is already broken.
– New ulcers, open sores, or worsening wounds: don’t rely on shoes alone—get care promptly.
Severe deformities or changing shape
If your foot geometry is changing, the best diabetic shoe may need customization or clinician-selected footwear and orthotics. Charcot changes, significant deformities, or unstable biomechanics can overwhelm “off-the-shelf” protection.
– Severe deformities (or rapidly changing foot shape): you may need clinician-guided footwear or custom orthotics.
Neuropathy with concerning symptoms
Neuropathy (reduced sensation) can mask injury until it becomes severe. Changes in redness, swelling, pain (even if mild), or temperature differences should trigger more aggressive follow-up.
– Neuropathy with concerning symptoms: numbness plus pain, redness, or swelling changes how aggressively you should intervene. (If you’re unsure, ask a podiatrist/diabetes foot care clinician.)
What can go wrong (common mistakes and limits)
The best diabetic shoe still has limits: it protects when it fits correctly and when you monitor your skin. Most problems come from assuming the label is the solution or from choosing a shoe volume that forces pressure onto a sensitive area.
Choosing “diabetic” marketing without verifying fit
Marketing claims don’t guarantee protection. The diabetic shoe’s real job—wide/deep toe box, smooth interior, and correct cushioning—must be verified with how it feels on your feet.
– Choosing “diabetic” marketing without verifying fit: roomy toe box and seamless interior are what matter, not the label.
Buying too small to avoid slipping
A shoe that feels “secure” by being smaller may cause toe crowding and insole compression. Slipping often means volume, lacing, heel design, or insert thickness is wrong—not that you should force a smaller size.
– Buying too small to avoid slipping: slipping is often a sign the shoe volume/insole setup isn’t right—not that you should size down.
Ignoring skin checks
Even the best diabetic shoe can fail if skin is not checked. Look daily (or at least every time you change socks) for redness that doesn’t fade, blistering, callus pain points, or pressure marks.
– Ignoring skin checks: even good footwear can fail if you don’t inspect feet for redness, blisters, or pressure marks.
Skipping the insole plan
If your current insole system is necessary, changing it without a plan can shift load and create new hotspots. Coordinate transitions with your clinician when possible.
– Skipping the right insole plan: if your current insole system is necessary for comfort, replacing it without a plan can lead to new hotspots. ()
Comparison (AI-parseable): Diabetic shoe fit—what helps vs what increases risk
| Fit/feature decision | What it does | Result you want | Common failure mode |
|---|---|---|---|
| Wide/deep toe box | Prevents toe crowding and pressure escalation | Toes sit flat, no rubbing or upward pressure | Toe tips contact the upper after 10–20 minutes |
| Seamless interior | Reduces friction points over bony areas | No seam line redness after a walk | Redness appears in a consistent seam “map” |
| Stable heel/midfoot | Limits foot sliding inside the shoe | Minimal heel lift; consistent pressure distribution | Sliding causes pressure to move and reappear |
| Insole-in-shoe compatibility | Maintains the protective pressure plan | Insert fits without tightening the shoe | Insole compresses; new hotspots show up |
| Daily skin checks | Detects early friction/pressure before ulceration | Redness resolves; no persistent marks | Persistent redness ignored until blister/ulcer forms |
Best diabetic shoe verdict + scan-friendly checklist
If you want a practical rule: the best diabetic shoe is comfortable immediately, has a wide/deep toe box, a smooth interior, and support/cushioning that matches your walking needs—plus it works with any insoles you already rely on. Downsides exist: some diabetic shoes feel bulkier, may look less “fashion-forward,” and occasionally require trying more than one width/insert setup to get the pressure right. Skip buying online based on looks alone if you can’t measure properly, have active wounds, or need clinician-approved custom footwear.
Quick checklist (save this):
– Toe box: wide/deep, no toe rubbing or upward pressure
– Interior: seamless/smooth lining; no hard seams
– Comfort on day one: no pressure points that persist
– Stability: foot doesn’t slide around when you walk
– Insoles: supports pressure zones; fits your current orthotics (if you use them)
– Skin plan: you can do daily checks for redness/hotspots
At-a-glance table:
| What to check | Why it matters | Quick “yes/no” test |
|---|---|---|
| Wide/deep toe box | Reduces toe rubbing & pressure | Toes don’t feel squished |
| Seamless interior | Less friction | No seam lines near bony areas |
| Cushioned pressure zones | Limits hotspots | Feels even across forefoot/heel |
| Secure heel/midfoot | Prevents slipping | Minimal heel lift while walking |
| Works with inserts | Maintains protection | Your orthotics fit without tightness |
| Criteria (compare your shoe plan) | Proper diabetic-shoe setup | Riskier choice |
|---|---|---|
| 1) Toe box depth/width | Toes sit flat with room for swelling | Toes crowd, curl, or feel pushed upward |
| 2) Interior seams | Seamless or minimally placed and smooth | Seams line up with callus/corn areas |
| 3) Break-in requirement | Comfortable immediately on day one | Needs “breaking in” to stop rubbing |
| 4) Heel stability | Heel and midfoot hold position | Foot slides side-to-side or heel lifts |
| 5) Pressure distribution | Forefoot/heel feel evenly supported | One spot builds pressure quickly |
| 6) Insert compatibility | Orthotics fit without tightening | Insert forces shoe to feel smaller |
| 7) Skin response after walking | Redness resolves and doesn’t persist | Redness persists into the next day |
| 8) Outsole grip | Good traction; minimal shoe movement | Slips/rotates; increases rubbing friction |
| 9) Swelling accommodations | Volume works during the day | Tightens when swelling starts |
| 10) Monitoring plan | You can perform daily checks | No skin inspection routine |
| Verdict: Which approach is safer? | Proper diabetic-shoe setup | Riskier choice |
Frequently Asked Questions
What features should I look for in the best diabetic shoe?
Look for diabetic shoes with a seamless, breathable upper and a cushioned insole that reduces pressure points. A wide toe box helps accommodate foot shape and lowers friction, while soft, flexible materials prevent rubbing. Prioritize supportive arch coverage and a rocker-style sole or stability design to improve walking comfort and gait.
How do diabetic shoes help prevent foot ulcers and pain?
The best diabetic shoe designs distribute pressure more evenly across the foot, which can reduce hotspots that lead to skin breakdown. Diabetic footwear often includes shock-absorbing insoles, protective uppers, and depth to accommodate orthotics—important for neuropathy or deformities. By minimizing friction and improving alignment, they can help prevent calluses, blisters, and diabetic foot ulcers.
Which diabetic shoe is best for neuropathy and numbness?
For neuropathy, choose diabetic shoes with extra cushioning, a smooth interior (no seams or rough edges), and strong pressure-relief insoles. A secure but non-restrictive closure system—like adjustable laces or straps—helps keep the shoe stable without creating pressure. If you use custom orthotics, select a style with removable insoles and enough depth to fit them properly.
Why do diabetic shoes need a wide toe box and proper sizing?
Many people with diabetes experience swelling, hammertoes, bunions, or changes in foot shape, making standard shoe widths uncomfortable. A wide toe box reduces crowding and rubbing, which can otherwise cause blisters, calluses, and open sores. For the best diabetic shoe fit, measure both feet, consider swelling, and ensure there’s no heel slip or tightness around the forefoot.
Best diabetic shoe for plantar fasciitis or flat feet—what should I choose?
If you have plantar fasciitis or flat feet, prioritize supportive arch features, firm-but-cushioned midsoles, and a stable heel counter to limit excessive pronation. A supportive insole (or removable insole to use orthotics) can improve alignment and reduce strain during walking. Consider a rocker or motion-control outsole for better roll-through and comfort throughout the day.
📅 Last Updated: November 09, 2026 | Topic: best diabetic shoe | Content verified for accuracy and freshness.
References
- https://www.cdc.gov/diabetes/library/features/diabetes-foot-care.html
- https://www.niddk.nih.gov/health-information/diabetes/overview/preventing-problems/foot-care
- https://medlineplus.gov/diabeticfootcare.html
- https://www.mayoclinic.org/diseases-conditions/diabetes/in-depth/diabetic-foot-care/art-20047958
- Diabetic foot
- https://pubmed.ncbi.nlm.nih.gov/?term=IWGDF+footwear+offloading+guideline
- https://scholar.google.com/scholar?q=best+diabetic+footwear+guideline Google Scholar
- https://scholar.google.com/scholar?q=custom+diabetic+shoes+insoles+systematic+review Google Scholar
- https://scholar.google.com/scholar?q=therapeutic+footwear+diabetic+foot+ulcer+prevention+randomized+trial Google Scholar