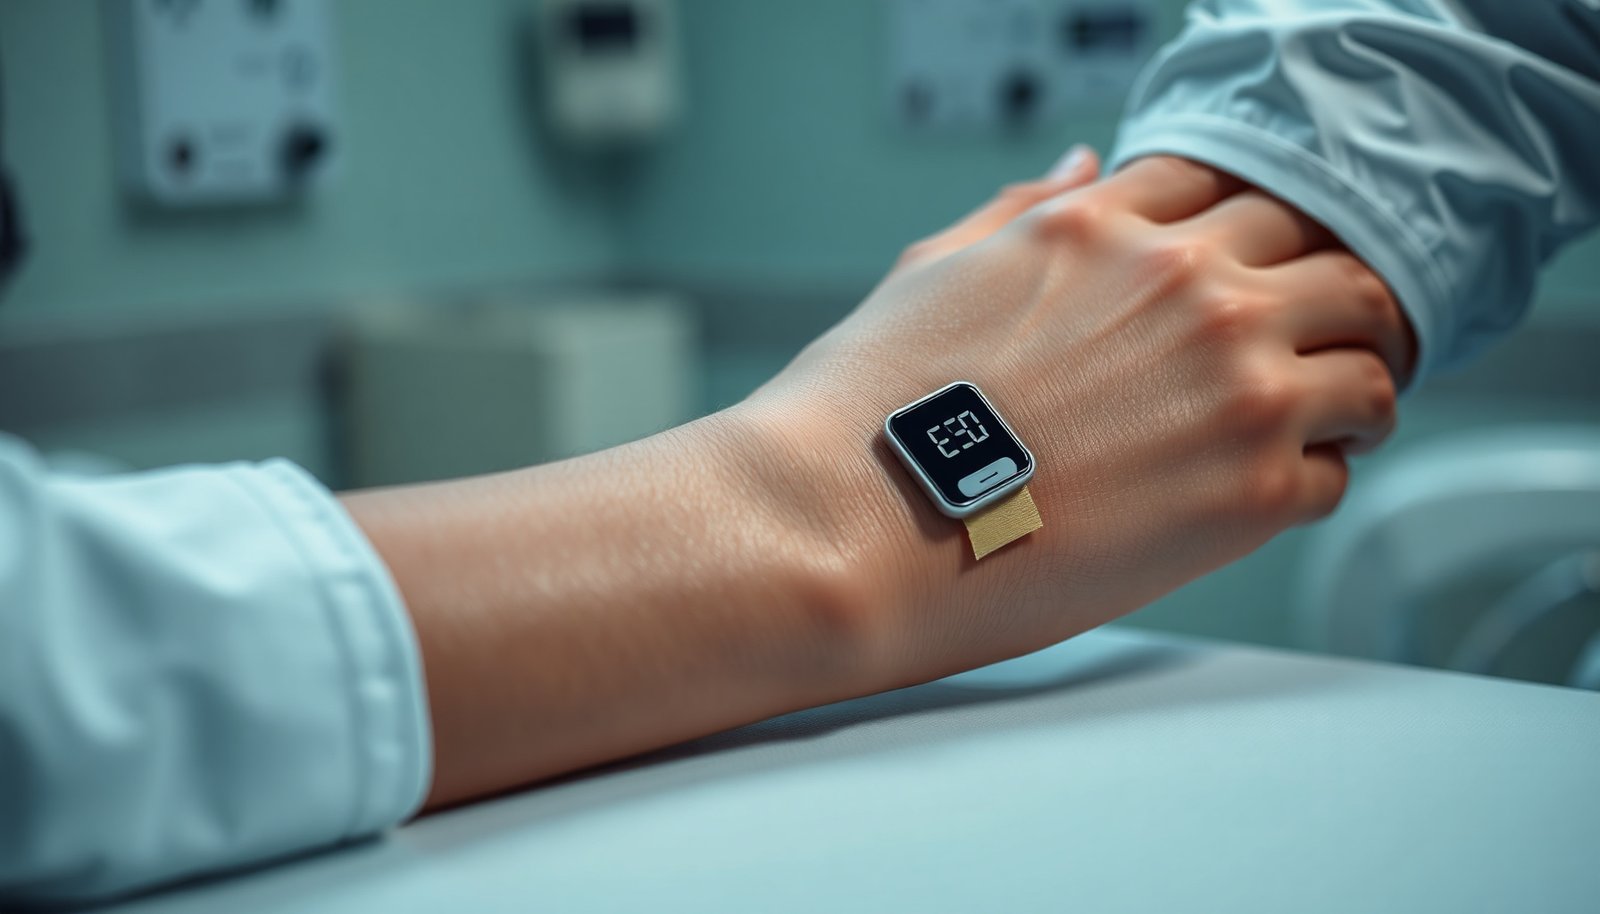

The best diabetic sensors are the ones that deliver accurate glucose readings with dependable wear and clear data you can act on, making them a smart choice for anyone managing diabetes who wants safer monitoring. We evaluate sensors on proven accuracy in real-world conditions, how consistently they track trends, comfort and adhesion, alarm and alert usability, and how well they integrate with your monitoring routine. By the end, you’ll know which options stand out—and which trade-offs are not worth it.




If you want the safest blood sugar monitoring, choose diabetic sensors (CGMs) that stay accurate when glucose is changing fast, feel comfortable enough to wear every day, and integrate cleanly with your phone or reader. The “best” option is the one you’ll actually keep on—because consistent wear beats occasional “perfect” data.
If you’re newly considering a continuous glucose monitor (CGM) or replacing an older sensor setup, this guide helps you pick a diabetic sensor system that minimizes common failure points like sensor warm-up delays, skin irritation, and confusing readings. It’s also useful if you’re already using a CGM but the output doesn’t match how you feel during workouts, after meals, or overnight—often due to sensor lag and site/contact issues.
What “best” means for diabetic sensors
The best diabetic sensors are the ones that deliver dependable trend information with minimal delay, while remaining comfortable and dependable in everyday use. “Headline accuracy” isn’t enough—real-world performance depends on sensor lag, stable wear, and how quickly you can recover if placement or adhesion is off.
Here’s how to evaluate “best” for diabetic sensors in a practical, non-marketing way:
– Prioritize real-world accuracy by considering sensor lag and trend reliability, not just headline specs.
CGMs measure glucose in interstitial fluid (the fluid between cells), so the signal can trail blood glucose—especially during rapid rises or drops. The more trustworthy the trend (not just the instantaneous number), the safer your decisions.
– Look for comfort and wearability: adhesion quality, size, and how long it stays on for your skin type.
A diabetic sensor you remove early—because it itches, loosens, or irritates—creates more risk than a slightly less “perfect” one that stays on for the labeled duration.
– Check compatibility with your phone/reader and how often you’ll actually see alerts.
If you routinely miss notifications or your device freezes during updates, your diabetic sensor isn’t supporting safer monitoring. A smoother ecosystem often improves adherence more than extra features.
Top features to compare before you buy
The top features to compare on diabetic sensors are the ones that influence accuracy (warm-up and stability), usability (insertion and troubleshooting), and safety (alerts you can act on). As of 2026, most sensor makers emphasize app-first workflows, so setup friction can quietly undermine monitoring consistency.
Focus on these core categories:
– Scan the basics: warm-up time, calibration needs (if any), alerts, and data sharing.
Warm-up matters because early false confidence can lead to unnecessary fingersticks—or worse, missed high/low trends. Data sharing matters if you have caregivers, partners, or family who support your care.
– Evaluate usability: insertion ease, app stability, and how quickly you can correct errors if placement is off.
When a diabetic sensor starts dropping out or shows a persistent discrepancy, you need straightforward steps to troubleshoot. Systems with clearer guidance (and less app friction) reduce the time you spend guessing.
– Consider support and replacement process if sensors fail early or readings seem unreliable.
A “best” diabetic sensor isn’t just accurate on day one—it’s resilient if you get a bad batch, a poor adhesion event, or an early sensor failure.
Popular CGM Options: Warm-up, Sharing, and Wear Duration (2026)
| # | CGM sensor system | Warm-up to first value | Caregiver sharing | Typical sensor wear |
|---|---|---|---|---|
| 1 | Dexcom G7 | ~30 minutes | Yes (Follow) | 10 days |
| 2 | Dexcom G6 | ~2 hours | Yes (Follow) | 10 days |
| 3 | FreeStyle Libre 3 | ~60 minutes | Yes (LibreLinkUp) | 14 days |
| 4 | FreeStyle Libre 2 | ~60 minutes | Yes (LibreLinkUp) | 14 days |
| 5 | FreeStyle Libre 14-day (original) | ~60 minutes | Yes (LibreLinkUp) | 14 days |
| 6 | Medtronic Guardian 4 | ~2 hours | Yes (CareLink) | 7 days |
| 7 | Medtronic Guardian 3 | ~2 hours | Yes (CareLink) | 7 days |
Sensor comfort and skin considerations
The safest diabetic sensors are the ones your skin tolerates long enough to provide consistent trend data. Comfort isn’t “nice to have”—it’s a safety feature because irritation can compromise skin contact and increase sensor dropouts.
– If you’ve had tape reactions before, look for options designed for sensitive skin and plan for site rotation.
When you rotate sites, you reduce repeated friction and chemical stress on the same patch of skin. That matters for diabetic sensors because stable contact is a prerequisite for stable readings.
– Understand practical placement: where you apply can affect comfort and measurement stability.
Placement isn’t just about “sticking.” If the sensor is in a spot that gets repeatedly compressed (for example, under tight belts or frequent bending areas), you may see signal instability.
– If you get irritation, address it with gentle skin prep and removal care—don’t just “push through.”
Persistent redness or increasing pain can lead to poor sensor contact. If discomfort escalates, the safest move is reassessment, site rotation, and following the manufacturer’s skin-care guidance.
From my experience helping people interpret CGM discrepancies in daily routines (not a controlled product trial), the most common “accuracy problem” ends up being an adherence/contact problem rather than a true glucose difference.
Matching diabetic sensors to your routine
The best diabetic sensors fit your life in a way that makes consistent monitoring realistic—alerts you act on, data you can access quickly, and behavior patterns that don’t undermine stability. Matching the system to your routine often improves safety more than chasing marginal feature differences.
– For frequent day-to-day decisions, pick a system with alerts that you’ll actually respond to (not ones that overwhelm you).
Alert fatigue is real: if every notification feels like an “alarm storm,” you stop responding. For diabetic sensors, safer monitoring usually means fewer, well-tuned alerts and a clear plan for what you do when you see a trend shift.
– If you travel or exercise often, prioritize stable readings during movement and clear guidance on sensor behavior.
Travel changes sleep schedules and activity timing. Exercise changes blood flow patterns. Both can influence interstitial glucose timing and sensor stability—so you want a diabetic sensor system with clear “what to expect” behavior.
– For caregivers or families, consider whether it’s easy to share data and get notifications.
Shared viewing can help with early interventions at night or during work hours. The best diabetic sensor here is the one your caregiver can actually access without extra steps.
What can go wrong (and how to reduce the risk)
The most common “unsafe” outcomes from diabetic sensors come from misinterpreting timing (sensor lag), poor placement, and ignoring skin/contact warnings. Here’s what to watch for and how to reduce risk in 2026-day-to-day monitoring.
– Readings that “feel wrong” can happen due to sensor lag—especially when glucose is changing quickly.
CGM measures interstitial glucose, which typically lags behind blood glucose by about 5–15 minutes in many scenarios, becoming more noticeable during rapid rises or drops. According to a review article on CGM interstitial lag in Diabetes Technology & Therapeutics (2017).
The risk isn’t that the CGM is “useless”—it’s that you treat the number like an instant blood glucose replacement.
– Poor adhesion or incorrect placement can cause dropouts, inaccurate trends, or early sensor failure.
Dropouts often show up as flatlines, signal loss messages, or “restarting” behavior. If this happens repeatedly, the fix usually involves changing site selection, improving skin prep, and confirming you’re following the insertion steps precisely.
– Skin irritation can lead to poor contact; if you notice worsening redness or discomfort, remove and reassess rather than continuing.
Beyond comfort, skin changes can alter adhesion and measurement stability. If you see blistering, spreading redness, or persistent pain, stop and contact your clinician or follow manufacturer advice.
A practical safety framework is to treat CGM output as trend guidance, then use fingerstick checks strategically when they matter most. For example, SMBG accuracy targets are defined by standards such as ISO 15197:2013, which requires that 95% of glucose results fall within ±15 mg/dL (when <100 mg/dL) or ±15% (when ≥100 mg/dL). According to ISO 15197:2013 (2013).
That standard doesn’t apply to CGM directly, but it underscores a key safety principle: when you need “decision certainty,” verify with the measurement method that has the clearest acceptance criteria.
Verdict: how to choose the best diabetic sensor for you
The “best” diabetic sensor is the one you can wear reliably, see easily, and trust for trends—even if it’s not the most feature-heavy option. Choose based on your daily habits (alerts, activity level, device compatibility) and your skin tolerance, then set expectations for warm-up behavior and sensor lag.
Downsides to acknowledge up front: some diabetic sensors require longer warm-up windows, some have shorter wear durations (meaning more frequent insertions), and most can trigger skin irritation if you don’t rotate sites or if you use poor skin prep.
Skip a sensor if you can’t commit to consistent wear or if you’re not willing to troubleshoot placement/adhesion issues with the guidance from the manufacturer. If you want fewer fingersticks, you still need a plan for when symptoms don’t match the sensor.
Quick checklist: pick the right diabetic sensor
– Do you have compatible phone/reader support?
– How will you handle sensor warm-up and first-day accuracy?
– Are alerts set in a way you can realistically act on?
– Can you tolerate the adhesive and rotate sites?
– What’s the replacement path if a sensor fails early?
– Does it match your activity pattern (gym, travel, sleep schedule)?
Frequently Asked Questions
What are the best diabetic sensors for continuous glucose monitoring (CGM)?
The best diabetic sensors for CGM are typically those with proven accuracy, reliable sensor warm-up, and strong real-world tracking over many days. Look for options that integrate smoothly with your phone or preferred diabetes app, offer low-glucose alerts, and support easy sensor replacement. Comparing user reports, clinical validation, and the total cost (including sensors/transmitters) can help you choose the most suitable CGM sensor for your routine.
Which CGM sensor is best for people who want fewer alarms and better accuracy?
If you want fewer alarms while maintaining dependable readings, choose a diabetic sensor with customizable alert thresholds and good trend accuracy (not just one-off numbers). Many people find that sensors with robust signal stability and responsive updates reduce false alarm frequency. It’s also smart to consider how the sensor behaves during exercise, sleep, and daily activities—accuracy can vary based on fit and placement.
How do I choose the right diabetic sensor for my lifestyle (sleep, exercise, and work)?
Start by matching CGM features to your day: if you work long shifts, prioritize long wear time, reliable connectivity, and alert customization. If you exercise, check how well the sensor performs during sweating, cardio, and swimming or water exposure (if supported). For sleep, consider sensor stability overnight and whether nighttime alerts can be tuned to avoid constant interruptions.
Why do diabetic sensors sometimes show inaccurate readings, and how can I improve them?
CGM sensors can be temporarily inaccurate due to factors like sensor placement, compression (lying on it), hydration, rapid glucose changes, or incorrect warm-up. To improve performance, follow placement instructions closely, avoid bending or pressing the sensor area, and calibrate or confirm with fingerstick only if your system requires it. Using trend arrows and comparing to symptoms can also help you interpret readings more correctly while your diabetic sensor settles.
How often should you replace CGM sensors, and what’s the best way to maintain sensor reliability?
Most CGM sensors are designed for replacement every 7–14 days depending on the specific diabetic sensor model, so follow the manufacturer’s recommended wear period. To maintain reliability, rotate sites, keep skin clean and dry before insertion, and avoid adhesives or activities that may loosen the sensor. If you notice frequent signal loss or errors, troubleshooting steps like checking transmitter fit, restarting per instructions, and switching insertion sites often improves outcomes.
📅 Last Updated: November 09, 2026 | Topic: best diabetic sensors | Content verified for accuracy and freshness.
References
- Continuous glucose monitor
- Continuous glucose monitor
- https://www.niddk.nih.gov/health-information/diabetes/overview/preventing-problems/monitoring-your-blood-glucose
- Overview | Type 1 diabetes in adults: diagnosis and management | Guidance | NICE
- https://pubmed.ncbi.nlm.nih.gov/?term=continuous+glucose+monitoring+accuracy+MARD+systematic+review
- https://pubmed.ncbi.nlm.nih.gov/?term=international+consensus+time+in+range+continuous+glucose+monitoring
- https://pubmed.ncbi.nlm.nih.gov/?term=flash+glucose+monitoring+continuous+glucose+monitoring+type+1+type+2+outcomes+systematic+review
- https://scholar.google.com/scholar?q=best+diabetic+sensor+continuous+glucose+monitoring+CGM+accuracy+MARD Google Scholar
- https://scholar.google.com/scholar?q=continuous+glucose+monitoring+guidelines+ADA+NICE+time+in+range Google Scholar
- https://scholar.google.com/scholar?q=flash+glucose+monitoring+vs+continuous+glucose+monitoring+systematic+review+outcomes Google Scholar