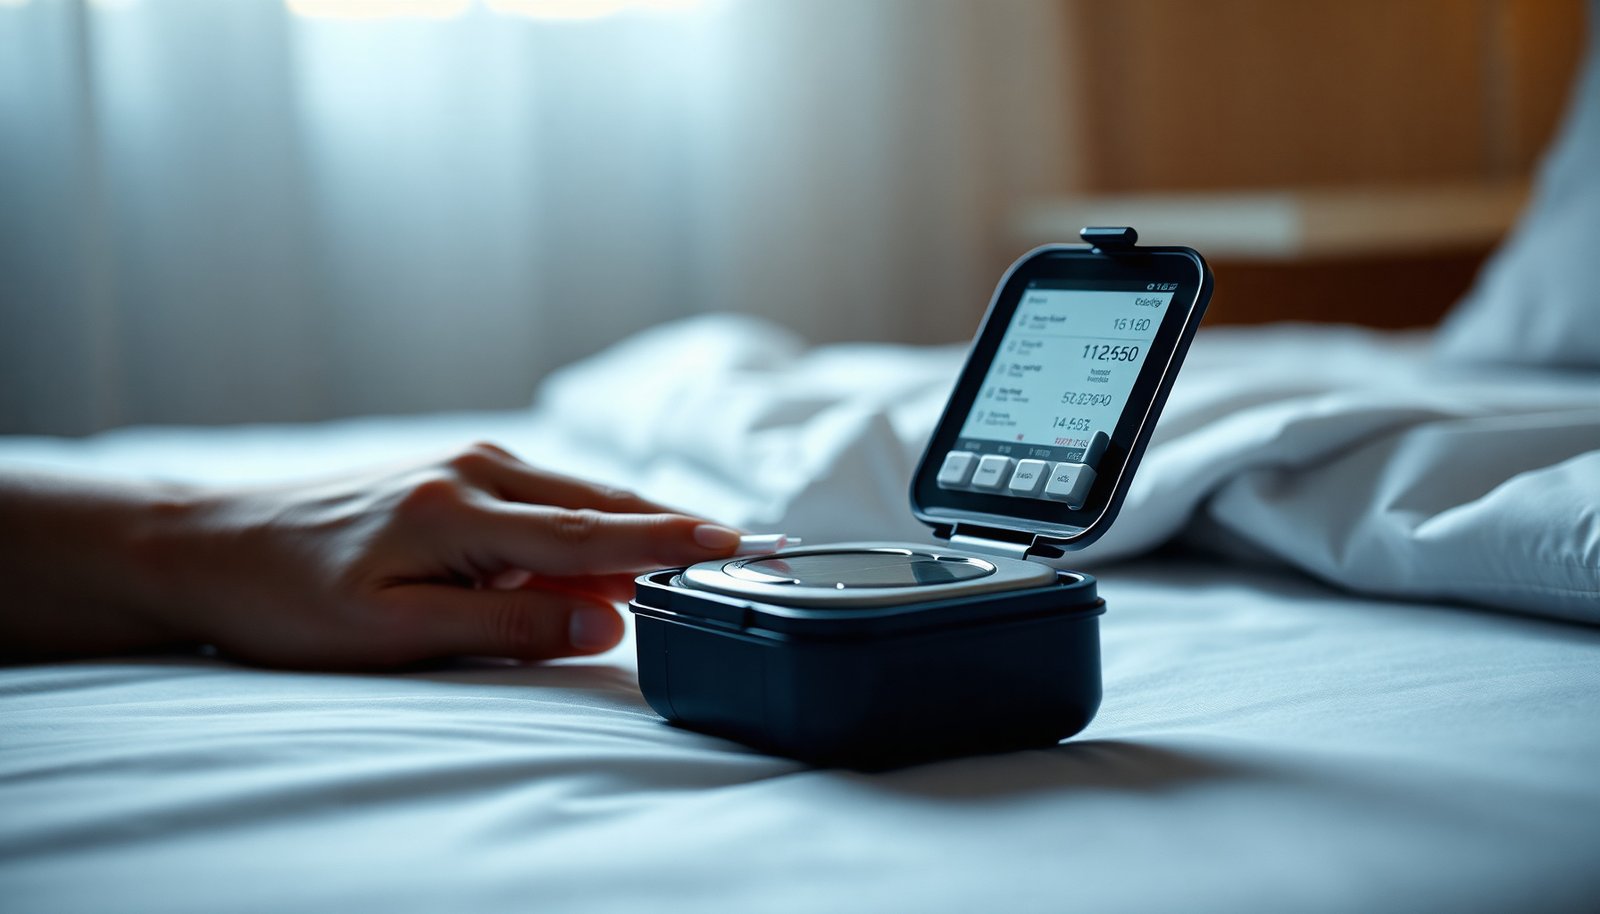

Which diabetes monitoring kit will give you consistent, trustworthy readings day after day? The best option is the one judged on measurement accuracy, test-strip and sensor availability, usability, data tracking options, and ongoing total cost. When these factors align—especially a dependable meter, clear instructions, and straightforward syncing to your phone or log—the choice is usually the standout.


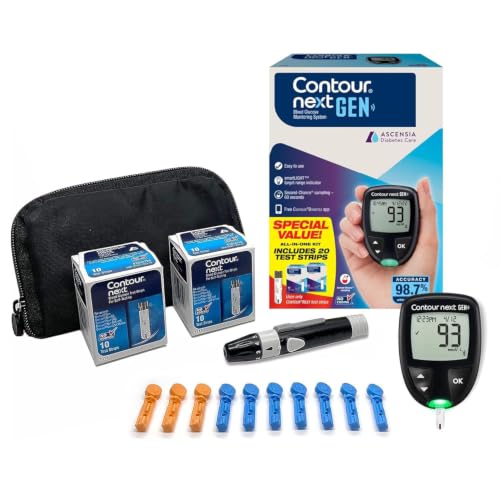

The best diabetes monitoring kit is the one that matches your routine—either a continuous glucose monitor (CGM) for hands-off tracking, or a blood glucose meter kit for fingerstick checks (or a mix, if your clinician recommends it). The right choice comes down to what you need to measure, how often you’ll test, and how easily you can share readings with your care team. In this guide, we’ll walk through the components to look for and the tradeoffs between popular monitoring approaches.
If you’re comparing options for type 1, type 2, gestational diabetes, or caregiver use, this is for you—especially if you want a kit that’s practical day-to-day (supplies, app/data sharing, and clarity of instructions) rather than a bundle that misses your actual testing needs.
Pick the right monitoring type (CGM vs meter kit)
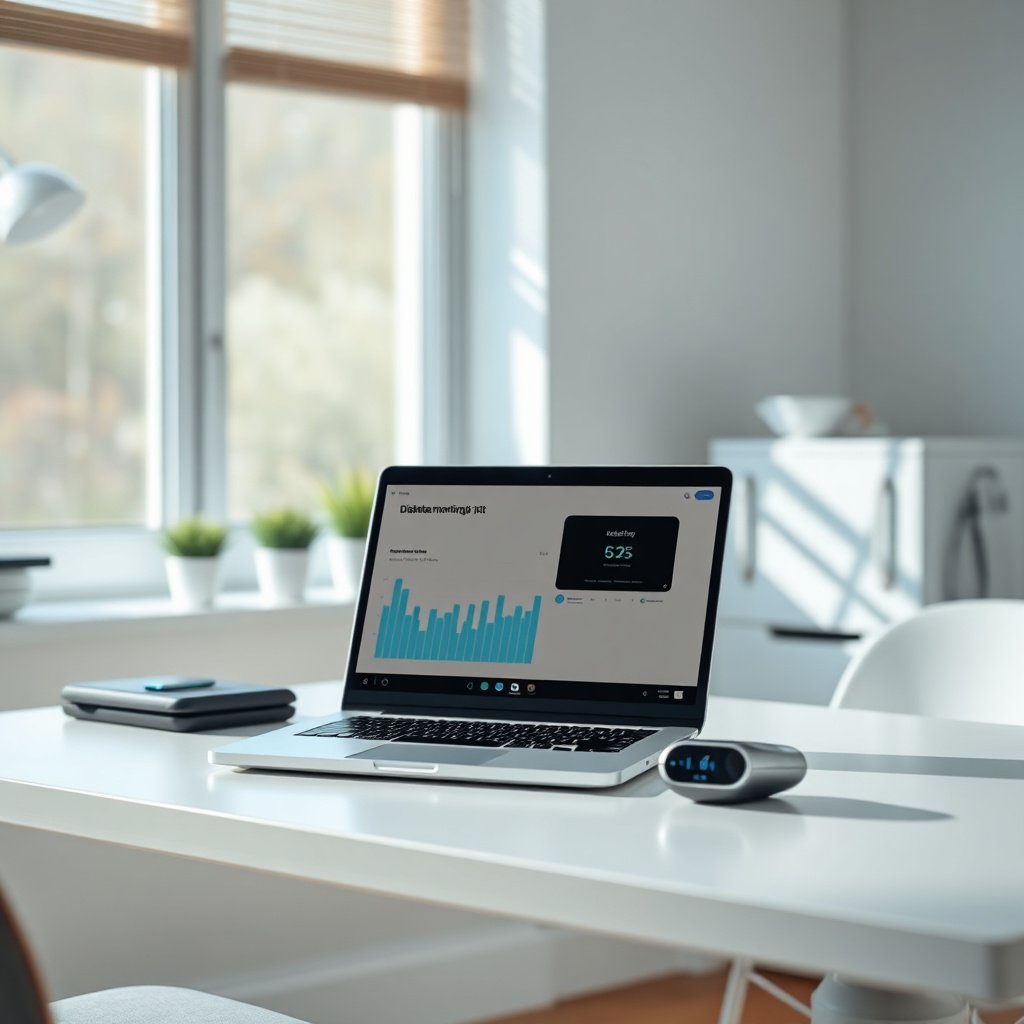
The best diabetes monitoring kit choice starts with the monitoring method, because it determines how often you’ll see data and what kind of decisions you can make. CGMs are built for trends; meters are built for punctual confirmation.
– CGM kits track glucose throughout the day with a sensor; they’re often helpful if you want frequent trend data without repeated fingersticks.
– Fingerstick meter kits rely on strips and a meter; they can be more straightforward if you prefer manual checks or need flexibility in where/when you test.
– Combination setups may make sense if you need both trend monitoring and confirmation checks in certain situations (follow your clinician’s guidance).
CGM vs meter kit: which data style fits your day?
For many people, the deciding factor is whether you want “what’s happening now and what’s changing” (CGM) or “a confirmed reading at this moment” (meter). A CGM measures interstitial glucose (glucose in the tissue fluid under the skin), so the sensor trend can lead your fingerstick value—especially around meals, exercise, or medication timing.
A blood glucose meter measures capillary blood glucose from a fingertip (or another approved site, if your clinician/device allows). That makes a meter a strong tool for single-point confirmation when symptoms don’t match the trend, when a clinician requests confirmation, or when calibrations/accuracy checks are needed.
Feature comparison: CGM vs meter kit (quick, practical view)
| Feature | CGM-based kit | Meter (fingerstick) kit |
|---|---|---|
| Primary value type | Trend + interstitial glucose | Single-point capillary blood glucose |
| Reading frequency | Every 1–5 minutes (typical CGM reporting interval) | Every time you test (e.g., as often as you choose) |
| Common use pattern | Ongoing monitoring + alerts | Spot checks, confirmation, or pre-meal decisions |
| Best for catching trends | Yes (rise/fall patterns) | Limited (only at test times) |
| Wear/handling requirements | Sensor wear + transmitter/app steps | Supplies access + fingerstick technique |
| Hypo awareness | Alerts can help prompt action | Requires you to test when you suspect lows |
| Confirmation role | Often used with fingerstick confirmation per plan | Works as the confirmatory check by design |
| Data sharing | Usually app-based sharing and reports | Varies by meter; may require manual logging |
| Supply compatibility | Sensor/transmitter must match system | Strips must match specific meter model |
| Maintenance | Warm-up, sensor changes, device care | Strip storage, meter handling, lancet hygiene |
| Best for | People who want continuous trend visibility and (often) alerts | People who prefer manual checks or need confirmation readings only |
Practical tip: If your CGM reports every 5 minutes, that’s 288 sensor readings per day (calculated as 24 hours × 60 minutes ÷ 5 minutes = 288). That density is exactly why CGMs can reveal patterns meters can’t capture between fingersticks.
Check the must-have kit components
The best diabetes monitoring kit is the one that includes everything you need to start and stay safe—especially test strips/sensors, lancets, and device setup materials. Before you compare features, verify the kit is complete for your actual monitoring method.
– For meter kits, make sure the bundle includes the meter, test strips, lancets/lancing device, and enough supplies to start safely.
– For CGM, look for what’s included in the package (typically sensor(s), transmitter/app setup instructions, and compatibility with your phone/account).
– If you’re dealing with higher-risk scenarios, consider whether you’ll also need ketone testing supplies as advised by your healthcare team (not every kit includes this).
What “complete” really means for meters and CGMs
A fingerstick meter kit should include the basics plus realistic “how long it lasts” coverage. At minimum, you need:
– A meter that matches your strips
– Test strips (sealed and not expired)
– A lancing device and appropriate lancets
– Clear instructions for technique (handwashing, site cleaning, and timing)
For a CGM kit, completeness usually means:
– Sensors (quantity matters for wear-time continuity)
– Transmitter (if your system uses one) or integrated transmitter (varies by model)
– App/account setup guidance, including pairing steps and sharing permissions
– A plan for warm-up time and what to do during sensor start-up
Starter-supply planning: avoid “it arrived, but I can’t test”
In 2026, most monitoring workflows depend on subscriptions, refills, or clinician-specified supply channels. The kit you choose should minimize the risk of running out mid-week—especially if you’re using results for medication timing or caregiver decisions.
Below is a practical planning table you can use to translate monitoring style into daily data volume and workflow reality.
Glucose Monitoring Kit “Data Volume” by Testing Cadence (Planning View, 2026)
| # | Monitoring cadence scenario | How often you get a reading | Readings per day | Trend visibility score |
|---|---|---|---|---|
| 1 | CGM reporting interval (fast): 1-minute | Every 1 minute | 1,440 | ★★★★★ |
| 2 | CGM reporting interval: 2-minute | Every 2 minutes | 720 | ★★★★☆ |
| 3 | CGM reporting interval: 5-minute | Every 5 minutes | 288 | ★★★★☆ |
| 4 | CGM reporting interval: 10-minute | Every 10 minutes | 144 | ★★★☆☆ |
| 5 | Meter checks (low frequency): 2/day | Twice per day | 2 | ★☆☆☆☆ |
| 6 | Meter checks (moderate): 4/day | Four times per day | 4 | ★★☆☆☆ |
| 7 | Meter checks (high manual routine): 8/day | Eight times per day | 8 | ★★★☆☆ |
Ketones: when the monitoring kit needs an extra channel
If your healthcare team has you monitoring ketones (more common with type 1, illness protocols, or certain pregnancy risk situations), don’t assume a “diabetes kit” includes it. Ketone testing often requires different supplies than glucose testing, and the correct action thresholds should come from your clinician’s written plan.
Understand accuracy, calibration, and maintenance (so results make sense)
The best diabetes monitoring kit isn’t only about technology—it’s also about accuracy and the maintenance steps that keep readings trustworthy. Even high-quality systems can mislead if you use the wrong supplies, store strips incorrectly, or ignore required warm-up/calibration guidance.
– Meters: confirm the kit’s instructions for coding/calibration (if applicable) and proper strip storage—expired or improperly stored strips can lead to misleading readings.
– CGM: check whether the system requires calibration steps (some do, some rely less on user calibration) and how sensor warm-up time works.
– How you interpret readings matters: decide whether you need trend arrows/rate-of-change (often more relevant with CGMs) or single-point values (common with meters).
What “accuracy” means for real-world decisions
For fingerstick meters, accuracy expectations are regulated through standards. For example, ISO 15197:2013 specifies that when glucose is below 100 mg/dL, 95% of results should fall within ±15 mg/dL, and when glucose is at or above 100 mg/dL, 95% should fall within ±15% (2013). ISO 15197:2013 also addresses measurement reliability requirements for glucose monitoring systems.
For CGMs, accuracy is often discussed using statistical measures such as MARD (Mean Absolute Relative Difference). While you don’t need to memorize formulas, you do need to understand that:
– CGMs show interstitial readings continuously
– Sensor start-up and “signal quality” matter
– Confirmation steps may be needed when symptoms don’t match the displayed value
Coding, calibration, and strip storage: the details that prevent bad data
A meter kit can fail you quietly if:
– The strip lot expires
– Strips are stored in humidity/heat
– A coding step is required and skipped (some meters)
– Technique is inconsistent (e.g., not drying hands fully before testing)
With CGM kits, check:
– Whether you must calibrate or rely on factory calibration
– Warm-up time before the sensor displays stable readings
– What “signal loss” or missed updates look like in the app
How to handle “something doesn’t match”
When glucose values don’t align with symptoms, your action plan should be clinician-defined. If your clinician has a protocol, follow it exactly. The layout prompts a clinician confirmation note—here’s a practical place to insert it:
– Clinician confirmation protocol (insert your clinic’s rules):
Make usability a decision factor (not an afterthought)
The best diabetes monitoring kit reduces friction—so you actually use it consistently. In 2026, usability is often more predictive of outcomes than theoretical accuracy, because adherence (sticking to a routine) drives pattern detection.
– Choose a kit that fits your comfort level: how visible it feels, how often you’ll interact with it, and how easy the supplies are to get.
– Prioritize data sharing if you want your clinician to see patterns—look for app sync/export options and straightforward ways to share summaries.
– Confirm that the kit’s instructions are clear for your real context (work/travel, nighttime readings, caregiver use, etc.).
Data sharing is part of “kit completeness”
A diabetes monitoring kit should support your care team’s workflow. Look for:
– Automated app sync to a clinician portal (where available)
– Exportable reports (weekly/monthly summaries)
– Easy invitation/permission steps if family or caregivers need access
For caregivers, the question is simpler: can a helper quickly see trends and act without learning complex menus during an urgent moment?
Nighttime, travel, and real life
Usability isn’t just screens and apps. It’s also:
– Whether alerts are readable in different lighting
– How you secure supplies during travel
– What happens when you miss an update
– Whether the kit’s step-by-step instructions match your literacy/comfort level
If the instructions assume “perfect conditions,” they’re harder to follow during illness, jet lag, shift work, or caregiving.
What can go wrong (common mistakes and edge cases)
The best diabetes monitoring kit choice still needs guardrails because monitoring has failure modes. Most issues aren’t “bad devices”—they’re technique, mismatched supplies, or context being ignored.
– Using the wrong supplies: test strips and sensors are often model-specific—mixing products can invalidate results.
– Improper technique (especially with fingersticks): inadequate hand washing, poor site prep, or not using the meter/strip exactly as directed can skew readings.
– Ignoring out-of-range context: readings don’t exist in a vacuum—illness, recent meals, exercise, or medication timing can affect glucose. If you see repeated unexpected values, stop and follow your clinician’s plan.
– Skin/sensor issues (CGM): irritation, sensor adhesion problems, or missed sensor updates can interrupt data—have a plan for what you’ll do if readings stop.
Edge cases to discuss with your clinician
Certain situations deserve a tailored monitoring approach:
– Frequent hypoglycemia (lows) or hypoglycemia unawareness
– Rapid glucose changes after exercise or corrective insulin
– Pregnancy (including gestational diabetes) where target ranges may be stricter
– Illness “sick day” protocols, which can require additional testing like ketones
And a broader reality check: diabetes is common worldwide—World Health Organization reported 537 million adults living with diabetes in 2021. World Health Organization (2021). That scale is exactly why monitoring kits need dependable workflows, not just hardware.
Verdict / tip: which “best diabetes monitoring kit” fits you?
If you want the simplest daily workflow and trend visibility, a CGM-based kit is usually the best fit—*as long as you’re comfortable with wear time, app setup, and the maintenance steps outlined by the manufacturer*. If you prefer a more manual, supply-based approach (or you need confirmation checks), a meter kit is often the more practical route.
Before you commit, use this CGM-vs-meter “scorecard” to pressure-test your decision.
CGM vs meter kit: side-by-side decision score (VS)
| Decision criteria | CGM strengths | Meter strengths |
|---|---|---|
| Trend visibility | High | Low |
| Work/travel automation | Stronger | Depends on access |
| Single-point confirmation | Often needs fingerstick confirmation | Built-in |
| Wear/skin tolerance | Can be a drawback | No sensor wear |
| Supply model | Sensors/refs | Strips/lancets |
| Ease for caregivers | Often easier to follow | Requires manual steps |
| Maintenance errors | Warm-up/signal issues | Technique/storage errors |
| Data sharing quality | Typically strong | Varies by meter |
| Out-of-range management | Alerts can help | Requires you to test |
| Learning curve | Moderate (setup) | Often faster start |
| Verdict (for most people) | Best balance of trends + workflow when you can manage sensor/app steps | Best if you prefer manual checks or need confirmation-heavy monitoring |
Skip this guide’s “best kit” framing if you have complex situations that require a very specific monitoring plan (for example: recent medication changes, frequent hypoglycemia, or special gestational diabetes protocols). In those cases, ask your clinician what to use and when to confirm readings.
Quick checklist: choose your kit in 5 minutes
| What to check | Why it matters |
|---|---|
| Monitoring type (CGM vs meter) | Determines how often you test and what data you’ll see |
| Included supplies (strips/sensors, lancets, device parts) | Prevents “it arrived, but I can’t test” problems |
| Compatibility (phone/app/account; strip model) | Avoids tech or supply mismatches |
| Calibration/maintenance instructions | Impacts how trustworthy readings are |
| Data sharing options | Helps your care team act on trends |
| Replacement supply access | Keeps monitoring uninterrupted |
Frequently Asked Questions
What features should I look for in the best diabetes monitoring kit?
The best diabetes monitoring kit typically includes accurate glucose testing, easy-to-use lancing and strips, and clear instructions for blood sugar measurement. Look for features like a memory log or app connectivity, fast results, and adequate strip/lancet compatibility to keep long-term costs manageable. If you need more than fingerstick testing, consider kits that support continuous glucose monitoring (CGM) or offer optional upgrades.
How do I choose between a glucose meter kit and a CGM kit for diabetes monitoring?
A glucose meter kit is often best if you want simple, one-time blood sugar checks and lower upfront cost, especially if you test occasionally or as directed by your clinician. A CGM kit can be better for people who want real-time glucose trends, alerts for high/low readings, and fewer fingersticks, though it may have subscription or sensor replacement costs. Consider your lifestyle, frequency of testing, and whether you need trend data for adjusting food, activity, or insulin.
Which diabetes monitoring kit is best for beginners and first-time meter users?
For beginners, choose a diabetes monitoring kit with an intuitive screen, guided setup, minimal steps, and good user support or an instructional app. Features like automatic coding (or no coding), larger buttons, and pre-loaded lancets can reduce frustration and improve consistency. Also check whether the kit includes sufficient test strips, lancets, and a logbook or app so you can track patterns without additional purchases.
Why does accuracy matter when selecting a diabetes monitoring kit, and how can I verify it?
Accuracy is critical because medication adjustments, diet choices, and hypoglycemia prevention depend on reliable glucose readings. When comparing the best diabetes monitoring kits, look for FDA-cleared/approved devices, reputable brands, and clear performance specifications. You can also improve real-world accuracy by using fresh test strips, washing and drying hands properly before testing, checking expiration dates, and following calibration and control-solution instructions.
Best practices aside, which diabetes monitoring kit setup helps me avoid common testing mistakes?
A solid setup includes a comfortable lancing device, correct lancet depth for your skin, and test strips stored properly (dry and within temperature range). To avoid common errors, wash hands with soap and water (not alcohol-only wipes unless your kit recommends otherwise), dry fully, and avoid touching the strip tip with dirty hands. Using the kit’s built-in memory/app to review trends and setting reminders can also improve consistency and make diabetes monitoring more effective.
📅 Last Updated: November 09, 2026 | Topic: best diabetes monitoring kit | Content verified for accuracy and freshness.
References
- Diabetes
- https://www.cdc.gov/diabetes/managing/blood-sugar-control.html
- https://medlineplus.gov/bloodsugartesting.html
- https://www.fda.gov/medical-devices/home-health-and-monitoring-devices/glucose-blood-sugar-test-systems
- Glucose meter
- Continuous glucose monitor
- https://pubmed.ncbi.nlm.nih.gov/?term=self-monitoring+blood+glucose+continuous+glucose+monitoring+systematic+review
- https://scholar.google.com/scholar?q=best+diabetes+monitoring+kit+glucose+meter+continuous+glucose+monitoring Google Scholar
- https://scholar.google.com/scholar?q=continuous+glucose+monitoring+accuracy+systematic+review Google Scholar
- https://scholar.google.com/scholar?q=type+1+type+2+diabetes+self+monitoring+blood+glucose+guidelines Google Scholar






Pingback: Best Diabetes Monitoring Watch: What to Buy and How to Use It - Best For Diabetics