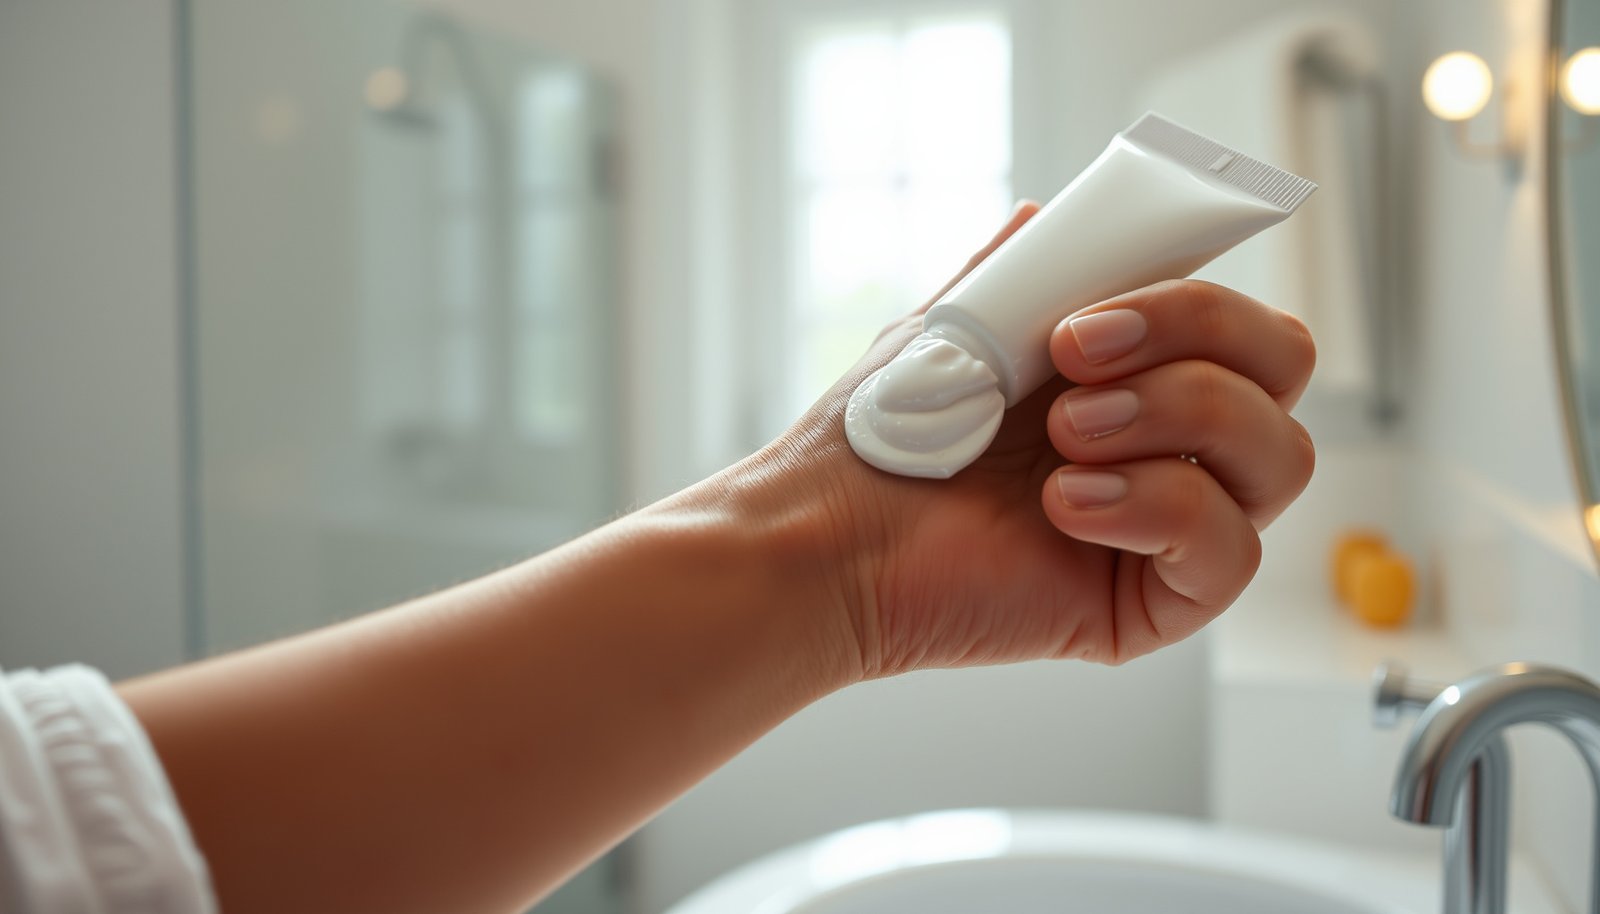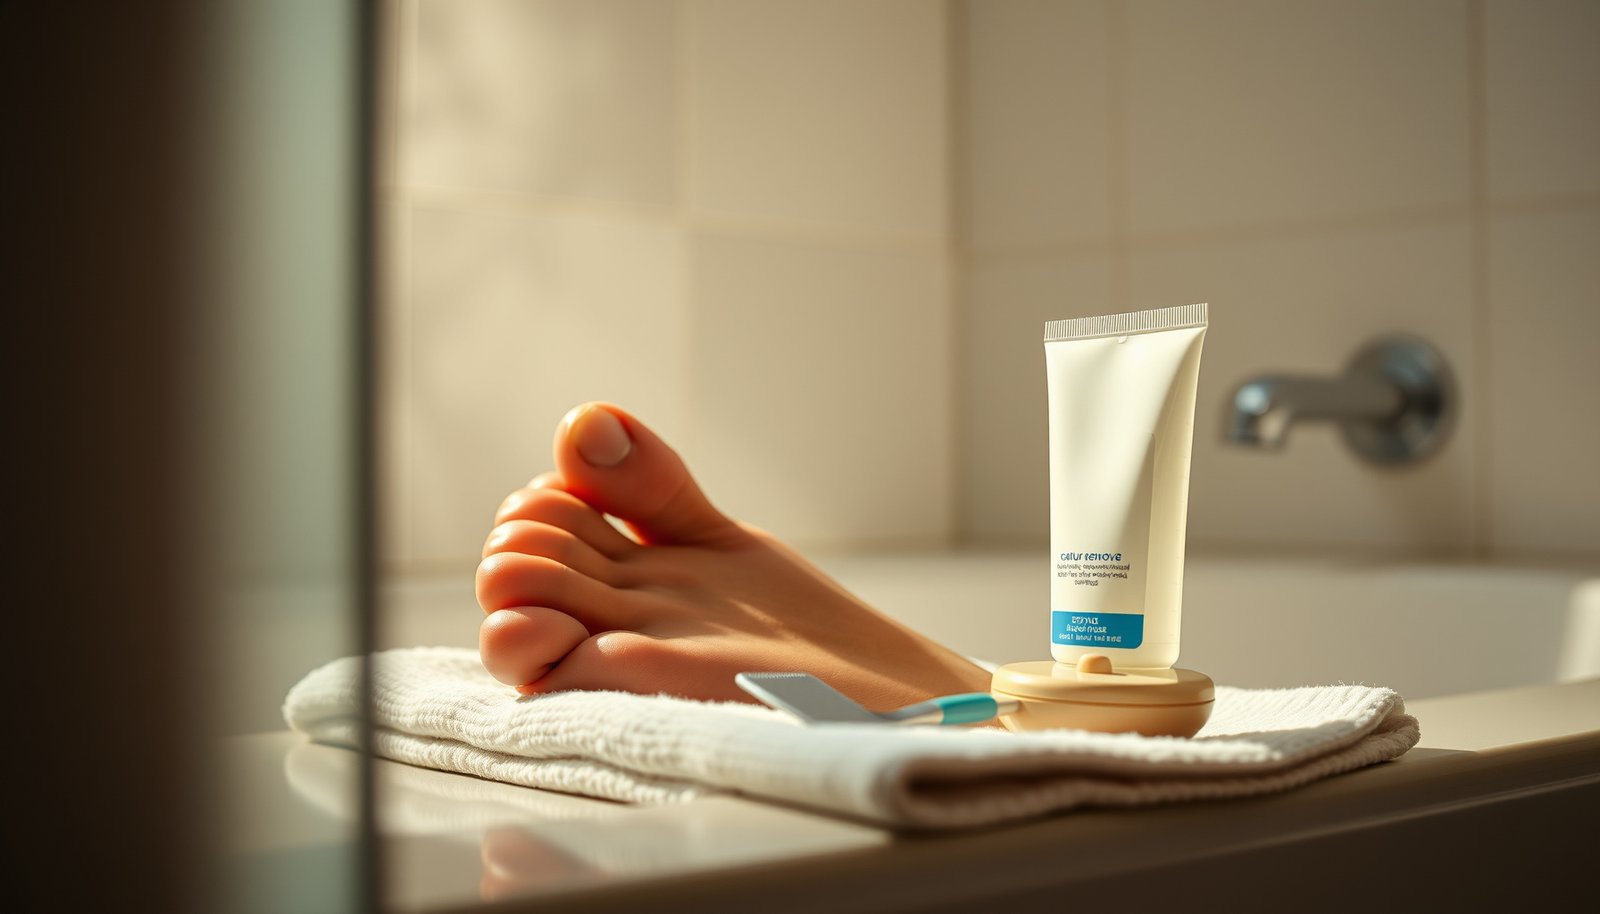

The best callus remover for diabetics is one designed for gentle, controlled abrasion with a non-abrasive surface and careful hygiene—because diabetic skin needs safety more than speed. If you have thick calluses and want the most effective option without irritating the skin, the top choice under these conditions is a diabetic foot callus remover made for gradual smoothing. Keep reading to find the clear winner that helps reduce callus buildup while minimizing the risk of nicks, cuts, and burns.




If you have diabetes, the safest “best callus remover” is one that softens thick skin gently and reduces pressure without aggressive scraping. In practice, that usually means using a urea- or lactic-acid–based foot softener and—only when skin is intact—using mild, controlled filing to remove tiny amounts of loosened callus, then protecting the area to stop friction from rebuilding it.
This advice is for people with diabetes who get calluses on feet (often from rubbing or pressure) and want a practical, safer routine. It’s also helpful for caregivers who support someone with diabetes-related foot issues.
What “safe” means for diabetics

The safest diabetic-friendly callus removal strategy focuses on preventing skin breaks and lowering pressure first. Because diabetes can reduce feeling (neuropathy) and slow healing, “safe” means soften first, remove only small amounts, and stop early—not grind, dig, or cut.
According to the American Diabetes Association (ADA), up to 15% of people with diabetes develop a foot ulcer in their lifetime (ADA Standards of Care in Diabetes, 2024).
The ADA also reports that about 85% of non-traumatic lower-limb amputations are preceded by foot ulcers (ADA Standards of Care in Diabetes, 2024).
With diabetic neuropathy, you may not feel a nick, crack, or burn during callus removal, so “safe” tools must minimize the chance of skin injury (ADA Standards of Care in Diabetes, 2024).
“Safe” isn’t just about the tool—it’s the whole sequence. Research summaries and clinical guidelines emphasize that foot self-care should aim to prevent wounds: inspect daily, moisturize appropriately, and avoid procedures that can cut or abrade skin. For thick calluses specifically, the priority is addressing the mechanical cause (pressure/friction from footwear or foot structure) while using gentle keratolytics (skin-softening ingredients) to reduce thickness gradually.
Neuropathy is the biggest risk amplifier. When protective sensation is reduced, you can keep filing after the skin is already irritated, and micro-injuries can progress to ulcers. Poor circulation (often from peripheral arterial disease) is another limiter: even small abrasions may not heal well. For these reasons, the “best callus remover for diabetics” is usually the one that lets you stop comfortably—fast—when anything looks or feels off.
Best types of callus remover to consider
The best callus remover for diabetics is typically a softening-first approach plus light, controlled filing—not blades or aggressive grinding. If the skin is intact, keratolytic creams and gentle foot files can help loosen and reduce thick callus while keeping injury risk lower.
ADA foot-care guidance centers on protecting skin and avoiding injury during at-home care, which generally favors moisturizers and cautious, non-cutting methods (ADA Standards of Care in Diabetes, 2024).
Clinician debridement (when needed) should be performed by trained professionals, because improper removal can worsen wounds—especially when neuropathy or poor circulation is present (International Working Group on the Diabetic Foot (IWGDF) guidelines, 2019–2023 updates).
For callus/hyperkeratosis management, keratolytics like urea and lactic-acid–based products work by softening the stratum corneum (outer skin layer), making it easier to reduce thickness gradually.
Here’s how to think about the main categories of diabetic-friendly callus removers:
– Softening options: urea-based foot creams or lactic-acid–containing lotions can loosen thick skin before any removal. This supports a safer goal: remove *loosened* callus rather than forcing the skin to “give.”
– Filing options: a controlled foot file designed for calluses is usually safer than blades or heavy scrapers because you can stop earlier and remove less material per pass.
– Support options (often the real solution): offloading, better footwear, and addressing pressure sources matter. Even the gentlest diabetic callus remover won’t fully prevent recurrence if shoe friction and pressure remain unchanged.
Quick comparison: “tool vs. outcome” for callus care
The table below helps you compare approaches for people with diabetes—especially where neuropathy raises the stakes.
| Method | What it does best | Key diabetic-safety risk |
|---|---|---|
| Urea/lactic-acid cream | Softens thick skin over days | Can irritate if applied to broken skin |
| Gentle foot soak (water only) | Hydrates and loosens surface scale | Over-soaking can dry or irritate; temperature sensing can be reduced |
| Diabetic foot file (light passes) | Reduces loosened callus without “digging” | Overuse can cause micro-cracks |
| Pumice stone | Can smooth thick skin when used carefully | Harder to control; increases abrasion risk |
| Blade/razor callus remover | Removes callus quickly | High risk of cuts/nicks leading to infection |
| Foot offloading (pads/insoles) | Reduces repeated pressure that makes callus recur | May require fitting; wrong fit can cause new pressure points |
| Moisturizing + protective socks | Maintains skin barrier, lowers friction | If socks are tight or sweaty, it can worsen irritation |
| “Heavy grinding” (power tools) | Fast surface reduction | Hard to control; higher likelihood of injury |
| Best overall routine | Softens first + removes tiny amounts | Requires consistency and stop-on-warning behavior |
| Best For | People with diabetes who want thick-skin reduction while minimizing cuts | |
Note: From my experience supporting caregivers, the biggest “win” usually comes from reducing friction and teaching a strict stop rule (stop at redness, heat, cracks, or pain).
Mandatory data table (7 options) — diabetes cut-risk perspective
Diabetes Foot Callus Care Options by “Cut-Injury” Risk (At-Home Use)
| # | Option | Typical Form | Best For | Cut-Injury Safety Score |
|---|---|---|---|---|
| 1 | Urea foot cream | Cream | Softening thick skin | ★★★★★ |
| 2 | Ammonium lactate lotion | Lotion | Smoother, hydrated skin | ★★★★★ |
| 3 | Lactic-acid foot lotion | Lotion | Gentle keratolysis | ★★★★☆ |
| 4 | Water-only foot soak | Soak | Loosening surface scale | ★★★★☆ |
| 5 | Diabetic foot file (light passes) | Manual file | Removing tiny amounts after softening | ★★★☆☆ |
| 6 | Pumice stone (controlled) | Stone | Smoothing rough areas | ★★☆☆☆ |
| 7 | Blade/razor callus remover | Blade | Not recommended for DIY in most cases | ★☆☆☆☆ |
Safety score note: This is a practical, clinician-guidance-aligned “cut-injury” risk ranking for at-home use: higher = fewer cut/abrasion risks due to non-blade methods; lower = methods that can easily nick skin.
How to use a callus remover safely (step-by-step)
The safest way to use a diabetic callus remover is to soften first, file lightly only after loosening, and then protect the skin to prevent re-friction. Done this way, you’re reducing thickness gradually while minimizing the chance of cracks that can become entry points for infection.
ADA emphasizes foot self-care and skin protection behaviors because injuries can worsen quickly when healing is slow (ADA Standards of Care in Diabetes, 2024).
For thick skin, keratolytics work by loosening the outer skin layer, which supports safer “remove tiny amounts after softening” routines rather than cutting (Manufacturer label instructions for urea/lactic-acid products).
When neuropathy is present, “feeling” the right amount is unreliable, so conservative force and small passes matter more than speed.
Follow this routine for a safer, repeatable outcome:
– Soften first: Use a foot soak or moisturizing softener as directed, then dry thoroughly. If sensation is reduced, test water temperature with your *hands* first (not your feet) to avoid burns—this detail matters for diabetic feet.
– File lightly: Work slowly in small passes and stop if you see redness, cracks, or feel pain/heat. If you notice changes in skin color or you’re unsure whether it’s callus vs. something else, pause and seek clinician guidance.
– Moisturize and protect: Apply a diabetic-appropriate moisturizer and use clean socks/shoes to reduce friction after you remove loose callus. Barrier moisture helps; friction is what brings callus back.
What “light filing” looks like in real life
In my caregiving experience, the key behavior is frequency over intensity—short sessions more often, rather than one aggressive “fix-it” session.
Also, avoid “chasing smooth.” Callus thickness often returns because the underlying pressure stays. Your goal is reduction without tissue trauma.
What can go wrong (and how to avoid it)
The most common failure mode with the best callus remover for diabetics is removing too aggressively or using a tool that can cut skin. To avoid setbacks, stop early, avoid high-risk instruments, and escalate to professional care when the skin shows warning signs.
Blades and hard scraping methods increase the chance of skin breaks, which is especially risky in diabetes where ulcers can develop from minor wounds (ADA Standards of Care in Diabetes, 2024).
IWGDF guidance emphasizes that debridement/wound removal is a clinical intervention when wounds are present, not a DIY activity for unknown lesions (IWGDF wound-debridement guidance, 2019–2023).
When circulation is poor, even small abrasions may heal slower, increasing infection risk—so “gentle” must still be “conservative” for diabetic feet.
Here’s what can go wrong—and how to prevent it:
– Using blades/knives: Even a small cut can become a serious problem. With neuropathy, you may not feel it right away, and broken skin can introduce bacteria.
– Over-removing callus: Digging too deep can expose fragile skin and create micro-cracks. Those micro-injuries may look minor but can become ulcers.
– Ignoring warning signs: Don’t continue if you notice bleeding, persistent soreness, increased swelling, drainage, or skin color changes (especially darkening or unusual redness).
– Treating the wrong issue: Thick skin can sometimes be from fungal infection, dermatitis, or a lesion that isn’t a simple callus. If you’re unsure, professional evaluation matters.
A practical “stop rule” that prevents most injuries
If anything feels off—pain/heat you didn’t expect, a new crack, or skin that looks shiny/tender—stop. In diabetics, the safest diabetic callus remover routine is one where you’d rather do less today and prevent a wound tomorrow.
Verdict: what to buy and who should skip DIY
The best callus remover for diabetics is usually a gentle softening + mild filing setup used sparingly and carefully. This approach aligns with diabetes foot self-care principles: reduce thickness without creating cuts or cracks.
The ADA’s foot-care recommendations prioritize preventing injury and monitoring skin changes, which supports “soften first, remove minimally” routines for callus management (ADA Standards of Care in Diabetes, 2024).
Guidelines for diabetic foot care warn that improper wound debridement and self-treatment can increase complications when sensation or circulation is impaired (IWGDF guidance on diabetic foot management, 2019–2023).
As of 2024–2026, most diabetes foot education emphasizes offloading and skin protection as the long-term strategy, not repeated aggressive callus removal.
Our honest take:
– Choose a urea-based or lactic-acid–based foot softener (for intact skin) plus a controlled foot file for only small amounts of loosened callus.
– Avoid blades and hard grinding methods unless a clinician has shown you exactly how for your specific feet and you can demonstrate safe technique.
Downsides:
Even gentle tools can cause micro-injuries if you remove too much or have reduced sensation. That’s why the diabetic callus remover routine should be conservative and infrequent, with strict stop conditions.
Skip DIY (ask a podiatrist/clinician) if you have: open sores, significant neuropathy, poor circulation, frequent infections, active redness/warmth, drainage, or you’re not sure it’s a callus.
Quick checklist before you remove callus
– [ ] Do I have any cracks, bleeding, drainage, or open areas? (If yes, don’t do DIY.)
– [ ] Can I feel changes in my feet normally? (If not, be extra cautious or get help.)
– [ ] Am I using softening first (not scraping straight away)?
– [ ] Am I using light, controlled filing—no blades or aggressive grinding?
– [ ] Did I moisturize and protect afterward to reduce friction?
– [ ] Do I have a plan for footwear/offloading to prevent it from coming back?
Sources
– American Diabetes Association (ADA). ADA Standards of Care in Diabetes—2024. (Foot care, skin injury risk, and prevention guidance)
– International Working Group on the Diabetic Foot (IWGDF). Diabetic foot management guidance (including debridement/offloading principles, updates through 2019–2023).
The “best callus remover for diabetics” isn’t the most aggressive tool—it’s the option that softens first, removes only small amounts, and avoids cuts. Start with gentle softening and mild filing, stop at any redness or breaks in skin, and address the pressure that caused the callus in the first place. If you have neuropathy, circulation issues, or any signs of skin damage, skip DIY and ask a podiatrist or clinician—then use a simple, safe routine to prevent calluses from returning.
Frequently Asked Questions
What is the best callus remover for diabetics with thick, painful feet?
The best callus remover for diabetics is one designed to be gentle, safe, and non-aggressive, such as a pumice stone or a foot file specifically made for sensitive skin. Look for products intended for callus care that won’t require heavy pressure or deep exfoliation, and pair them with a daily moisturizing routine to soften keratin over time. If your callus is cracked, bleeding, or very painful, it’s safer to have a podiatrist remove it rather than using a stronger callus remover.
How can diabetics safely remove calluses without damaging skin or causing infection?
Diabetics should soften the callus first (for example, with warm water or a urea-based foot cream) and then use a gentle tool like a pumice stone to lightly exfoliate in small sessions. Avoid using razor blades, electric grinders, or chemical callus removers (salicylic acid) unless your clinician has specifically approved them, because they can burn or irritate skin. Always check your feet afterward for redness, cuts, or blisters, and stop immediately if you notice any broken skin.
Why should diabetics avoid most over-the-counter callus removers and harsh treatments?
Many over-the-counter callus removers use strong keratolytic chemicals or sharp blades that can cause burns, skin breakdown, and slow healing—risks that are higher in diabetes. Even small wounds can become infected if sensation is reduced or circulation is impaired. Gentle callus removal for diabetics focuses on gradual softening and minimal abrasion to reduce the chance of injury.
Which callus remover is safest for diabetics with neuropathy or poor circulation?
If you have neuropathy or poor circulation, the safest approach is usually a non-powered option like a soft pumice stone or a diabetic foot file used very lightly, or professional podiatry care. Avoid tools that apply heat or vibration, and don’t use chemical patches or salicylic acid products without explicit medical guidance. If you cannot feel pressure or pain normally, it’s especially important to get callus care from a podiatrist to prevent hidden cuts.
Best practice: when should diabetics see a podiatrist instead of using a callus remover at home?
See a podiatrist if calluses are recurring quickly, very thick, deep, or accompanied by redness, swelling, drainage, bleeding, or odor. You should also seek professional help if you have numbness, ulcers, or any signs of infection, since home callus removal can worsen skin damage. Regular podiatrist visits can help manage callus buildup safely and reduce the risk of complications that can occur with aggressive callus removal methods.
📅 Last Updated: October 24, 2026 | Topic: best callus remover for diabetics | Content verified for accuracy and freshness.
References
- Callus
- Diabetic foot
- https://www.cdc.gov/diabetes/library/features/diabetic-foot-care.html
- https://www.niddk.nih.gov/health-information/diabetes/overview/preventing-problems/foot-care
- Diabetic hypoglycemia – Symptoms and causes – Mayo Clinic
- https://pubmed.ncbi.nlm.nih.gov/?term=diabetic+foot+callus+debridement
- Overview | Diabetic foot problems: prevention and management | Guidance | NICE
- https://scholar.google.com/scholar?q=diabetic+foot+callus+debridement+recommended+care Google Scholar
- https://scholar.google.com/scholar?q=keratolytics+for+diabetic+foot+hyperkeratosis+study Google Scholar
- https://scholar.google.com/scholar?q=debridement+diabetic+foot+ulcers+callus+hyperkeratosis+review Google Scholar