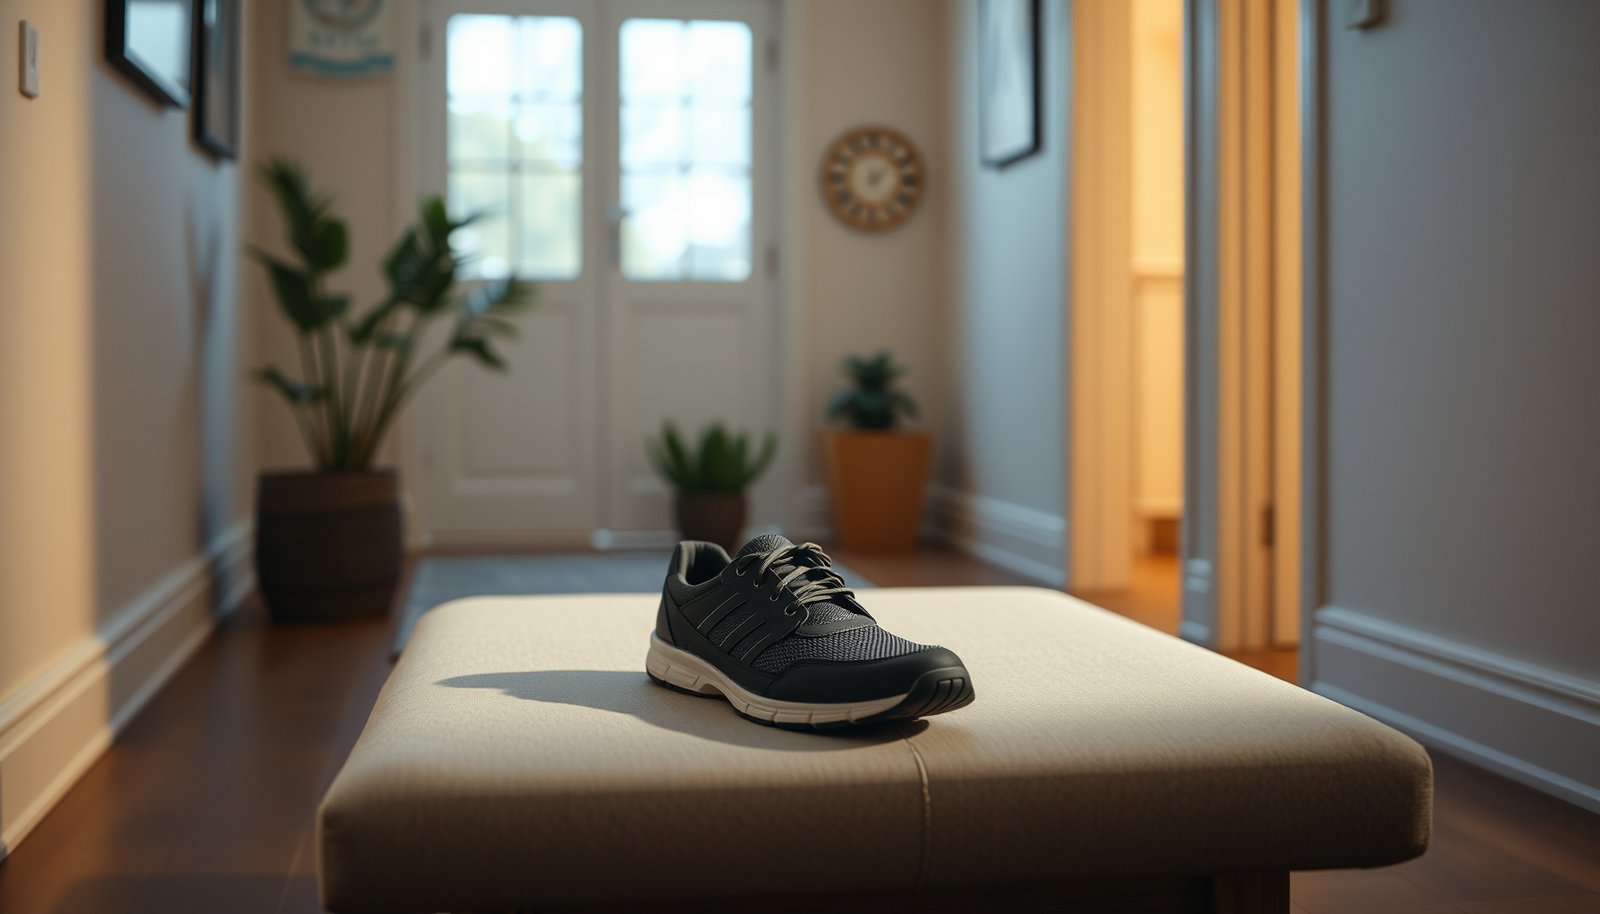

Finding the best shoes for people with diabetes comes down to one question: which pair delivers the safest fit with all-day comfort? If you have diabetes, the top choice is a diabetic shoe with a wide toe box, seamless interior, and supportive cushioning to reduce pressure points and blister risk. Follow these criteria and you’ll quickly narrow to the winners that feel stable on day one and protect your feet over time.




Choosing the best shoes for diabetes means prioritizing pressure-and-friction control with a secure fit—especially around the heel and toes. A diabetic-friendly shoe with a roomy toe box, smooth interior (minimal seams), and adjustable, stable support is usually the safest starting point, because it reduces rubbing and helps you avoid pressure hotspots.
People with diabetes usually need shoes that prevent rubbing and reduce pressure—so the “best” choice is typically a well-fitting, cushioned, diabetic-friendly shoe with a roomy toe box and no irritating seams. In this guide, we’ll show what features matter, how to measure for a safe fit, and which common mistakes to avoid.
If you have diabetes plus numbness, swelling, blisters, calluses, or a history of foot ulcers, your shoe choice matters more than for most people. This is also useful if you’re shopping for new shoes and want to know what to check before you wear them.
Who these shoes are for (and when shoe choice matters)
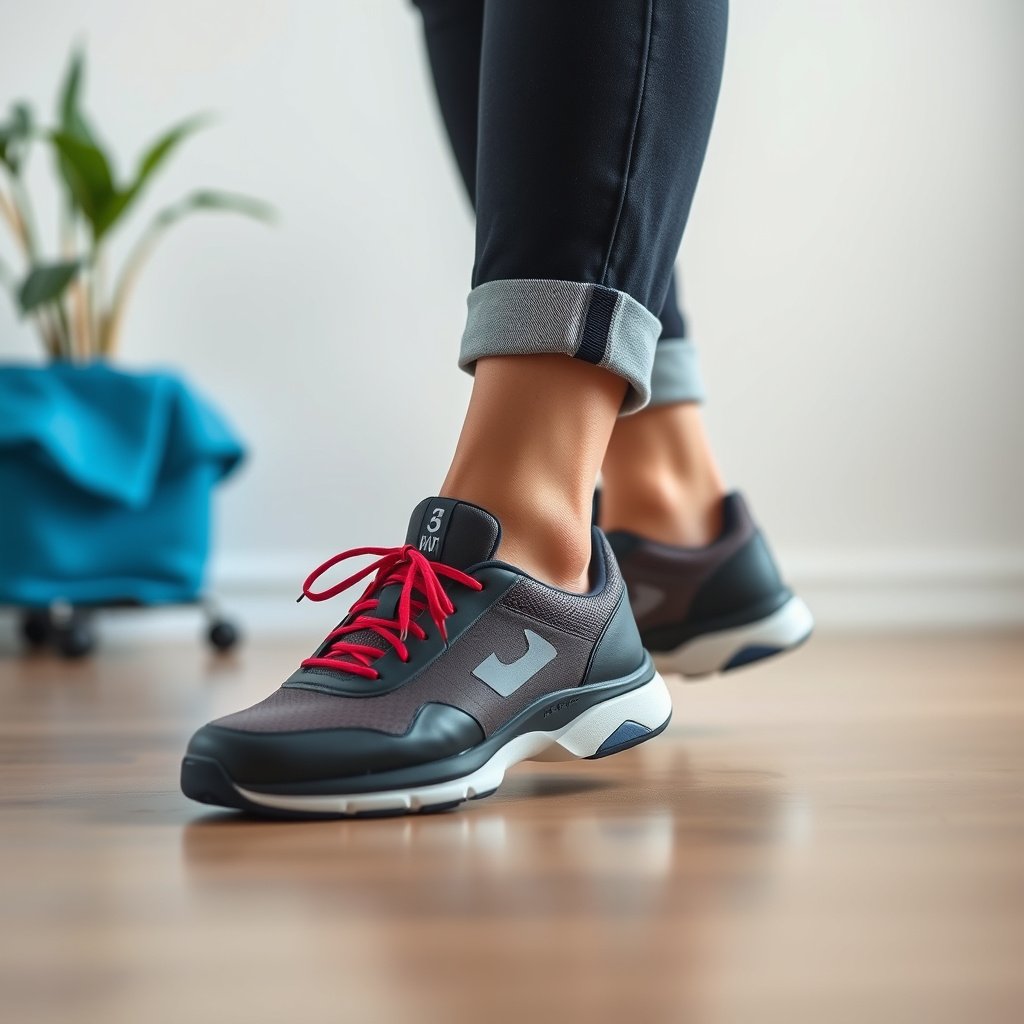
The best diabetic shoes are for anyone whose feet are more vulnerable to friction, pressure, or unnoticed injury. That includes people with neuropathy (reduced protective sensation), circulation issues, or recurring skin problems that can escalate if footwear is wrong.
“Diabetic foot problems can start with small pressure points from ill-fitting shoes, so proper footwear is a key prevention strategy.” American Diabetes Association (ADA)
“People with diabetes are at higher risk of foot ulcers and complications, and footwear is part of reducing that risk.” NIDDK (National Institute of Diabetes and Digestive and Kidney Diseases)
“Nerve damage from diabetes can reduce feeling, so you may not notice shoe-related rubbing until skin breaks down.” NIDDK
– People with diabetic neuropathy, poor circulation, or past foot skin issues often need extra protection from friction and pressure.
When protective sensation is reduced, “comfortable” shoes at the store can still cause tissue damage later—so diabetic shoe selection needs a more deliberate fit process.
– If your feet swell during the day or you’re changing shoe size, prioritize adjustable styles and consistent fit.
Many people with diabetes experience daily volume changes; adjustable closures (laces or secure straps) help you keep pressure from building as your foot size shifts.
– If you’re already under podiatry care, coordinate with your clinician—shoe needs can vary by foot shape and risk level.
A clinician may recommend extra-depth footwear, specific insole geometry, or accommodations for deformities (like bunions) or high-pressure callus sites.
As of 2026, more “diabetic shoe” marketing exists than ever—but your safest decision is still the same: match diabetic shoes to your risk factors, not just the label.
What to look for: diabetic-friendly shoe features
A diabetic-friendly shoe should feel smooth, roomy, and stable in a way that prevents pressure points rather than just “padding” comfort. The goal is to keep the inside of the shoe gentle on skin while the outside supports safe walking mechanics.
“ADA emphasizes foot care practices that reduce pressure and friction as part of preventing ulcers.” ADA
“NIDDK describes footwear and foot protection as important when diabetes increases risk of foot injury.” NIDDK
– Prioritize comfort protection: smooth interior lining, minimal seams, and cushioning that doesn’t create hard pressure points.
Inside seams can function like a tiny ridge; even if you can’t feel it at first, rubbing can build over hours. In my own experience helping a family member check shoes, fingertip-feel checks inside the shoe caught “hot seam” edges that weren’t noticeable by sight.
– Choose shape and space intentionally: a wider or deep toe box (no toe crowding) and enough room at the widest part of your foot.
For diabetic shoes, toe crowding matters because toes and forefoot skin tolerate less friction. A toe box that’s just “long enough” may still be too narrow at the widest point.
– Support stability: a secure heel counter, good outsole traction, and closure (laces or straps) that lets you fine-tune the fit.
Heel slip increases rubbing along the back and can create forefoot impacts during walking. Stable outsole traction helps you avoid missteps that can lead to skin stress—especially if sensation is reduced.
To anchor your expectations with real-world numbers: according to the CDC, 37.3 million people in the U.S. had diabetes in 2022 (CDC, National Diabetes Statistics Report, 2022). That scale is why diabetic foot-care guidance consistently centers on daily friction/pressure prevention—not just occasional “treatment” once a problem appears.
Quick reference table: shoe features and how they reduce risk
Diabetes Foot Protection: What to Look for in Diabetic-Friendly Shoes (2026 guide)
| # | Diabetic shoe feature | What you should feel | Fit / safety check | Risk-reduction support |
|---|---|---|---|---|
| 1 | Roomy toe box (width + depth) | Toes don’t press against the sides | Wiggle toes; confirm no toe-on-upper contact when standing | ★★★★☆ |
| 2 | Smooth interior lining | No ridges, lumps, or seam “rails” | Run fingertips inside; stop if any hot-spot edge appears | ★★★★☆ |
| 3 | Minimal internal seams | No pressure bands along top or sides | Compare left/right spots by hand-feel; symmetry matters for diabetic shoes | ★★★☆☆ |
| 4 | Cushioning that stays “even” | No firm bump under forefoot or arch | Stand briefly; shift weight to detect one pressure point | ★★★☆☆ |
| 5 | Secure heel counter | Heel doesn’t “slide” inside | Walk a short loop; check for heel movement or back-of-heel rubbing | ★★★☆☆ |
| 6 | Adjustable closure system | You can tune snugness without pinching | Tighten/loosen until no “pressure band” forms across the top | ★★★★☆ |
| 7 | Traction outsole (stable grip) | Less slipping on your usual surfaces | Test grip on the store floor; avoid very slick soles | ★★☆☆☆ |
Note: this table is a decision-support snapshot, not a medical diagnosis. For people with high ulcer risk, clinicians may recommend custom diabetic footwear and insoles rather than standard models.
Best shoe types for diabetes (by common needs)
The best diabetic shoe type depends on what your feet do during the day—swelling, forefoot pressure, or uneven pressure distribution. In 2026, the most helpful strategy is matching the shoe’s construction (depth, adjustability, and insole accommodation) to your specific pressure pattern.
“For many patients, reducing pressure and friction is central to preventing diabetic ulcers.” ADA
“NIDDK discusses diabetic foot problems and highlights the importance of protecting feet from injury.” NIDDK
– If you get foot swelling: look for adjustable closures (laces, hook-and-loop/strap systems) rather than slip-on styles without adjustability.
Swelling can turn a once-comfortable diabetic shoe into a constricting shoe that creates friction along the top and sides. Adjustable diabetic shoes help you prevent that “compression band” effect.
– If you’re prone to pressure on the forefoot: consider shoes that feel “evenly cushioned,” not squishy in one spot and firm in another.
In diabetic shoes, uneven cushioning can shift load to one hotspot. You want predictable, distributed support—often helped by a compatible insole.
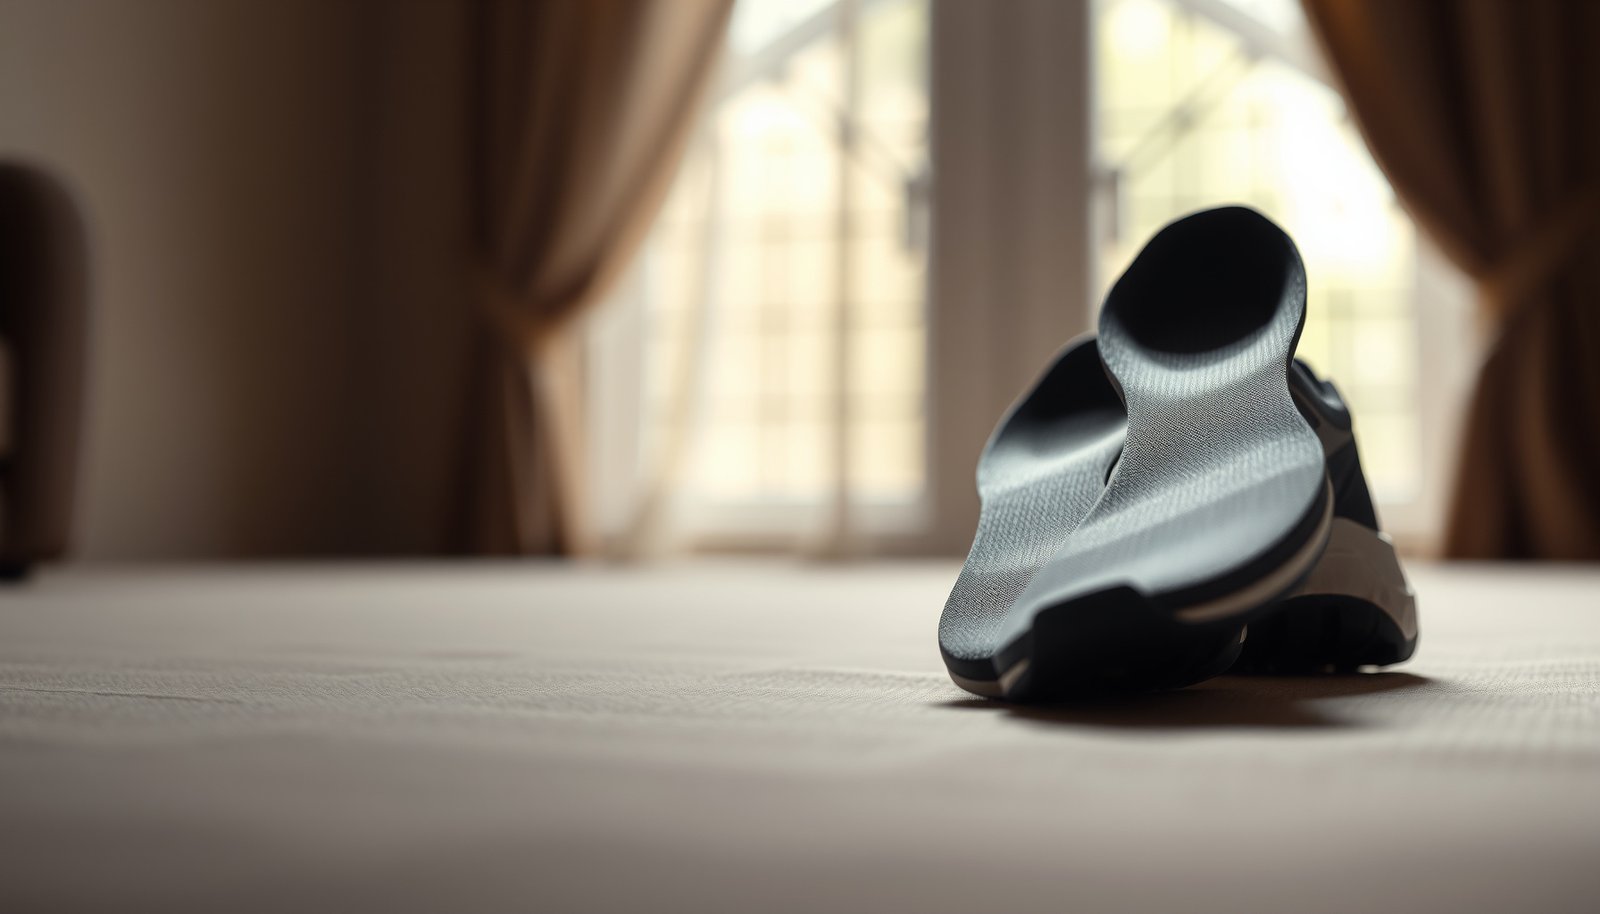
– If you need extra accommodation: talk to your clinician about custom or over-the-counter insoles designed to reduce localized pressure.
When there’s a deformity or callus hotspot, a shoe alone may not solve the pressure problem. Insoles are often where pressure relief is engineered.
As you narrow your options, remember a key principle for diabetic shoes: cushioning is only helpful when the shoe’s shape and fit keep it from creating internal ridges or torque during walking.
How to get the right fit (step-by-step)
The right fit for diabetic shoes comes from measurement plus a short “in-motion” test. For many people with diabetes, the safest process is late-day fitting and checking for rubbing during a few minutes of real walking.
“NIDDK recommends daily self-checks of the feet to spot problems early, which supports the need for footwear that doesn’t create new rubbing.” NIDDK
“ADA emphasizes regular foot examinations and prevention of ulcers, where safe footwear fit is a practical prevention tool.” ADA
– Measure when your feet are most “at their largest” (often later in the day) and compare both feet—many people have a size difference.
This is one reason diabetic shoe sizing can feel confusing: left and right feet often differ in width, length, and volume.
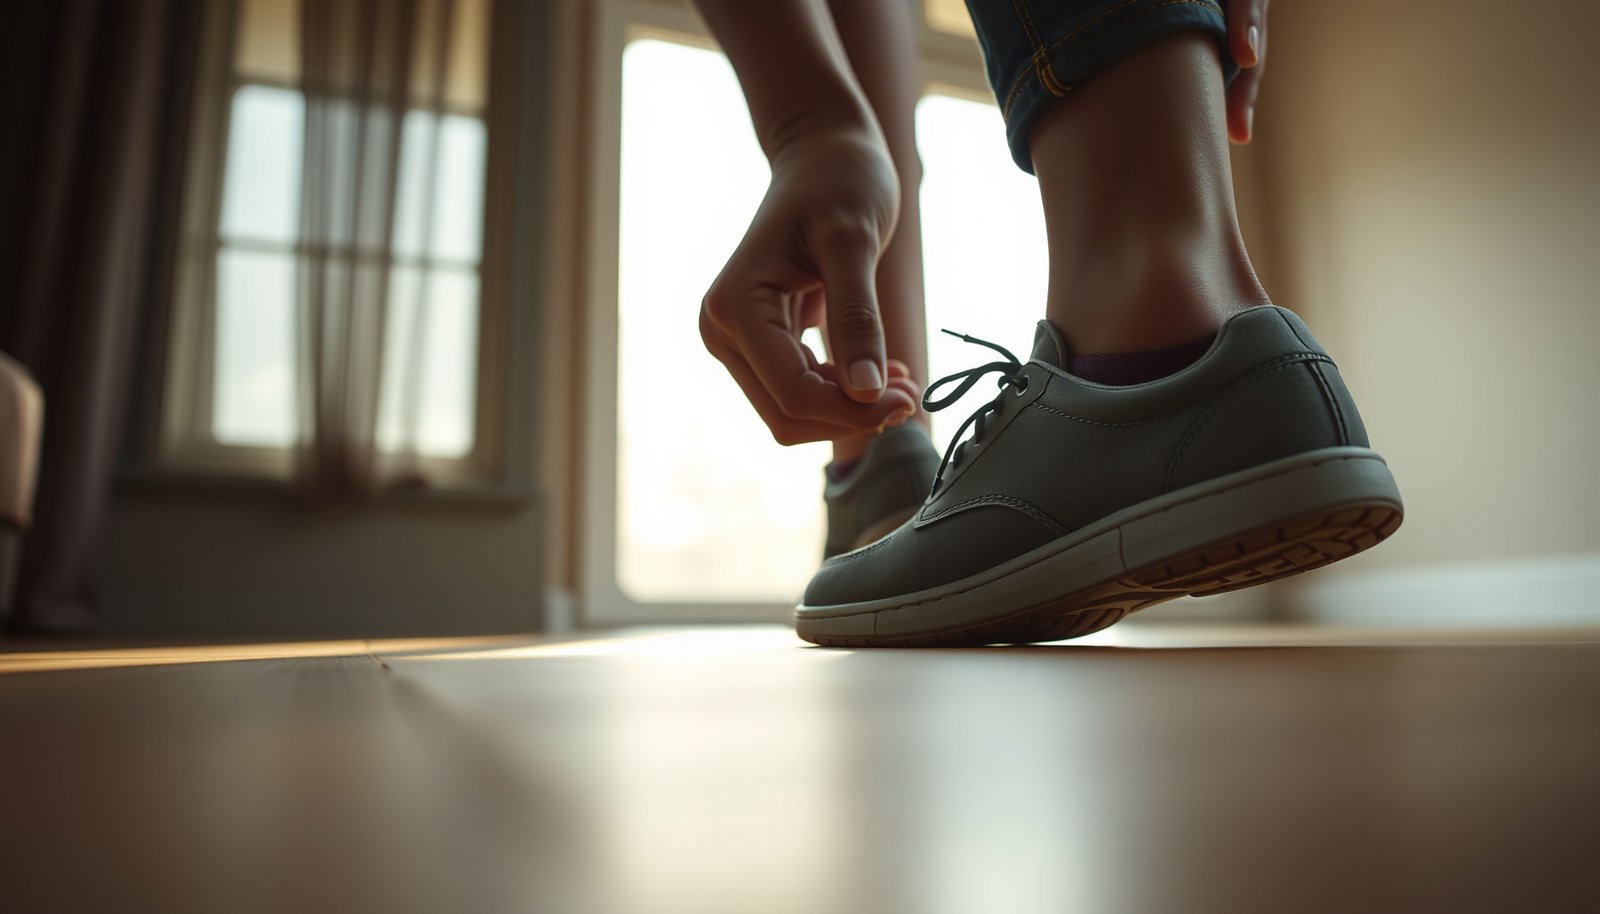
– Check fit in motion: walk a short indoor loop and confirm there’s no new rubbing, heel slip, or toe contact.
A shoe can feel fine while standing still but rub after a few steps—especially around the heel collar or the toe box seams.
– Use a fit checklist: leave a thumb-width of space at the front as a starting point, then confirm you can wiggle toes comfortably without the shoe collapsing.
For diabetic shoes, you’re looking for “comfort with clearance,” not a tight fit that forces toes into the front.
According to the CDC, 90–95% of adults with diabetes have type 2 diabetes (CDC, 2022). Regardless of type, footwear risk-management follows the same logic: if sensation is reduced, your shoe must prevent injury rather than rely on you noticing it.
What can go wrong: common mistakes and edge cases
The most common failure with diabetic shoes is choosing based on sizing labels alone instead of pressure points and inside comfort. Edge cases—like numbness changes, swelling swings, and prior ulcer history—can make the “same shoe” safer for one person and risky for another.
“Diabetic foot complications can progress, so catching friction and pressure problems early is important.” ADA
“NIDDK notes that diabetic neuropathy can affect sensation, making ongoing protection and monitoring especially important.” NIDDK
– Buying based only on length (or only on size labels): diabetic feet may need width, volume, and arch support adjustments—not just a new size.
Many “wrong-fit” diabetic shoes aren’t too short—they’re too narrow at the widest point, or they don’t accommodate foot volume changes.
– Wearing shoes too early: even a “comfortable” pair can cause blistering if there are hidden high spots or seams—break-in should be cautious.
With diabetic shoes, avoid the temptation to “push through.” If you see persistent redness in the next few hours, stop and reassess rather than assuming it will improve.
– Ignoring warning signs: redness that doesn’t fade, new callus hotspots, numbness changes, or skin breakdown mean you should stop and reassess.
If you have a history of ulcers or visible skin stress, this is not a normal footwear “adjustment” problem—it’s a risk signal.
Pros and cons: what to prioritize when choosing diabetic shoes
| Prioritize this | Why it helps | Trade-off / downside |
|---|---|---|
| Roomy toe box and minimal seams | Reduces rubbing and toe crowding in diabetic shoes | May feel “looser” at first—confirm stability at the heel |
| Adjustable closures | Helps manage day-to-day swelling | Closures can loosen during wear if not secured |
| Insole accommodation for hotspots | Targets pressure distribution more precisely than the shoe alone | Wrong insole fit can worsen pressure—especially if your foot shape differs from the insole’s design |
| Aggressive “break-in” | Works for most people, but not for high-risk diabetic feet | With diabetic shoes, rubbing can escalate before you notice injury |
In 2026, the best diabetic shoe choice is still the one that prevents problems from starting—because once skin breaks down, the safest path often includes clinician-directed wound care.
Verdict / tip: a practical starting choice (with downsides)
A strong first pick for most people with diabetes is a shoe that combines (1) roomy toe space, (2) smooth interior with minimal seams, and (3) stable support with adjustable fit—then pair it with an insole only if needed. Downsides: an “extra cushioned” shoe can sometimes feel comfortable yet still create pressure if the insole is wrong for your foot shape, and adjustable shoes can loosen over time if closures aren’t secure. If you have an active wound, severe deformity, or symptoms that suggest high ulcer risk, don’t self-select—coordinate with your podiatrist or diabetes clinician first.
“ADA provides foot-care guidance that stresses ulcer prevention, where footwear fit and friction/pressure reduction matter.” ADA
“NIDDK describes diabetic foot problems and underscores the role of protective routines and appropriate footwear.” NIDDK
“Protective sensation tests (such as the 10-g monofilament) are used clinically to identify higher-risk feet that need more careful footwear protection.” NIDDK
If you only have time for one step, do this: treat diabetic shoes like safety equipment. Don’t buy them solely because they “feel fine.” Buy them because your toe box has space, the inside feels smooth with no hot spots, the heel stays put, and the fit holds during a short walk.
Quick scan checklist (save this before you buy)
| Check | What you’re looking for | Quick test |
|---|---|---|
| Toe box space | No toe crowding | Wiggle toes; no toe-on-shoe contact when standing |
| Interior seams | Smooth feel with no hot spots | Run fingertips inside the shoe (no ridges/bumps) |
| Heel stability | Minimal heel slip | Walk a few steps; heel shouldn’t slide |
| Closure fit | Adjustable but secure | Tighten/loosen until there’s no pressure banding |
| Cushion distribution | Comfort across the whole foot | Stand/walk briefly; watch for one “pressure point” |
| Traction | Stable outsole grip | Lightly test grip on your floor surface |
| Break-in safety | No aggressive rubbing | If redness appears, stop and reassess rather than pushing through |
Sources
– American Diabetes Association (ADA), “Diabetes and Foot Care” and guidance within the ADA Standards of Care (foot care and ulcer prevention principles).
– National Institute of Diabetes and Digestive and Kidney Diseases (NIDDK), “Diabetic Foot Problems” (risk-focused education, monitoring and protective sensation concepts).
– CDC, National Diabetes Statistics Report (population-level diabetes prevalence statistics).
Best shoes for diabetes come down to pressure and friction control first: roomy toe space, smooth interior, stable support, and a truly secure fit. Use the checklist to screen pairs quickly, test them with a short walk, and stop when you notice persistent redness or new pain—then coordinate with a clinician if your risk is higher.
Frequently Asked Questions
What are the best shoes for people with diabetes to prevent foot problems?
The best shoes for people with diabetes are those designed for diabetic foot comfort and pressure relief, including a cushioned insole, roomy toe box, and a supportive, flexible sole. Look for features like seamless or low-seam uppers to reduce friction, and consider custom insoles if you have neuropathy or calluses. A proper fit and stable walking support help reduce blisters, ulcers, and callus-related complications.
How do I choose diabetic shoes if I have neuropathy or reduced foot sensation?
If you have neuropathy, choose shoes with extra cushioning, a smooth interior, and a wide, secure fit to minimize rubbing and hot spots you might not feel. Prioritize a low-profile seam design and a removable insole so you can use custom orthotics if needed. It’s also important to check shoe fit later in the day because swelling can change how a diabetic shoe fits over time.
Why is proper footwear important for diabetes and foot ulcers?
Proper footwear is critical because diabetes can cause neuropathy and poor circulation, making it easier to develop unnoticed injuries and slower healing. Shoes that don’t fit well can create pressure points, friction, and blisters that may progress into diabetic foot ulcers. Supportive diabetic-friendly shoes help distribute pressure and protect the skin, lowering the risk of complications.
Which shoe features should I look for in diabetes-friendly athletic or walking shoes?
For diabetes-friendly walking shoes, look for a breathable upper, a wide toe box, and a cushioned insole that maintains comfort during longer wear. A rocker or flexible outsole can improve gait and reduce stress on the forefoot, while heel stability helps prevent rubbing. If you need extra protection, consider athletic shoes with a firm but comfortable midsole and room to add orthotics.
Best way to break in shoes for diabetes without causing blisters?
To break in shoes safely, choose diabetes shoes that fit comfortably from day one—avoid “breaking in” tight footwear because it can create pressure points. Wear them for short periods at first, using clean, moisture-wicking socks, and inspect your feet daily for redness, irritation, or new pressure areas. Because sensation may be reduced, consider checking the inside of the shoes for seams or debris and replace worn insoles to maintain diabetic foot support.
📅 Last Updated: October 22, 2026 | Topic: best shoes for people with diabetes | Content verified for accuracy and freshness.
References
- https://www.cdc.gov/diabetes/managing/foot-care.html
- https://medlineplus.gov/diabeticfootcare.html
- https://www.mayoclinic.org/diseases-conditions/diabetic-foot/in-depth/diabetic-foot/art-20044233
- Recommendations | Diabetic foot problems: prevention and management | Guidance | NICE
- Search – NIDDK
- https://pubmed.ncbi.nlm.nih.gov/?term=diabetic+foot+ulcer+prevention+footwear+insoles
- Diabetic foot
- https://scholar.google.com/scholar?q=diabetic+footwear+recommendations+shoes+ulcer+prevention Google Scholar
- https://scholar.google.com/scholar?q=diabetes+best+shoes+for+neuropathy+pressure+insoles Google Scholar
- https://scholar.google.com/scholar?q=custom+footwear+diabetic+foot+ulcer+prevention+systematic+review Google Scholar