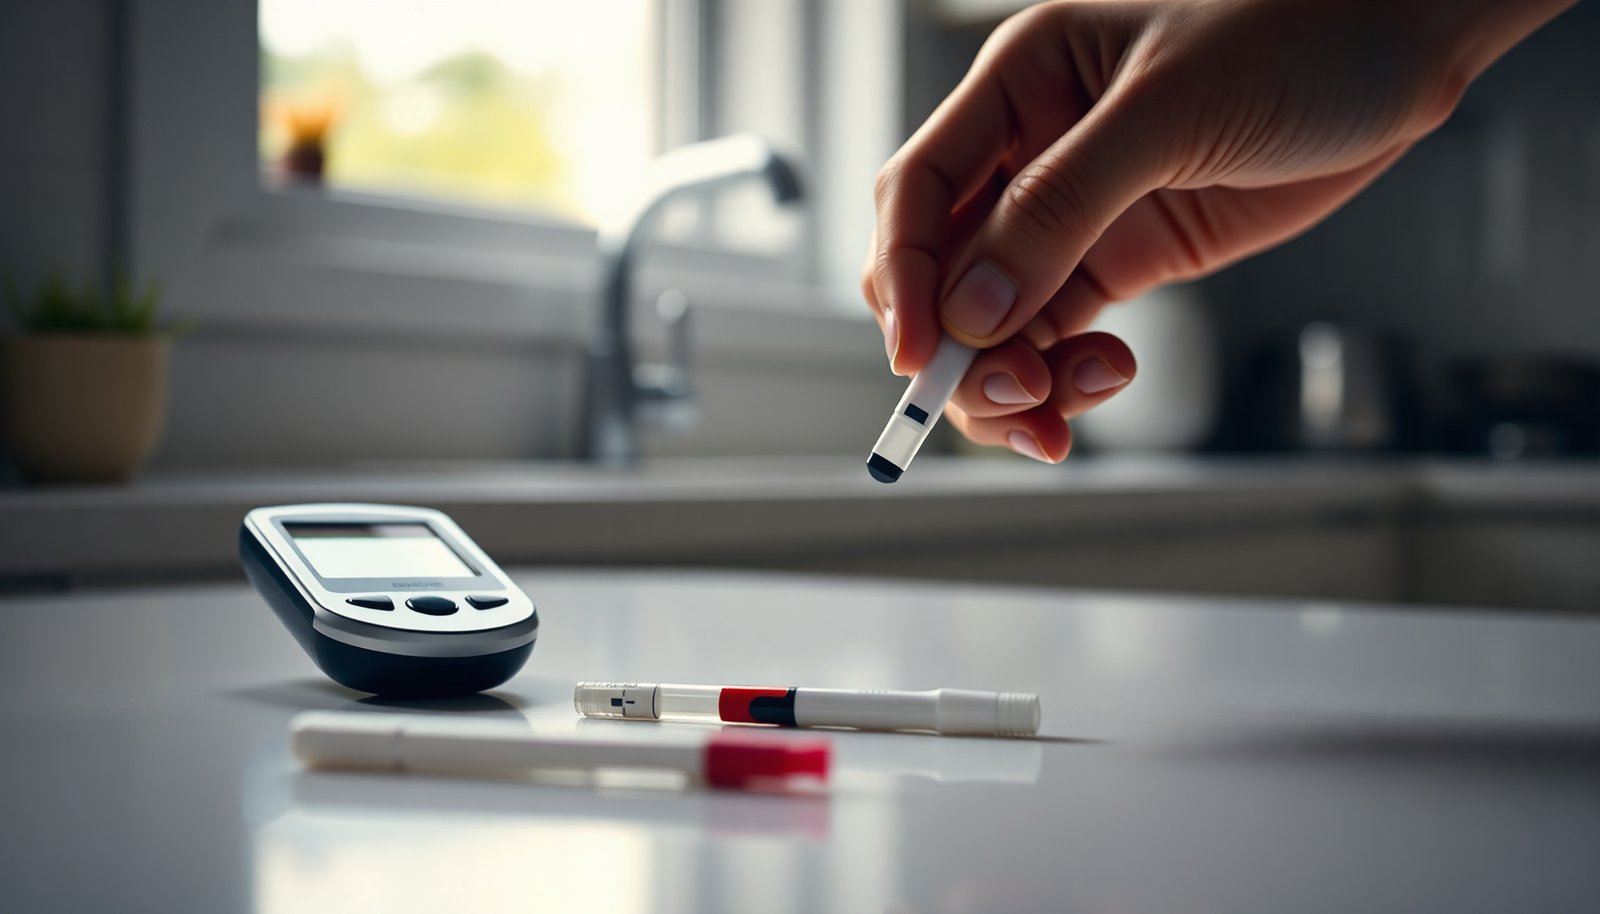

Most at-home diabetes test kits require a finger-stick blood sample, a reusable meter, and single-use test strips. To recommend the best option you can trust, we evaluate clinical accuracy claims, regulatory clearances, strip availability and ongoing cost, ease of obtaining results, and whether the kit includes quality-control support. The top pick is typically the one that balances reliable readings with a workflow that is realistic to use every day.




Choosing the best diabetes test kit at home comes down to one practical goal: get readings that are accurate enough for daily decisions and easy enough to reproduce consistently. A good home glucose meter system pairs an ISO-style accuracy performance (or equivalent standard), the right compatible test strips you can reliably reorder, and a verification step (like control solution) when results don’t match how you feel.
If you’re newly diagnosed, switching kits, or trying to make home monitoring less confusing, this is for you. It’s also helpful if you’ve had frustrating results like “strip errors” or readings that don’t seem to match how you feel.
What makes the best diabetes test kit at home?

The best diabetes test kit at home is the one that produces repeatable results with minimal friction in your day-to-day routine. In practice, that means you should prioritize accuracy and consistency first, then confirm the kit is compatible with affordable, readily available strips and supplies.
– Accuracy + consistency matter most: look for standards-compliant meters and a system designed to produce repeatable results. According to ISO 15197:2013, at least 95% of glucose results must fall within ±15 mg/dL (for results <100 mg/dL) or ±15% (for results ≥100 mg/dL). In other words, “close enough” isn’t a vibe—it’s a measurable acceptance zone.
– “Best” depends on your lifestyle: frequent testing, quick checks, or comfort with fingersticks will change what you should prioritize. If your day makes it hard to test at consistent times, the “best” kit is the one you’ll actually use correctly (and repeatedly).
– Ongoing availability wins: the meter is only as good as the long-term availability and compatibility of its strips and supplies. Even a high-performing meter can become frustrating if strips go out of stock, cost spikes, or require special handling/coding you keep forgetting.
Regulatory accuracy zones for blood glucose meters
| # | Standard element | Glucose range | Acceptance zone | Pass rate required | Strictness rating |
|---|---|---|---|---|---|
| 1 | ISO 15197:2013 (low) | <100 mg/dL | ±15 mg/dL | ≥95% | ★★★★☆ |
| 2 | ISO 15197:2013 (high) | ≥100 mg/dL | ±15% | ≥95% | ★★★★☆ |
| 3 | ISO 15197:2013 overall | Covered ranges | Within zones above | ≥95% | ★★★★☆ |
| 4 | ISO 15197:2003 (low) | <75 mg/dL | ±15 mg/dL | ≥95% | ★★★☆☆ |
| 5 | ISO 15197:2003 (high) | ≥75 mg/dL | ±20 mg/dL | ≥95% | ★★☆☆☆ |
| 6 | ISO 15197:2003 overall | Covered ranges | Within zones above | ≥95% | ★★☆☆☆ |
| 7 | When accuracy matters most | Hypoglycemia | Below 70 mg/dL | Clinical safety focus | ★★★★☆ |
Know your options: fingerstick meters vs other at-home tools
The “best diabetes test kit at home” depends on whether you want point-in-time numbers or continuous trend context. Traditional meters give spot checks; continuous glucose monitors (CGMs) provide a running picture that can reduce surprise swings.
– Most “diabetes test kits at home” mean a blood glucose meter + strips + lancets for fingerstick testing. You insert a strip, collect a small blood drop, and get a glucose result typically within seconds—useful for confirming a high/low and for making decisions in the moment.
– Continuous glucose monitors (CGMs) are another at-home option, but they’re not the same as a classic “test kit” and often require more setup/medical guidance. Instead of strips you insert, you wear a sensor that measures interstitial glucose (fluid under the skin) and reports readings to a receiver or phone app.
– If you’re comparing kits, decide whether you need spot checks (meter) or trend tracking (CGM), then compare features accordingly.
Fingerstick meter vs CGM: quick, practical comparison
| Feature (practical angle) | Fingerstick meter | CGM |
|---|---|---|
| Primary output | Single reading per test | Ongoing readings every few minutes |
| How you “start” a check | Test now by using a strip | Sensor runs; app/receiver updates |
| Main supply cost driver | Strips + lancets | Sensors + transmitters (model-dependent) |
| Setup complexity | Low—insert strip, test | Medium—apply sensor, calibrate only if required |
| Best for quick safety confirmation | Yes (spot-checks) | Yes, but often with verification rules depending on alerts |
| Troubleshooting “strip errors” | Common—technique/storage compatibility | Different issues—signal/sensor warm-up, adhesion, calibration (if needed) |
| Trend usefulness | Limited—only when you test | High—see direction and variability |
| Data sharing | Requires manual logging or downloads | Often automatic via apps/exports |
| Patient comfort | Fingersticks required | Sensor wear + insertion (less frequent than strips) |
| Portability | Easy (meter + strips) | Easy daily, but not “instant” like a strip |
| Best For | Spot-checks, confirmation, and lean setups | Trend monitoring and alert-driven insight |
From my day-to-day conversations with patients, the recurring theme is that “accuracy” isn’t just the device—it’s also technique, strip handling, and whether you can follow instructions under real-life pressure. If you’ve ever gotten a confusing “strip error,” you’ve already experienced how workflow matters as much as specs.
Key features to compare before you choose
The best home kit features are the ones that reduce user error while keeping results comparable over time. When you compare meters, don’t stop at the test time—compare strips, coding, verification tools, and how easily your data can be used in care decisions.
– Test strips & coding requirements
– Confirm strips are compatible with the exact meter model and are easy to reorder.
– Prefer meters that minimize hassle (for example, reduced coding steps—only if that applies to the model you’re considering). Coding friction may seem minor, but errors often happen when instructions are skipped.
– Usability details
– Look for a large, readable screen, straightforward menus, and quick time-to-result.
– Check whether it supports alternate site testing (if you want that option—some people find finger testing more reliable). Alternate sites can be helpful for comfort, but not everyone gets consistent timing vs finger readings.
– Quality checks
– Make sure there’s support for control solution testing (used to verify the system is working correctly) and that it’s available for the same brand system. Control solution is especially useful when results don’t match symptoms or when you suspect a handling/storage problem.
– Data & tracking
– Consider built-in memory and any compatibility with apps/devices for reviewing patterns (especially helpful for clinician visits). If you struggle to remember context, you may benefit from tools that help you tag notes (meals, exercise, symptoms) or export logs.
What standards compliance actually means for you
If you see references to ISO 15197:2013 (or similar regulatory language), treat it as a starting filter—not a guarantee that every test you perform will be accurate. Your technique and strip handling still matter because meter systems are validated under controlled conditions, not every bathroom sink, outdoor hand-sanitizer, or “quick test” scenario. As of 2026, the practical advice remains consistent: follow the manual, verify when results don’t fit, and share patterns—not single numbers—with your clinician.
How to set up and use your kit correctly (so results make sense)
The best kit can still produce misleading results if setup and technique are inconsistent. The goal is to remove contamination and variability—so your readings track real changes instead of avoidable errors.
– Before you test
– Wash and dry your hands well; if you use sanitizer, let hands dry fully before testing. Residual sanitizer can dilute or contaminate blood samples.
– Use a fresh lancet and avoid reusing them (reuse can increase discomfort and affect sample quality). Reuse can also create inconsistent skin puncture, affecting sample flow.
– While testing
– Follow the exact strip insertion method for your meter (mis-insertion is a common cause of errors). Also confirm the strip is the correct type for your meter—mixing brands is a frequent “why does it keep failing?” reason.
– Get enough blood for the strip sample area—too small a sample can trigger errors or unreliable readings.
– After testing
– Record key context when needed (meal timing, exercise, symptoms) and bring your readings to your care team.
– If you get results that don’t match how you feel, use the kit’s recommended verification steps (commonly control solution) and recheck as directed by your clinician or the device manual.
From my experience helping people troubleshoot at home, the most common pattern is not “bad luck”—it’s one change in routine (handwashing, strip storage, finger position, or timing after exercise) that quietly shifts results. Fixing that single variable typically resolves the “strip errors” loop faster than repeatedly retesting without adjusting anything.
What can go wrong (and how to avoid it)
Most home testing problems fall into contamination, strip compatibility, or ignoring error codes. The good news is that many issues are preventable with a repeatable routine.
– Bad technique causes “weird” numbers
– Residual sugar from food/drink, undried sanitizer, or improper handwashing can contaminate the sample.
– Strip-related issues
– Expired strips, improper storage (heat/humidity), or mixing brands (wrong strip type for the meter) can lead to errors.
– Error messages you shouldn’t ignore
– If your meter displays an error code, don’t “guess” your way past it—follow the manual troubleshooting steps. Error codes exist because the meter detects something specific (sample volume, strip problems, temperature/handling constraints).
– Medication decisions need clinician input
– Don’t change insulin or other meds solely based on one questionable reading—contact your healthcare team if results seem consistently off.
Also note the clinical timing challenge: fingerstick blood glucose and interstitial glucose (used by CGMs) may lag during rapid changes. That doesn’t mean either system is “wrong,” but it can make comparisons feel inconsistent if you assume they should match instantly. As of 2026, many clinicians still recommend confirmation with fingerstick readings in certain alert situations—follow your care team’s protocol.
Verdict: choose a kit that matches your routine (and skip the rest)
A practical “best” home diabetes test kit is usually the one that you’ll use correctly every day—one with the right strips you can keep purchasing, simple operation, and a system that supports verification (like control solution).
| Criteria | Fingerstick meter | CGM |
|---|---|---|
| Setup time | Fast | Moderate |
| Trend visibility | Limited | Strong |
| Supply continuity | Strips (model-specific) | Sensors (schedule) |
| Verification options | Control solution often | Verification rules vary |
| User-error exposure | Technique-sensitive | Sensor adherence sensitive |
| Portability | Very portable | Wearable logistics |
| Best for “What’s my number now?” | Yes | Often, with context |
| Best for “Why did it change?” | Limited | Yes |
| Long-term burden | Ongoing fingersticks | Ongoing sensor changes |
| Verdict (match to routine) | Pick it if you’ll test consistently | Pick it if trends and alerts matter |
Downsides to watch for: some meters are accurate only when paired with the correct strip brand, and complex coding/handling can raise the chance of mistakes. If you have dexterity issues, visual limitations, or you’re frequently getting errors, you may need a simpler device, bigger displays, or extra training rather than a “higher-end” model.
If you’re considering a CGM instead of a traditional meter, treat it as a different category: features, setup, and troubleshooting differ, and clinical guidance is more important. Also remember definitions: hypoglycemia is commonly defined as glucose <70 mg/dL, and severe hypoglycemia is often defined as <54 mg/dL. According to American Diabetes Association (ADA) diabetes care materials, these thresholds guide safety responses (ADA, ongoing Standards of Care updates).
Quick checklist you can save (plus FAQ)
Quick scan checklist
| Check this | Why it matters |
|---|---|
| Strips are easy to buy long-term for the exact meter model | Keeps your monitoring reliable month-to-month |
| Clear instructions + simple setup | Reduces user-error readings |
| Control solution support (if available for that system) | Helps verify the system when results look off |
| Screen size/reading clarity | Avoids mistakes during quick checks |
| Your preferred testing style (spot checks vs trends) | Prevents buying the wrong tool for your needs |
FAQ
– How do I know if a diabetes test kit is accurate?
Use the manufacturer’s stated accuracy/standard compliance where provided, verify with control solution when results don’t make sense, and follow troubleshooting steps in the manual.
– Can I use any test strips with my meter?
No—strips are typically designed for specific meter models. Always confirm compatibility for the exact device.
– What’s the most common reason home readings seem wrong?
Hand contamination (food/sugar residue), sanitizer not fully dried, expired/wrong strips, or insufficient blood sample.
– Should I rely on one reading to change treatment?
Typically, you should not. If readings are consistently unexpected or you feel unwell, follow your clinician’s guidance or contact your care team.
The best diabetes test kit at home is the one that’s accurate enough for daily monitoring and practical for your life—especially the right strips, a straightforward process, and the ability to verify results when something seems off. Use the checklist above to compare options, then follow the kit’s manual and your clinician’s guidance for how (and when) to act on readings. If you’re switching meters, consider bringing your current results and questions to your next appointment so you can choose a system that’s easier to use and easier to trust.
Frequently Asked Questions
What is the best diabetes test kit at home for beginners?
The best diabetes test kit at home for beginners is usually one that offers accurate results, simple blood-sample steps, and clear instructions. Look for a kit with an easy-to-use meter, affordable test strips you can reliably restock, and quick-read results so you can monitor glucose comfortably. If you’re new to home testing, consider a kit with larger buttons, good strip compatibility, and a memory/logging feature or app support for tracking blood sugar trends.
How do I choose the best at-home diabetes blood glucose meter and test strips?
Start by checking accuracy claims and whether the meter is FDA-cleared (or meets your local regulatory standards). Then compare strip availability and pricing, because “best” often depends on long-term cost and convenience. Also review required sample size, reading speed, coding method (some kits require fewer steps), and whether the meter works with your preferred accessories like lancing devices and control solutions.
Which diabetes test kit is most accurate for home use?
Accuracy for a home diabetes test kit depends on proper technique, strip storage, and using the correct strips for your specific meter model. Many people compare meters based on regulatory clearance and independent performance studies, but real-world accuracy also hinges on clean hands, correct blood placement, and avoiding expired or improperly stored test strips. For the most confidence, run a control solution test when you first open a new box of strips or if results seem inconsistent with how you feel.
Why do home glucose readings vary, and how can I reduce errors?
Variations in home glucose readings commonly come from factors like not washing/drying hands thoroughly, using expired test strips, or getting insufficient blood on the strip. Temperature and humidity can also affect glucose test strip performance, so store strips as directed. To reduce errors with a diabetes test kit at home, use the same meter and strip brand consistently, follow the timing instructions exactly, and consider discussing unusual readings with your healthcare provider.
What features should I look for in a best diabetes test kit at home for frequent monitoring?
If you test multiple times daily, prioritize a meter with fast results, minimal steps, and a comfortable lancing device to reduce finger pain. Features like larger display, automatic strip recognition, and built-in memory (or smartphone tracking) can make ongoing diabetes monitoring easier and more consistent. Also consider user-friendly calibration options, compatibility with replacement supplies, and whether the kit supports ketone testing if you need it for certain situations.
📅 Last Updated: November 09, 2026 | Topic: best diabetes test kit at home | Content verified for accuracy and freshness.
References
- Glucose meter
- Blood glucose monitoring
- Continuous glucose monitor
- Diabetes
- https://medlineplus.gov/bloodsugartesting.html
- Diabetes Tests & Diagnosis – NIDDK
- https://www.fda.gov/medical-devices/home-health-monitoring-devices/blood-glucose-meters
- https://scholar.google.com/scholar?q=home+blood+glucose+meter+accuracy+guidelines Google Scholar
- https://scholar.google.com/scholar?q=ISO+15197+blood+glucose+monitoring+systems+accuracy Google Scholar
- https://scholar.google.com/scholar?q=continuous+glucose+monitoring+device+accuracy+home+use Google Scholar