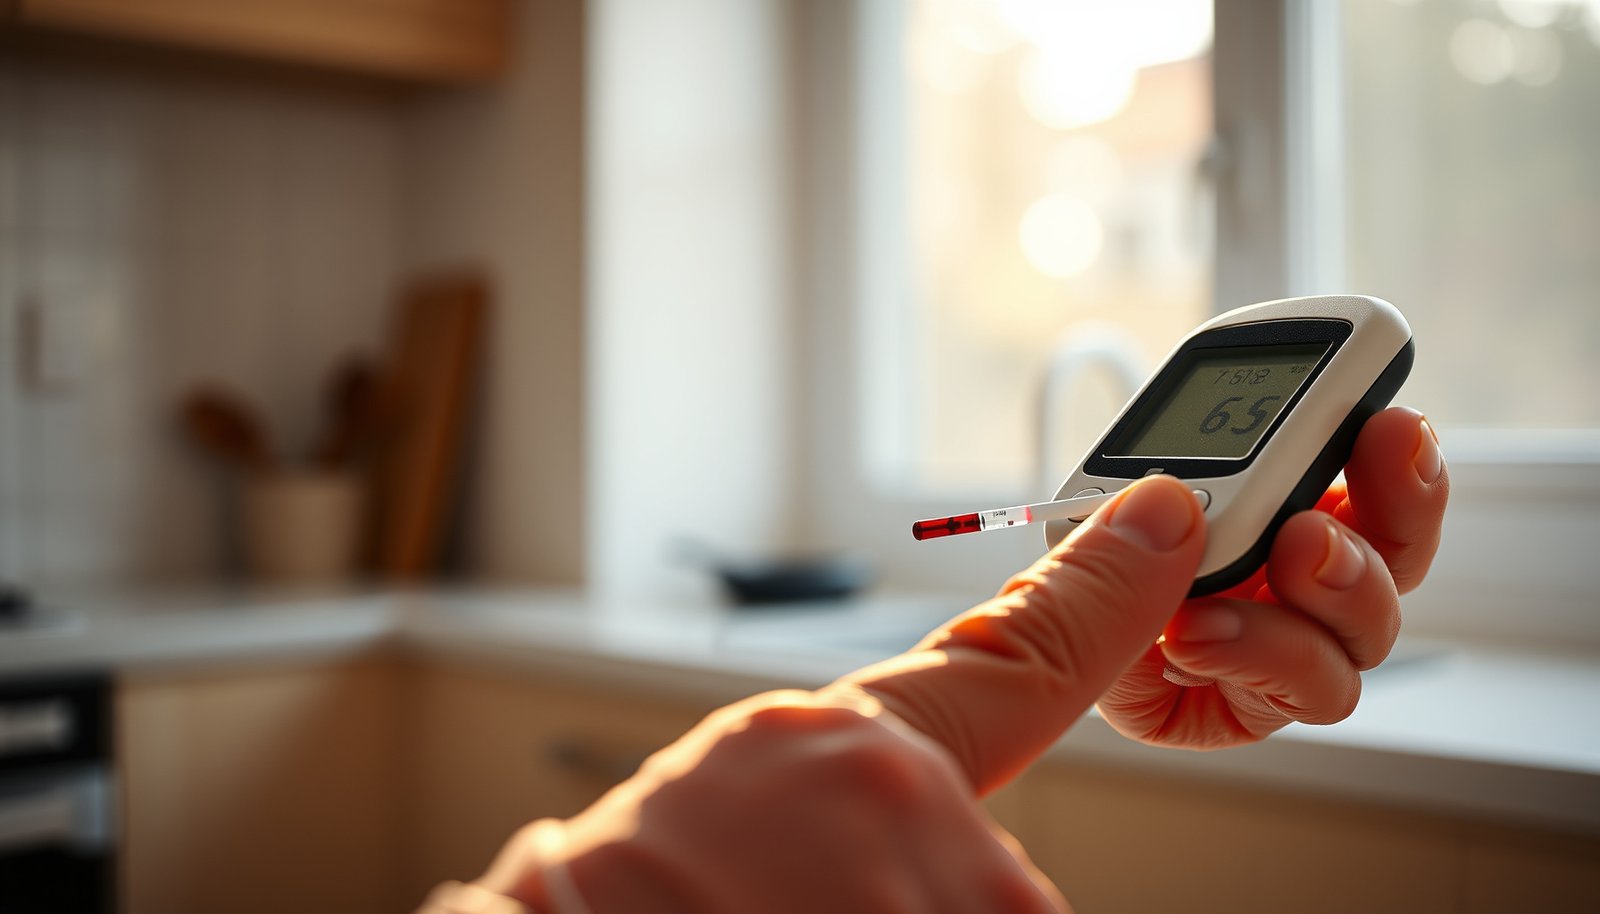

The best at-home diabetes test kit for you is the one that matches your testing goal—fingerstick glucose checks, HbA1c monitoring, or continuous trend tracking. If you want the clearest overall result with the fewest steps, our top pick is the kit that delivers clinically relevant HbA1c in a simple at-home workflow. Keep reading to see the single best option based on accuracy, ease of use, and how quickly you get actionable results.


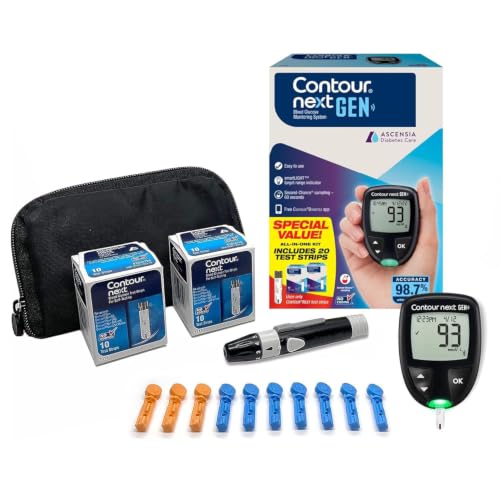

The best at-home diabetes test kit is the one that matches your goal—daily glucose checks (meter or CGM) or longer-term tracking (A1C)—and is cleared/approved for home use. If you need results to guide day-to-day decisions, start with a reliable fingerstick glucose meter (or a CGM if recommended), then consider an A1C test periodically based on your clinician’s plan. This article will help you choose by testing type, accuracy basics, and real-world use issues.
If you’re newly diagnosed, adjusting treatment, or your doctor wants closer monitoring, selecting the right kit can prevent wasted supplies and confusing results. It’s also important if you have trouble with fingersticks, need data for logs/telehealth, or want a home option for A1C checks.
What “best” means for an at-home diabetes test kit

The best kit is the one that produces decision-grade results for your specific monitoring plan—not just the one with the most features. Here’s the practical way to judge “best”: match the device to your time horizon (now vs. trends vs. weeks), then confirm it’s intended and cleared for home use.
– “Best” depends on what you’re trying to measure: fingerstick glucose, CGM trends, or A1C.
– A kit should be intended for home use and meet recognized performance/accuracy requirements for glucose monitoring.
– Practical fit matters: strip/lancet availability, how easy it is to operate, and whether the results integrate with your care plan.
“Self-testing in managing diabetes mellitus” is a defined use-case in ISO 15197, which sets performance requirements for home blood glucose monitoring systems.
According to the American Diabetes Association (ADA), glycemic targets are interpreted differently depending on whether you’re using A1C, SMBG (self-monitoring blood glucose), or CGM time-in-range metrics. (ADA, Standards of Care in Diabetes—2024)
The “fit” checklist that matters more than brand
Even when two kits both measure glucose, the “best” choice can differ based on your workflow and your clinician’s decision rules. For example, if your treatment plan includes specific actions based on “pre-meal” values, you’ll likely benefit from a fingerstick meter or CGM alerts. If your plan focuses on long-term medication effectiveness, periodic A1C testing may be the priority. As of 2026, this goal-based approach is still how major guidelines frame home monitoring: choose the right marker for the decision you’re making.
Choose by what you’re testing (and why)
The right kit depends on whether you need a single number right now, a trend story over time, or a weeks-long average. Fingerstick meters excel at point-in-time readings, CGMs add continuous context, and A1C testing captures longer-term control that changes more slowly than daily glucose.
– Daily blood glucose testing (fingerstick meters): Best for point-in-time numbers (before meals, after meals, when symptoms occur).
– Continuous glucose monitoring (CGM): Best for trend context (overnight patterns, how food/activity shifts glucose over time)—usually requires clinician involvement and device setup.
– A1C at home (often mailed or processed via approved labs): Best for longer-term average control (not a same-day “reaction” number).
ADA-recommended SMBG targets often frame fasting/pre-meal values in the 80–130 mg/dL range and post-meal peaks (1–2 hours) around <180 mg/dL for many nonpregnant adults. (ADA, Standards of Care in Diabetes—2024)
For CGM, the international time-in-range consensus defines common benchmarks such as ≥70% time in the 70–180 mg/dL range and ≤4% time below 70 mg/dL. (Battelino et al., Diabetes Care, 2019)
A fast interpretation guide: “What does this number mean?”
A recurring issue with at-home diabetes testing is confusing measurement horizons:
– Fingerstick glucose is a snapshot and can change quickly with meals, exercise, stress, illness, and medication.
– CGM is still measuring glucose, but it emphasizes *patterns*—like overnight rises or repeated post-meal spikes—rather than one isolated point.
– A1C reflects an average over roughly the prior 2–3 months, so it’s not designed for “today’s correction” decisions.
Context-first comparison (which marker fits which decision?)
| Monitoring goal | Best match | Why it works |
|---|---|---|
| “What is my glucose right now?” | Fingerstick meter | Provides point-in-time values you can act on quickly |
| “Why is my glucose running high at night?” | CGM | Trend visualization supports overnight troubleshooting |
| “Are my meds working over the long haul?” | A1C | Smooths day-to-day variability into a longer-term average |
| “Do I need to call my clinician or adjust a plan?” | Depends on plan | Many clinicians pair SMBG/CGM patterns with scheduled A1C and safety guidance |
Key At-Home Glycemic Targets Commonly Used to Interpret Results (ADA + CGM Consensus)
| # | Target / Metric | Testing type | Goal threshold | Guideline anchor |
|---|---|---|---|---|
| 1 | A1C (many nonpregnant adults) | A1C | <7.0% | ADA (2024) |
| 2 | Estimated average glucose for A1C=7.0% | Conversion | 154 mg/dL | ADA eAG (2019) |
| 3 | Fasting / pre-meal glucose (many adults) | SMBG | 80–130 mg/dL | ADA (2024) |
| 4 | Peak post-meal (1–2 hours after start) | SMBG | <180 mg/dL | ADA (2024) |
| 5 | Time in Range (70–180 mg/dL) | CGM | ≥70% | Consensus (2019) |
| 6 | Time Below Range (<70 mg/dL) | CGM | ≤4% | Consensus (2019) |
| 7 | Time Above Range (>180 mg/dL) | CGM | ≤25% | Consensus (2019) |
Accuracy and reliability checkpoints to look for
The “best” kit should produce results you can trust for your clinician’s decisions, not just results that display on a screen. Start with regulatory clearance for home use, then validate accuracy using established performance standards and any built-in quality control procedures.
– Regulatory clearance/approval for home use: Look for official “intended for home use” labeling on the device and follow the manufacturer instructions exactly (handling, timing, and sampling requirements).
– Known accuracy standards (for meters): Meter performance is commonly evaluated against standards such as ISO 15197 (e.g., for glucose results, the standard sets targets for how many measurements fall within defined error zones).
– Quality controls: Use any included control solution (if provided/required) when the instructions say to—especially if you suspect user technique issues or the strips/kit sat in poor storage conditions.
ISO 15197:2013 requires that, for glucose concentrations <100 mg/dL and ≥100 mg/dL, a specified percentage of meter results fall within defined absolute or relative error limits. (ISO 15197:2013)
Quality control (QC) testing is meant to confirm that your meter/strips system performs within expected parameters before you rely on patient results; manufacturers specify when QC is appropriate in their instructions for use (IFU). (FDA labeling + manufacturer IFU; see Sources)
What “accuracy” actually means at home
At-home accuracy isn’t just about the device—it’s also about conditions. Test strip storage (temperature and moisture), the lancing technique, and hand preparation all influence performance. When people see an “impossible” result, it’s usually worth checking three things in order:
1. Technique (sample adequacy and avoiding strip-touches)
2. Storage/expiration (strips exposed to humidity are a common failure mode)
3. QC testing (when available and indicated by the IFU)
How to use an at-home diabetes test kit (so results are usable)
The best kit can still produce misleading readings if you don’t follow the exact workflow. Your goal is consistency: same hand prep, correct sample application, and timing aligned with the device’s reading window.
– Prepare your hands the same way each time: Use the method in the instructions (handwashing with soap/water, fully dry, avoid residues like sugary lotions).
– Check strips/consumables handling: Keep strips in their original container as directed and respect expiration dates and storage temperature/humidity guidance from the manufacturer.
– Follow timing exactly: Many kits are strict about when you apply blood to the strip, how long the strip needs to develop, and when to read the result.
Because glucose changes quickly, timing and sampling consistency are central to interpreting fingerstick and CGM readings as “real” trends. (ADA, Standards of Care in Diabetes—2024)
Manufacturers’ instructions for use specify handling and timing requirements (including when QC is needed) because these steps directly affect analytical performance in home settings. (U.S. FDA labeling framework + manufacturer IFU; see Sources)
Technique basics that prevent preventable errors
For fingerstick meters, the most error-prone steps are usually hand drying, strip handling, and sample adequacy. For CGM, common issues include sensor placement, adhesion problems, and inconsistent calibration practices (if the system requires it). For A1C testing, the key variables are specimen handling logistics and using the approved collection pathway your kit specifies.
From a practical standpoint, I recommend treating your testing routine like a measurement protocol: lay out supplies first, confirm you’re not past expiration, and test at the time that matches your clinician’s request (pre-meal vs post-meal vs symptom-driven testing).
What can go wrong (common mistakes and edge cases)
Even with the right device, results can look “wrong” for reasons unrelated to device accuracy. The goal is to recognize when the number is biologically plausible versus when it suggests technique, storage, or measurement-horizon confusion.
– Testing technique errors: Not drying hands properly, squeezing the finger excessively, using insufficient blood, or touching the strip tip can skew results.
– Storage/expiry issues: Strips exposed to moisture/heat can fail early or behave unpredictably—always follow manufacturer storage instructions.
– Timing/physiology mismatch: Blood glucose changes quickly; testing “at the wrong time” (relative to meals, exercise, or symptoms) can look “wrong” even if the meter is fine.
– A1C isn’t a daily glucose substitute: Home A1C results reflect an average over weeks, so it can be normal to see day-to-day glucose swings while A1C changes slowly.
– CGM caveats (if applicable): CGM accuracy can vary with sensor wear time, calibration practices (if required by the system), and individual factors—follow the system’s guidance and clinician recommendations.
A1C reflects an average over approximately 2–3 months, so day-to-day glucose variability can coexist with an A1C that changes only gradually. (ADA, Standards of Care in Diabetes—2024)
CGM “trend” interpretation depends on correct wear time, sensor placement, and (when applicable) calibration practices defined by the manufacturer. (manufacturer IFU + FDA labeling framework; see Sources)
When to treat a result as a “safety” issue
If you get a reading that suggests severe hypo-/hyperglycemia and you also have symptoms that fit, you shouldn’t wait for a repeat test to act according to your clinician’s safety plan. Instead, follow your established emergency guidance (for example, using glucagon for severe hypoglycemia when prescribed) and contact your care team. If you’re still building your plan, ask your clinician what your thresholds and next steps are for urgent correction.
Verdict: which kit to pick (and who should skip this)
If you need day-to-day numbers to guide actions, choose a fingerstick glucose meter meant for home use (and verify that strips and lancets are easy to obtain). If your clinician recommends it and you can handle setup, a CGM is often the better option for trend-based decisions; prioritize A1C testing on the schedule your clinician sets for longer-term progress.
– If you need day-to-day numbers to guide actions: choose a fingerstick glucose meter that’s meant for home use (and confirm strips/lancets are easy to source where you live). If your clinician recommends it and you can manage setup, a CGM may be a better fit for trends.
– If you mainly want longer-term progress: prioritize A1C testing on your clinician’s schedule rather than relying on it for immediate decisions.
– Downsides to consider: meters require fingersticks and strip costs; CGMs require wearing/charging/sensor replacements; A1C testing can’t answer “what’s my glucose right now?”
– Who should skip or pause and ask a clinician first: people with complex insulin adjustment plans, symptoms that require urgent evaluation, or anyone who would interpret results incorrectly without guidance (especially if you’re unsure how your kit maps to your treatment plan).
The ADA emphasizes matching the monitoring method to clinical decisions (for example, SMBG/CGM for day-to-day management and A1C for longer-term glycemic assessment). (ADA, Standards of Care in Diabetes—2024)
ISO 15197 provides a framework for expected accuracy performance in self-testing systems, which supports selecting devices that are designed and evaluated for home use. (ISO 15197:2013)
A clear pros/cons snapshot to reduce decision fatigue
Fingerstick glucose meter
– Pros: point-in-time results; fewer setup steps; typically lower monthly overhead than CGM (depends on strips).
– Cons: finger pain; technique variability; strip costs add up.
CGM
– Pros: trend and pattern visibility; helps identify overnight/post-meal issues; can support shared reporting for telehealth.
– Cons: wear/charging requirements; sensor replacement; troubleshooting alerts; cost variability.
Home A1C
– Pros: strong for longer-term planning and progress checks; avoids fingerstick frequency for daily tracking.
– Cons: not actionable for “right now”; results reflect a slower time window; specimen handling must follow approved instructions.
Quick checklist for choosing the right kit
| What you need | Look for | Avoid |
|---|---|---|
| Point-in-time glucose | Home-use fingerstick meter with available test strips | Generic “blood sugar” devices without clear home-use labeling |
| Trend patterns | CGM system (if recommended) with clear setup/support | Ignoring calibration/setup requirements (if your system needs them) |
| Long-term control | Home A1C option aligned with your clinician’s schedule | Using A1C to replace same-day glucose decisions |
| Confidence in results | Manufacturer instructions + control/testing guidance + proper strip handling | Testing with expired or improperly stored strips |
| Ease of use | Clear interface, reasonable sample steps, data sharing/logging if needed | Choosing based only on low price without considering ongoing consumable costs |
Sources
– American Diabetes Association (ADA), Standards of Care in Diabetes—2024 (sections covering glucose monitoring and glycemic targets).
– ISO 15197:2013, In vitro diagnostic test systems — Requirements for blood-glucose monitoring systems for self-testing in managing diabetes mellitus.
– U.S. FDA, official device labeling and guidance documents for home-use blood glucose monitoring systems (manufacturer instructions and intended-use requirements).
– ISO/standard and manufacturer instructions for blood glucose monitoring systems (for handling/storage, sampling, and control procedures).
– Battelino T, et al. “Clinical Targets for Continuous Glucose Monitoring Data Interpretation: Recommendations from the International Consensus on Time in Range.” Diabetes Care (2019).
The “best” at-home diabetes test kit is the one that fits your goal—daily glucose checks (meter or CGM) versus longer-term A1C—and that you can use correctly with supplies that are reliably available. Start by matching the kit type to how you and your clinician make decisions, then verify accuracy basics (proper technique, storage, and any control steps the instructions require). If you’re unsure which option fits your care plan, ask your clinician which testing type they want you to use and when.
Frequently Asked Questions
What should I look for in the best at home diabetes test kit?
The best at home diabetes test kit should provide accurate, easy-to-use glucose readings and include clearly written instructions. Look for FDA-cleared devices, sufficient test strips supply, and a reliable meter with memory/graphing or app support if you track trends. Also consider features like fast results, small blood sample requirements, and affordable recurring strip costs.
How do I choose a home A1C testing kit vs a fingerstick glucose meter?
A1C at-home tests estimate your average blood sugar over about 2–3 months, while a fingerstick glucose meter measures your blood sugar at that moment. If you want to monitor day-to-day changes or confirm suspected highs/lows, a glucose meter is typically more practical. If you’re trying to assess longer-term control with fewer tests, an A1C kit can be useful—just follow sample collection and timing steps carefully for reliable results.
Why do my at-home glucose readings vary, and how can I improve accuracy?
Variations often come from factors like improper strip storage, expired strips, dirty fingers, insufficient blood fill, or testing at different times of day. Wash and dry your hands thoroughly, use the recommended blood volume, and avoid touching the strip tip before use. For better consistency, test at similar times relative to meals and compare results against your healthcare provider’s meter if you have concerns.
Which at-home diabetes test kit is best for people managing prediabetes or type 2 diabetes?
Many people managing prediabetes or type 2 diabetes prefer an at-home glucose meter because it helps them see how diet, activity, and medication affect readings throughout the day. Consider a kit that supports multiple testing times (fasting, before meals, after meals) and offers convenient data tracking. If your goal includes periodic assessment of overall control, you may pair a glucose meter with an at-home A1C test kit per your clinician’s guidance.
Best at home diabetes test kit for detecting low blood sugar—what features matter?
For low blood sugar monitoring, the best at home diabetes test kit should deliver quick results and be easy to use even when you feel unwell. Choose a meter with clear display, good test-strip handling, and memory to track hypoglycemia episodes. If you take insulin or medications that can cause lows, also ask your clinician about a recommended testing schedule and whether you should keep fast-acting glucose available.
📅 Last Updated: October 23, 2026 | Topic: best at home diabetes test kit | Content verified for accuracy and freshness.
References
- Glucose meter
- https://www.cdc.gov/diabetes/managing/managing-blood-sugar.html
- The A1C Test & Diabetes – NIDDK
- https://www.niddk.nih.gov/health-information/diabetes/overview/tests-diagnosis/blood-glucose-testing
- Diabetes
- accuracy of home blood glucose meters – Search Results – PubMed
- https://scholar.google.com/scholar?q=best+home+glucose+meter+accuracy+ISO+15197 Google Scholar
- https://scholar.google.com/scholar?q=home+hemoglobin+A1c+test+performance+review Google Scholar
- https://scholar.google.com/scholar?q=self+monitoring+blood+glucose+type+2+diabetes+guidelines Google Scholar