

You’re about to test blood glucose in 2017, and the strip cost, reading time, and display clarity all feel like they matter. We evaluate each meter on accuracy, strip availability and total cost, speed, coding requirements, memory for trends, and day-to-day usability. One model stands out for consistently reliable readings with straightforward handling and easy access to strips.


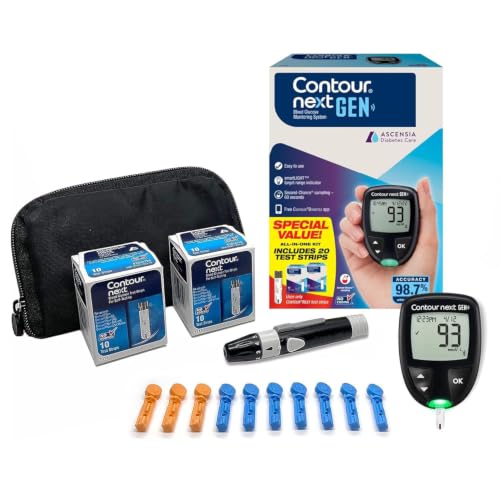

The best diabetic meter in 2017 is the one that gives reliable readings with test strips you can actually get consistently—because accuracy isn’t helpful if you can’t use it daily. In 2017-era home testing, the “best” diabetic meter is the one that meets recognized accuracy targets for self-testing and minimizes avoidable user errors (coding, strip storage, and sampling technique).
If you’re switching meters, starting home testing, or tired of confusing results, this is for you—especially if you’re shopping using 2017-era features and strip options. Even if you end up buying a newer model, the decision framework stays the same.
How to pick the best diabetic meter (2017 criteria)
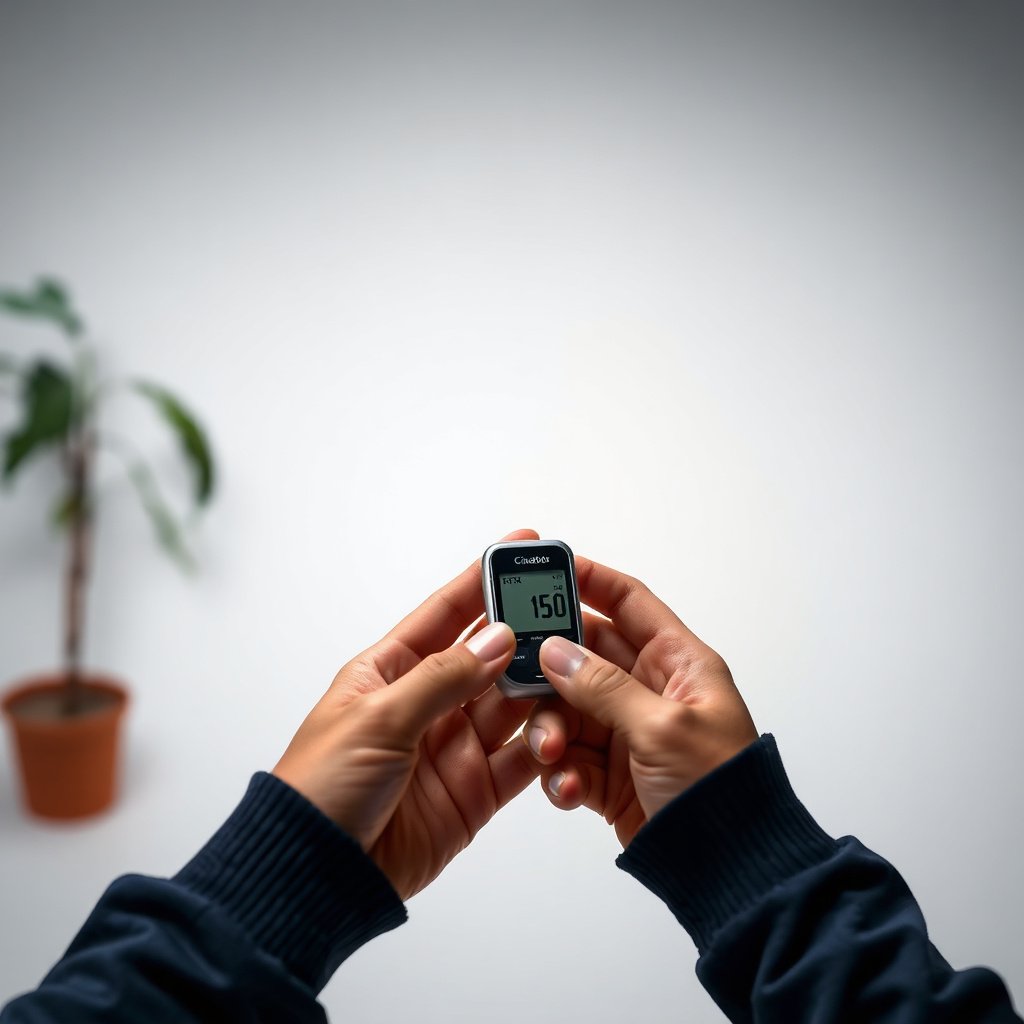
The best way to choose the best diabetic meter for 2017 is to start with standards-based accuracy and then validate that you can use the system (meter + strip) correctly every day. Here’s why: a diabetic meter’s lab performance matters, but real-life accuracy depends just as much on strip availability, correct coding (if required), and ease of operation.
First, take the “accuracy” claim seriously—because different meters can behave differently at the edges (especially around hypoglycemia or borderline high readings). According to ISO 15197:2013, for glucose concentrations under 100 mg/dL, 95% of results must fall within ±15 mg/dL. According to ISO 15197:2013, for glucose concentrations 100 mg/dL or higher, 95% of results must fall within ±15%. Those acceptance targets are designed for glucose meters intended for self-monitoring of blood glucose (SMBG).
Next, evaluate whether the diabetic meter fits your routine in a very practical sense. A meter that looks “accurate” on paper but uses strips that are hard to find or difficult to store reliably will lead to missed tests, incorrect technique, and ultimately less useful data.
– Prioritize accuracy and safety: look for meters that are cleared/approved for home use and meet recognized accuracy requirements (e.g., ISO 15197 targets).
– Focus on real-life consistency: choose a device where strips are widely available and don’t require frequent “special” handling.
– Match the meter to your routine: some people test multiple times a day and need speed and easy strip loading more than anything else.
To make the ISO 15197 accuracy idea more concrete for shoppers in 2017, here’s how the two main tolerance rules translate across common glucose levels:
ISO 15197:2013 Self-Testing Tolerance at Common Glucose Levels
| # | Glucose level (mg/dL) | Glucose (mmol/L) | ISO tolerance rule | Allowed deviation magnitude |
|---|---|---|---|---|
| 1 | 60 | 3.33 | ±15 mg/dL (<100) | ±15.0 mg/dL |
| 2 | 80 | 4.44 | ±15 mg/dL (<100) | ±15.0 mg/dL |
| 3 | 90 | 5.00 | ±15 mg/dL (<100) | ±15.0 mg/dL |
| 4 | 110 | 6.11 | ±15% (≥100) | ±16.5 mg/dL |
| 5 | 140 | 7.78 | ±15% (≥100) | ±21.0 mg/dL |
| 6 | 180 | 10.00 | ±15% (≥100) | ±27.0 mg/dL |
| 7 | 250 | 13.89 | ±15% (≥100) | ±37.5 mg/dL |
This is one reason your diabetic meter choice should never be purely about brand—it’s about meeting accuracy expectations for home use and then pairing it with a strip supply you can realistically maintain.
Features that affect accuracy and daily usability
A diabetic meter can look “accurate” in controlled testing yet still produce confusing results at home if the design invites user mistakes. In 2017, the biggest practical difference between meters often comes down to how they handle blood sampling comfort, coding style, and the workflow required to complete a clean test.
Sample size matters because it changes how reliably a fingertip can provide enough blood without stress. A diabetic meter that requests a smaller sample may help frequent testers—but your best bet is to verify the required sample size in the manufacturer’s manual and practice the technique once when you’re calm, not during an urgent moment. Technique is not optional: the strip needs consistent blood contact, and users have to avoid smearing the strip tip or under-filling the target area.
Coding (manual coding vs. auto-coding) is another frequent source of “bad numbers.” Manual coding requires matching the code on the strip vial to what the meter expects. If you choose the wrong code—or skip coding when it’s required—your diabetic meter can systematically drift high or low. Auto-coding reduces that risk, especially for people testing multiple times per day.
Finally, read time and operation design influence errors. If strip insertion is easy but the menu flow is confusing, people adapt by rushing. Rushing increases incomplete sampling, improper wiping, and the common “insufficient blood” outcomes that lead to repeat tests and fatigue. In diabetes self-management, fatigue is a real variable, especially in 2017-era daily routines.
– Sample size and pain/comfort: a smaller blood sample can make frequent testing easier, but confirm the meter’s specs in the manufacturer’s manual.
– Coding/auto-coding vs. manual coding: manual coding increases the chance of user error if you mistype or forget the code.
– Read time and ease of operation: if buttons, menus, or strip insertion are confusing, errors go up—especially during busy moments.
Here’s a quick comparison of coding workflows, which can help you predict which diabetic meter will be easiest to use correctly in daily life:
| Coding approach | Best for | Main accuracy risk |
|---|---|---|
| Auto-coding | Busy routines, frequent testing, and anyone who forgets vial codes | Misuse still happens (strip handling/technique), but code mismatch is reduced |
| Manual coding | Users who consistently follow steps and double-check before starting | Wrong code selection can shift results and create “mystery” highs/lows |
If you’re evaluating meters from 2017, pay attention to this workflow impact first—because it directly affects the quality of the data your diabetic meter provides day after day.
What to compare when you shortlist meters in 2017
The best diabetic meter shortlist in 2017 should be built around what you can sustain—strip access, meter convenience, and dependable support—rather than only on headline features. After all, home testing only works when the meter + strips system stays reliable for months, not just during the first week.
Start with strip cost and access. In 2017, strip availability can vary by location, insurance coverage, and whether a strip line is discontinued or frequently substituted. Check local pharmacy availability and major online options, then review the expiry date and storage requirements printed on the strip vial/box. Moisture exposure is a common enemy of strip chemistry; a diabetic meter can’t fix strip degradation.
Next, evaluate convenience features that influence adherence: memory size, ability to download readings (via cable or app, depending on model), and whether the meter’s buttons are responsive in real-world conditions (gloves, car interiors, or cold rooms). A diabetic meter that’s technically accurate but awkward to operate will lead to missed data points, and those gaps can mask trends.
Support and warranty are also part of “accuracy” in practice. If you get erratic readings or a device fails, you need to know whether replacements are easy in your country/region and whether your clinician can help you transition to a new system smoothly.
– Strip cost and access: check local pharmacy availability and online options, and note expiry/shelf-life and storage requirements listed on the vial/box.
– Meter convenience: look at features like memory size, download compatibility, and whether you prefer simple button controls.
– Support and warranty: confirm how returns, replacements, and warranty claims work in your region before committing.
A quick reminder for 2017 shoppers: diabetes home monitoring isn’t niche—according to International Diabetes Federation (IDF) Diabetes Atlas, 9th edition, around 463 million adults were living with diabetes in 2019. That scale is why strip supply stability matters so much when you’re choosing a diabetic meter you’ll depend on routinely.
What can go wrong with diabetic meters
Even the best diabetic meter can produce misleading readings if small steps break down. In 2017-era home testing, most “bad numbers” trace back to predictable workflow errors: coding mismatch, improper strip handling, or inconsistent fingertip technique.
Coding mistakes are the most preventable issues with manual-coded meters. If the code on the strip vial doesn’t match what the diabetic meter expects (or if the user enters a wrong code), the meter may interpret strip chemistry incorrectly. The result can be a consistent bias—users then assume it’s their glucose changing.
Improper strip handling is another frequent culprit. Heat and moisture can change strip performance. Always close the vial immediately, avoid leaving it open on a humid counter, and store strips exactly as the manufacturer directs. A diabetic meter may still be functioning properly, but the strip chemistry may have drifted beyond what the system can correct.
Technique issues are also common: not allowing the strip/contact point to draw enough blood, wiping the fingertip in a way that removes blood from the sampling area, or squeezing too aggressively can distort results. Excessive squeezing can introduce interstitial fluid and dilute the sample. In practice, you want steady contact and consistent sampling—not brute force.
Finally, outliers happen. Unusual “low” or “high” readings can reflect real physiology, but they can also reflect a one-off technique or handling error. When your diabetic meter shows an unexpected result, follow your clinician’s guidance for confirmatory steps and safety procedures rather than chasing single numbers.
– Coding mistakes: using the wrong code (or failing to match it to the strip vial) can skew results.
– Improper strip handling: heat, moisture, and expired strips can cause unreliable readings—store strips exactly as directed.
– Technique issues: not letting the strip/contact point draw enough blood, wiping the fingertip inadequately, or squeezing excessively can affect results.
– “Low/high” outliers: unusual readings may reflect user technique, strip handling, or a meter limitation—confirm with your clinician’s guidance and follow your plan.
Verdict: our practical recommendation (and who should skip this approach)
If your goal is “best diabetic meter 2017,” the safest bet is a meter that’s (1) approved for home use, (2) paired with strips you can reliably purchase, and (3) easy enough to use correctly (ideally with minimal coding friction). In other words, choose a diabetic meter system you can operate without shortcuts—because accuracy is meaningless if you can’t test consistently.
The downside is important: even a high-quality diabetic meter won’t fix repeated technique errors, and meters differ in how they handle borderline readings. If your testing is inconsistent, start with strip storage, coding workflow, and fingertip technique before assuming the meter is “wrong.”
Skip a pure shopping-by-features approach and talk to your clinician first if you have complex conditions (for example, frequent extreme swings), rely on specialized testing contexts, or your current meter readings have been consistently inconsistent. Also consider clinician guidance if you’re switching diabetic meter systems and changing your monitoring plan—because trends and thresholds may need alignment.
Quick scan checklist (save this for shopping)
Use this checklist while you compare meters:
– [ ] Meter is approved/cleared for home glucose monitoring in your country
– [ ] Strips are easy to find where you live (pharmacy + online), and storage instructions are manageable
– [ ] Coding is minimal (auto-coding preferred) or you’re confident with manual coding
– [ ] You can use it correctly without rushing (simple insertion/buttons/menu)
– [ ] Strip expiry/storage requirements you can follow (temperature/moisture)
– [ ] You like the display and read time enough to test when you need to
Frequently Asked Questions
What is the best diabetic meter in 2017 for accurate blood sugar readings?
The best diabetic meter 2017 is typically the one that offers FDA approval, accurate results across a range of glucose levels, and consistent performance with minimal user errors. Look for meters that use reliable strip technology, require a small blood sample, and include robust coding or automatic coding to reduce testing mistakes. Before buying, check whether recent user reviews mention consistent accuracy and whether the meter has easy-to-follow calibration and testing steps.
Which glucose meter in 2017 is easiest to use for people who test frequently?
A top choice for frequent testing in 2017 usually has a simple one-button interface, quick start time, and fast results so you spend less time waiting or re-testing. Many users prefer meters with large, high-contrast displays, backlighting, and user-friendly strip insertion to avoid errors. Also consider connectivity features like Bluetooth or app syncing, which can make tracking trends easier without manual logbooks.
How do I choose the best diabetic meter 2017 based on cost of test strips?
Even the best diabetic meter 2017 can be expensive if the test strips are costly or not widely available. Compare the price per strip, check insurance coverage or eligibility for discounted programs, and confirm strip compatibility with the exact meter model you plan to buy. If you test multiple times per day, choosing a meter with affordable, easy-to-find strips can significantly reduce your long-term diabetes management costs.
Why do some diabetic meters in 2017 show results that seem inconsistent or inaccurate?
Inconsistent readings often come from user factors such as not washing hands properly, using expired strips, or not following the correct blood sample size. Environmental conditions—like very cold hands, humidity, or improper storage of test strips—can also affect results. To improve accuracy, use only compatible strips, check the meter’s expiration dates, and consider comparing with lab results or using control solution when learning how to use the meter.
Which 2017 glucose meter is best for tracking patterns and sharing results with a doctor?
The best diabetic meter 2017 for tracking often includes detailed memory, trend analysis, and optional Bluetooth connectivity to sync readings to smartphone apps. Look for features like reminders, customizable notes (e.g., before/after meals), and clear graphs that help you spot high/low glucose patterns over time. If you frequently communicate with healthcare providers, choose a meter that makes it easy to export or share data so your doctor can make more informed adjustments to your diabetes plan.
📅 Last Updated: November 09, 2026 | Topic: best diabetic meter 2017 | Content verified for accuracy and freshness.
References
- Glucose meter
- Blood glucose monitoring
- https://en.wikipedia.org/wiki/ISO_15197
- https://www.cdc.gov/diabetes/managing/managing-blood-sugar.html
- https://www.fda.gov/medical-devices/home-health-care-devices/glucose-meters
- https://pubmed.ncbi.nlm.nih.gov/?term=2017+blood+glucose+meter+accuracy+systematic+review
- https://pubmed.ncbi.nlm.nih.gov/?term=2017+standards+of+medical+care+in+diabetes+blood+glucose+monitoring
- https://scholar.google.com/scholar?q=2017+best+blood+glucose+meter+accuracy Google Scholar
- https://scholar.google.com/scholar?q=blood+glucose+meter+accuracy+requirements+ISO+15197 Google Scholar
- https://scholar.google.com/scholar?q=2017+continuous+glucose+monitoring+vs+self+monitoring+blood+glucose+systematic+review Google Scholar




Pingback: Best Diabetic Meters: How to Choose the Right Meter for You - Best For Diabetics